Photography

Febreeze, escalator rides, and being a creeper by Amanda Liew

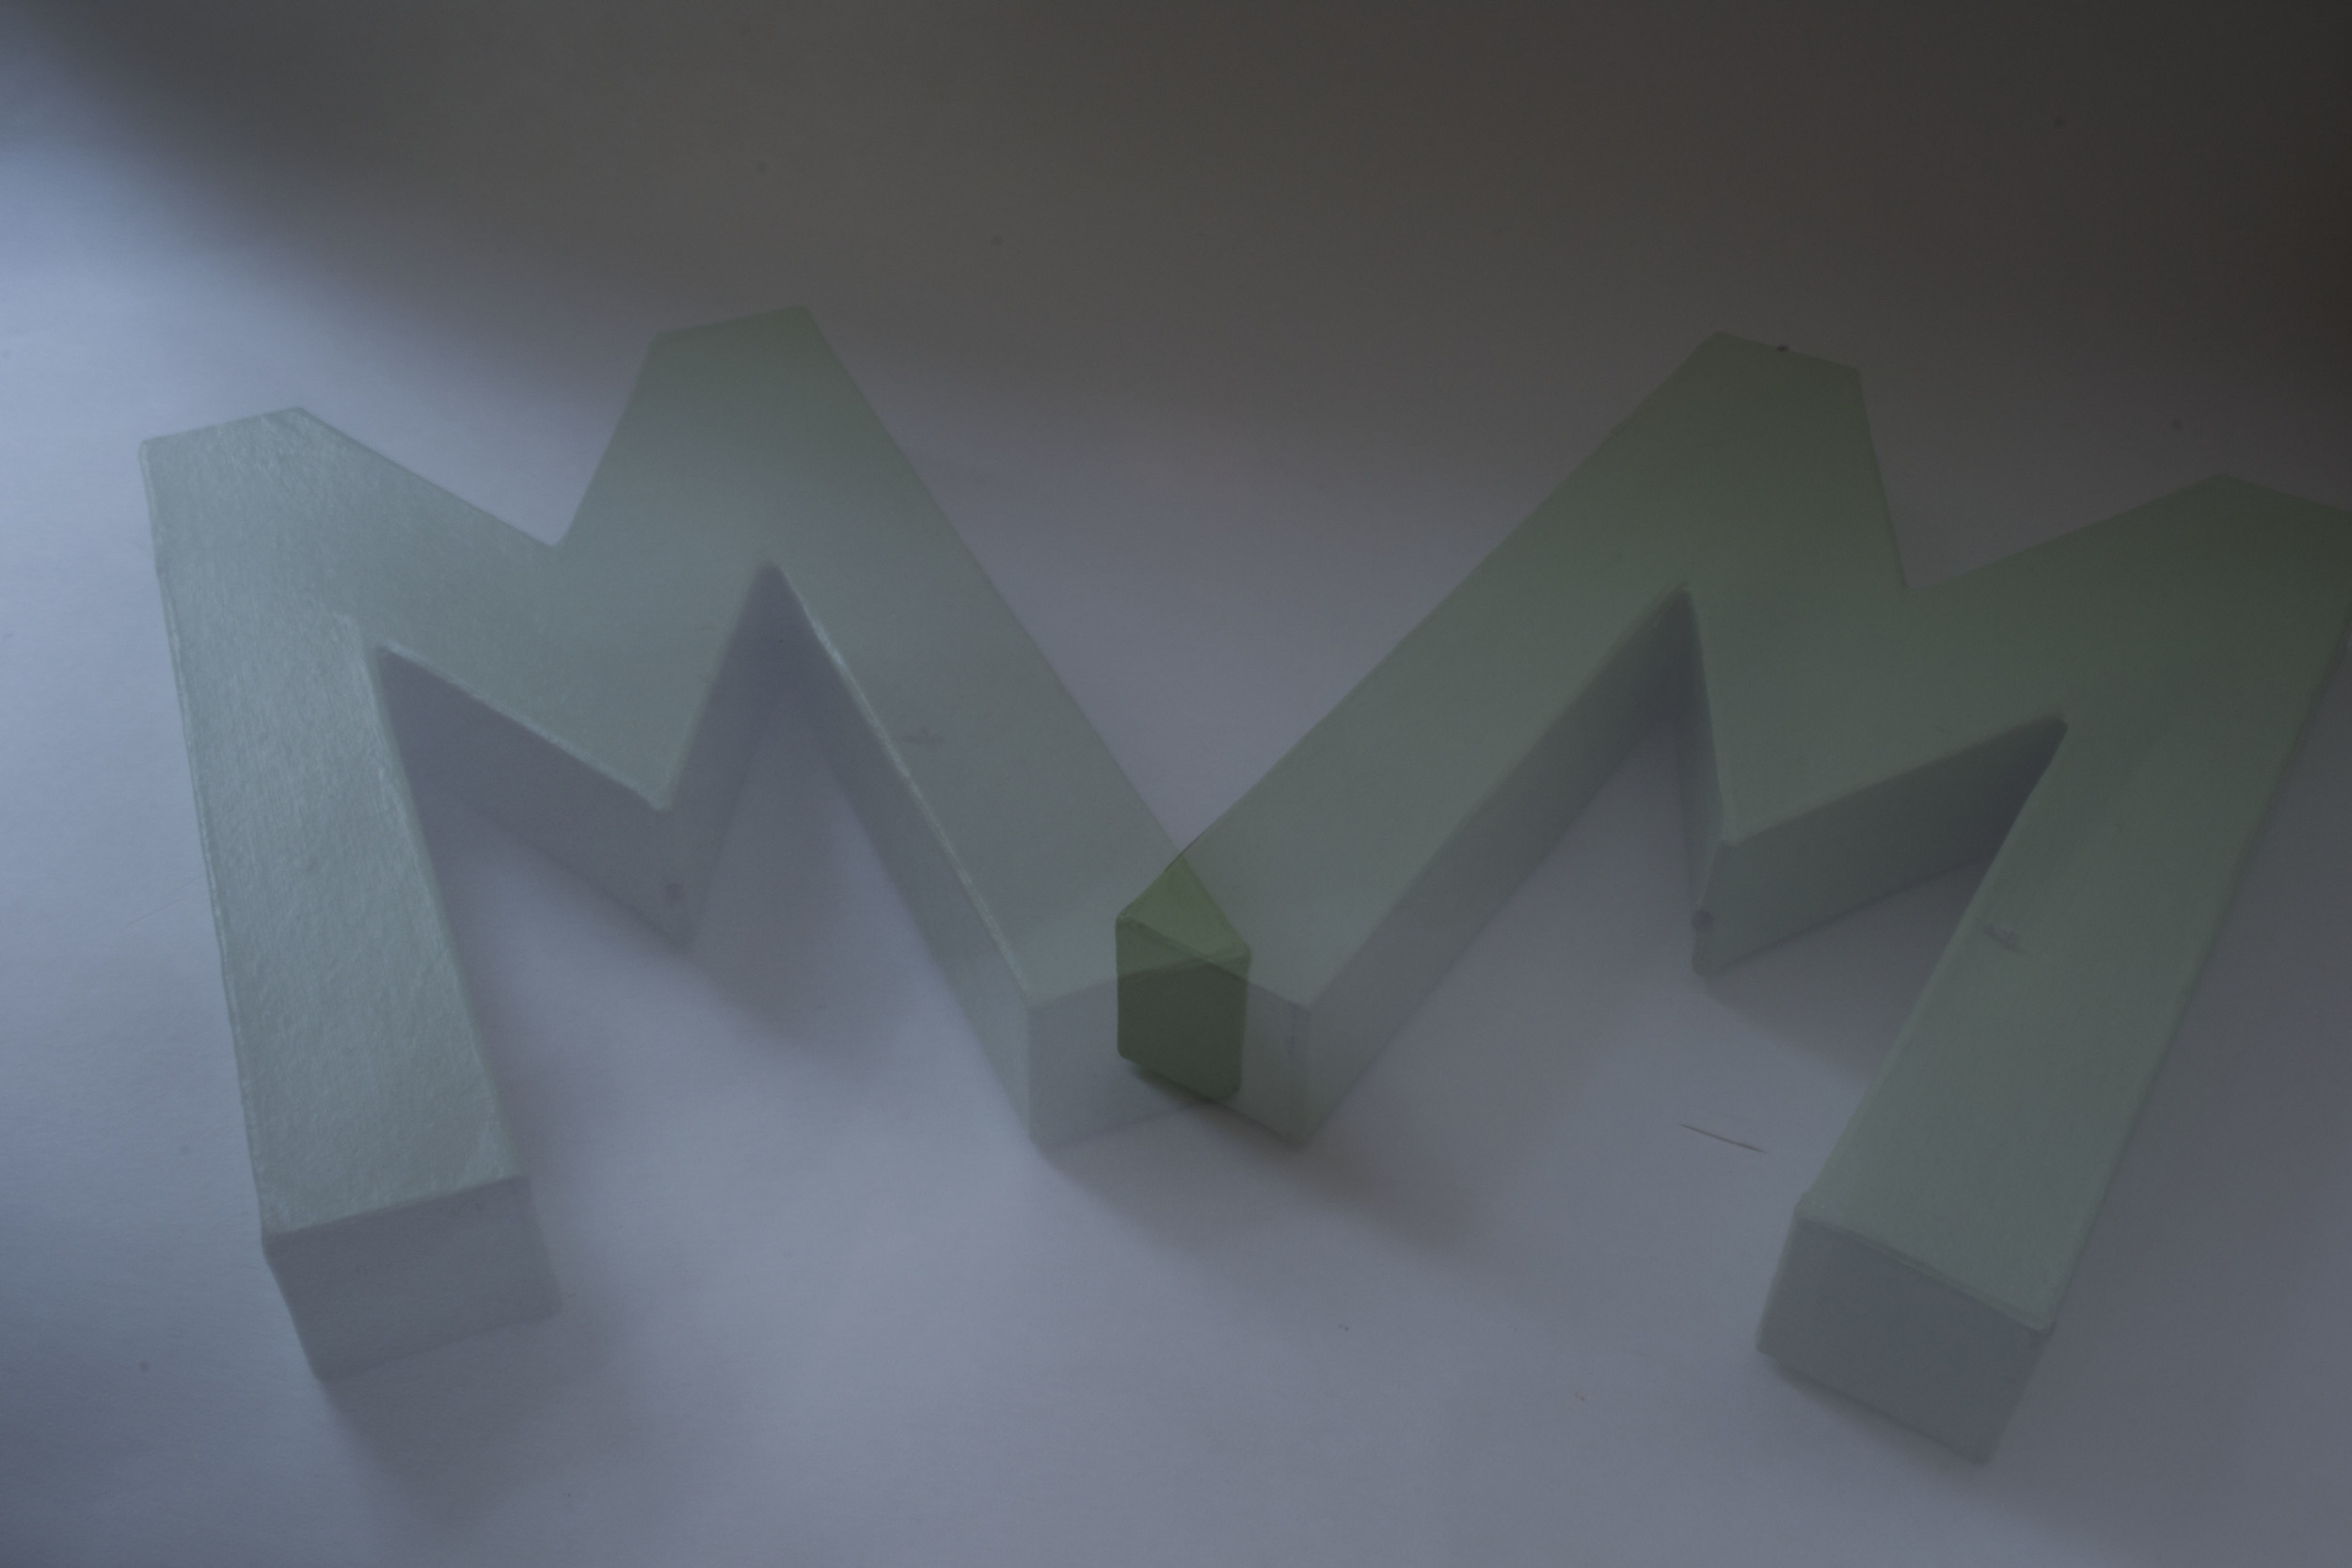
Some more shots from today! I've been running into a bit of a brick wall when it comes to capturing motion around me. I've walked up and down campus dozens of times, and I can only think about shooting cars (boring!). So I decided to get a little creative in my room today. Using the lighting from my window, a black sweater, and a Febreeze bottle, I actually ended up capturing some of the coolest pictures! This photo is shot at 1/500 shutter speed.Image 
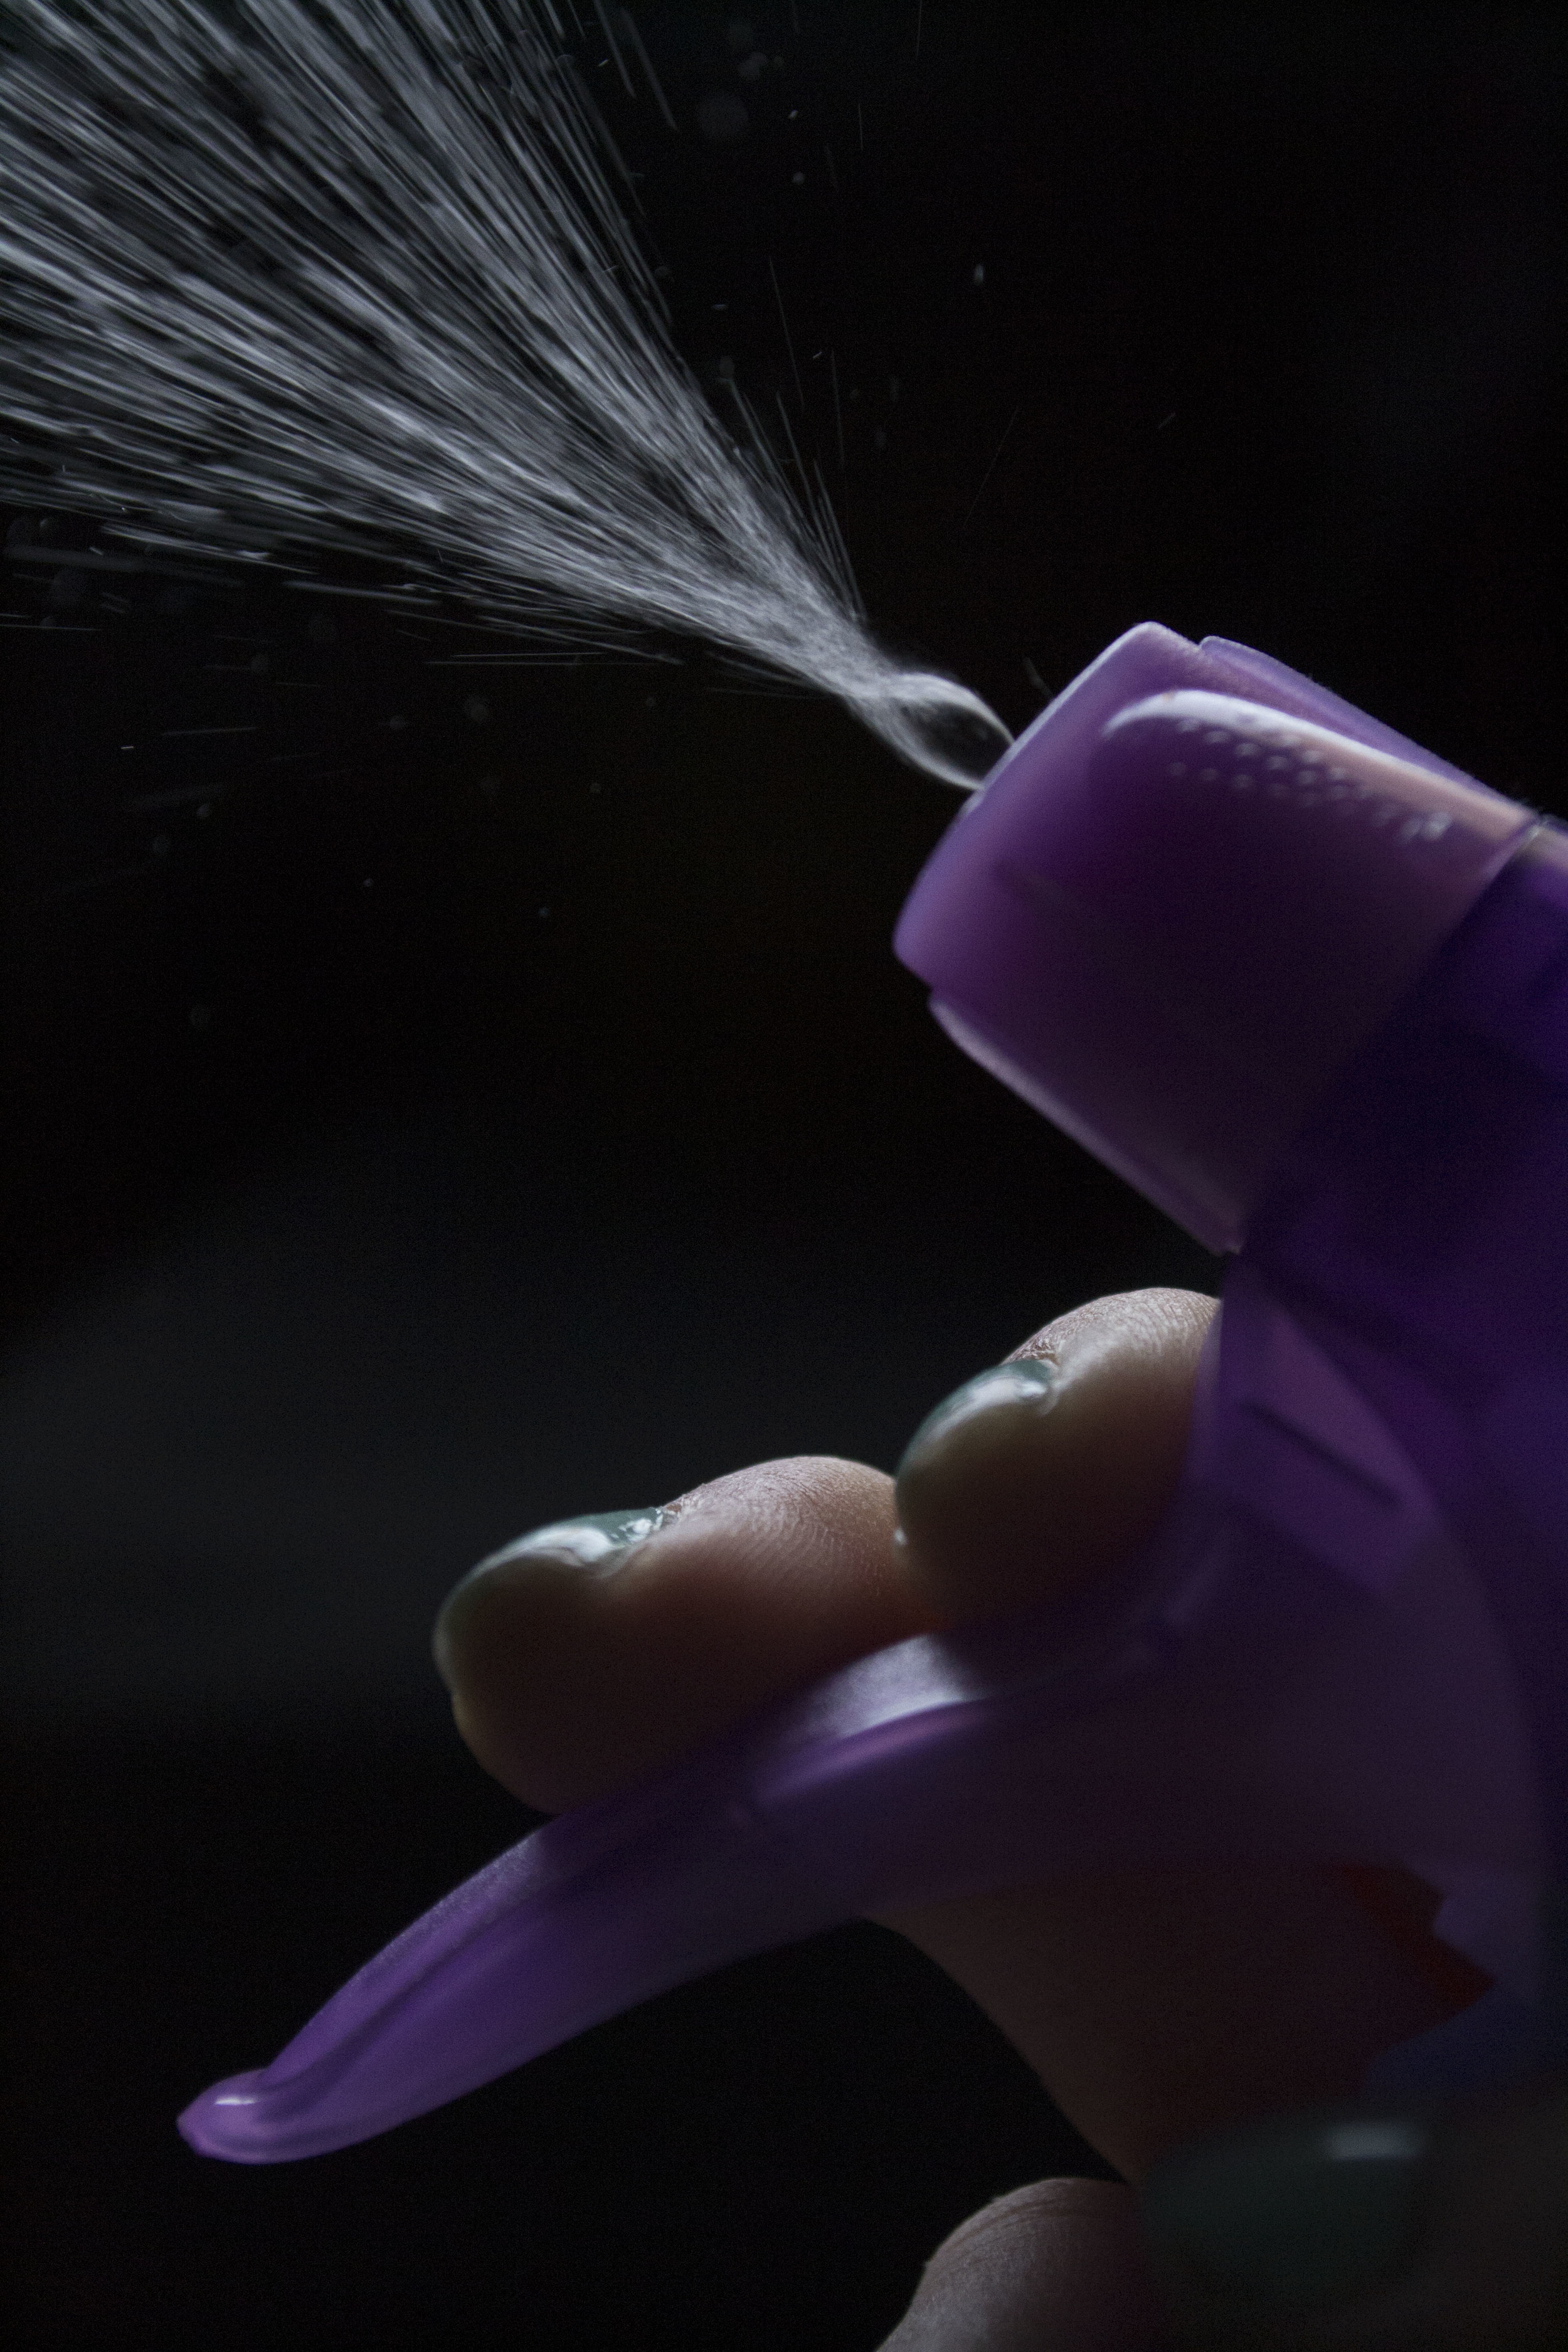
This one is shot at 0.4 seconds to capture the blurring effect. As you can see, it's much "softer," and takes away from the dynamic element from the first photo. Image

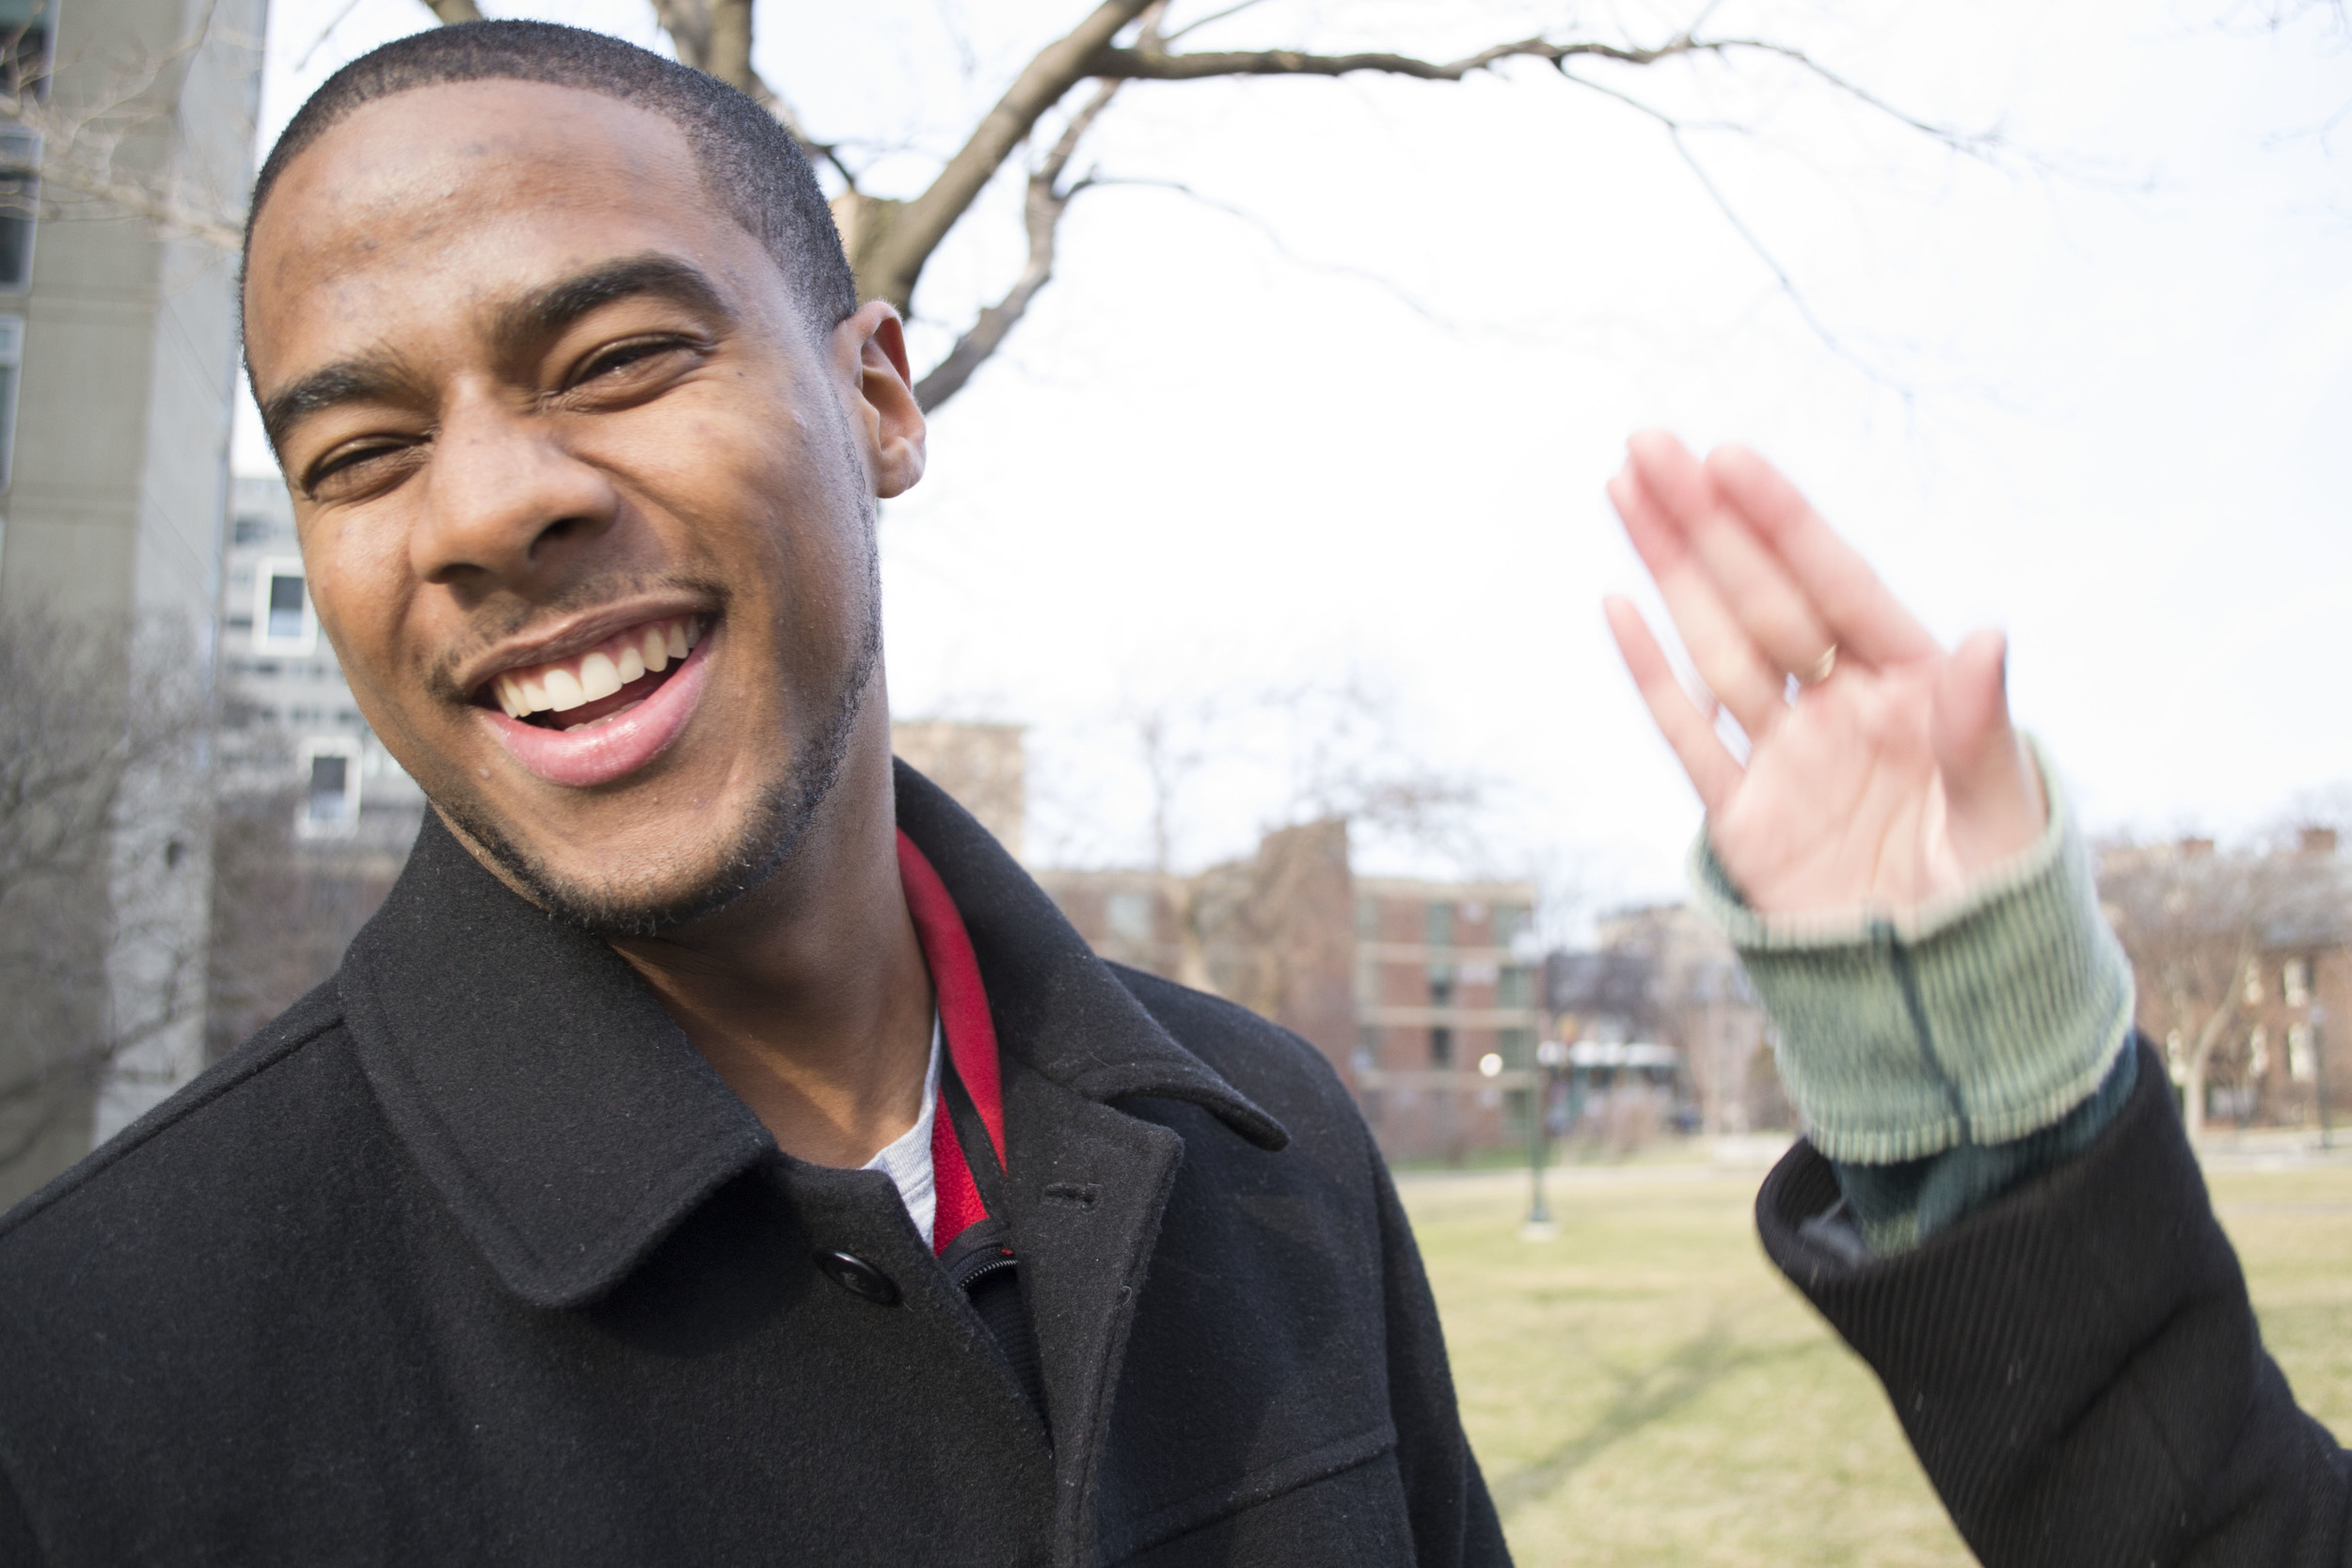
Finally, I decided to play with the escalators in Huntsman and acted like a total creep taking pictures of strangers. That's one of the weirdest parts about photography - everything feels so awkward! As if holding a pretty large camera and a tripod walking around isn't noticeable enough, imagine me with said camera attached to a fully extended tripod "coincidentally" getting on the escalator any time someone else does. Then they start hearing the shutter noises.... There were a few people sitting right next to the escalators and after the 20th ride up and down, I wanted to apologize and explain I was doing it for a project. THANKFULLY I finally ran into Alice, one of my sorority sisters, who graciously took a quick break to help me out.

"Hey Alice!.........Do you think you can ride this escalator with me? And don't move. Like at all." Image

I loved the way this photo came out even though it was a little experiment! I shot it at 3 seconds (Fun Fact: Huntsman escalator rides are about 10 seconds long. That's how many times I rode them...) It definitely opened up my mind to new things I can try out. It would be really cool to experiment more on the escalator AND making the subject do multiple poses. I'm wondering if I were to do a 6 second shot with 3 seconds of the subject leaning against the left railing and 3 seconds leaning against the right railing. Then, ideally, I would capture 2 "images" of the subject and get the blurred surroundings. Trippy! All my photos look like a drug trip hahah.

Huge thank you to Alice. You guys might be seeing more of her, too - she said she'd be willing to help me out on future projects! What a gal!

Motion: Capturing and Blurring by Amanda Liew

Another thing we've been learning about in Digital Photography is capturing motion and blurring motion. In order to capture motion, your shutter speed must be very quick (to capture the motion instantly). This is usually pretty easy to grasp. I personally find blurring motion to be much more interesting. With blurring motion, you set your shutter speed to higher/slower. So instead of a quick shutter speed of 1/120, you can do a shutter speed of 2 seconds, 5 seconds, etc. I just started experimenting with it today, and luckily I have great friends to help me out! In this photo, I had the shutter speed set to 4 seconds. I had Janet cover her face for 2 seconds, and then remove her hands for 2 seconds. This is the effect! Notice how her face is the same throughout the entire shot, but her hands (what is moving) is transparent. Image

Something important to note is that with a longer shutter speed, a lot more light is coming through. Therefore, you're going to have to offset all that extra exposure by turning down your ISO and making your aperture smaller. I had to use a ISO of 100 and an aperture of F22. (Remember the larger the F-Stop, the smaller the aperture).

Here,  I had a shutter speed of 6 seconds where I placed the "M" in each position for 3 seconds each. I'm a little bummed about this photo because even with an ISO of 100 and an FStop of 25, it still looks underexposed. I can process it a little bit, but our professor wants us to gain the technical skills first before we start playing with Camera Raw & Photoshop.

Image

This photo is capturing motion (Shutter Speed: 1/250, F/3.5, ISO 1600). Ideally I would have liked to make the shutter speed even faster so that the picture could show all of her hair strands without blurring them, but I was hesitant to make the ISO any higher for fear it would come out too grainy.Image

I also had a little bit of fun setting up my own studio in my housemate's room (she has the best lighting with her bay windows!) and played with sprinkles. (1/200, F/3.5, ISO6400). This time around, I wasn't as concerned with the high ISO since I was only shooting sprinkles and a non-descript bowl. I'm not sure if that's the right way to be gauging things, though!Image

And finally, my favorite image of the day. I made Janet slap Kevin a couple of times, but none of the photos really came out. Still hilarious, though! Image

Basic Exposure + Shallow Depth of Field by Amanda Liew

oDespite this being my last semester of college, I decided to up my courses to 6 so that I could fit in Digital Photography! I figured:
A) I’m already paying a million dollars for a college education
B) I would probably pay for a photography class at SOME point in my life, therefore..
C) Why not make the most of what I’m already paying and have a phenomenal professor as well? 
I’ve only been in the course for about 3-4 weeks now, but I’m still extremely happy that I decided to take it! We’ve just begun learning the technical aspects behind photography such as the Aperture, Shutter Speed, and ISO. While I can’t explain it nearly as well as my professor does, over winter break I did find a pretty useful tutorial online for beginners who know nothing about photography: It’s Overflowing by Aimee.

The main thing we’ve been learning, though, is that “we’re all slaves to light” as our professor says hahah. But it’s true! It’s all about finding different combinations of aperture/shutter speed/and ISO to make sure that your photos are “metered” in the middle like so:
image

If you’re too far on the + side, you’re overexposed and your photos have too much light. Note how the “Chobani” lettering on the back two yogurts are barely visible. 
 image

If you’re on the - side, you’re underexposed and too dark. Note how you can barely see the lovely faces of my cousins as they gleefully pop champagne in our hotel hahah. I’m still struggling with this, actually, since it’s very difficult to shoot indoors.  
image

The larger your aperture is (aka the smaller your FStop is), the more light comes in. The longer your shutter speed (the longer your shutter stays open), the more light comes in. And the higher the ISO, the more sensitive your sensor is to light. 

It starts getting tricky, though, because if your shutter speed is longer than 1/60th of a second, they might start coming out blurry. And if your ISO is too high, say above 800, then your photos start looking grainy. This photo was taken at a very high ISO since the lighting was so dim.
image 
However, if you look closer, the photo looks very grainy as if you can see all the “dots.” I’m actually not sure how good this example will turn out since this is just tumblr..
image

The thing that I like playing with the most, though, is Aperture. The FStop is actually the denominator of a fraction that represents the diameter of your lens opening. So an FStop of 3.5 means the diameter is 1/3.5. An FStop of 11 means the diameter is 1/11 which is significantly smaller. Therefore, a smaller FStop = a larger aperture. Confusing, I know! This diagram helps:

image

The cool part is being able to capture a shallow depth of field versus a large depth of field. SDOF is for when you have a foreground/midground/background and can focus on just one, but have everything else softened or blurry. This is useful for close-ups and making your subject really obvious. LDOF is when everything is in focus. This is useful for capturing texture, architecture, etc. I’m still getting the hang of LDOF, but here are some examples I took in NY of shallow depth of field:

Note how the “Honey” sticker is clear and visible in the first jar, but the rest of the background is blurry.
image
Again, the snout of this pig at Eataly is sharp and in focus, but the rest of its features and the signs behind it are blurred out.
image

I’m still learning, but hopefully I can post some more photographs as I gain more knowledge! I’m still getting the hang of large depth of field as well as capturing and blurring motion, too.

Beginning a Photography Journey... by Amanda Liew

I purchased my first DSLR (Nikon D3100!) right before Thanksgiving, so I had a mighty fun time playing around with it for the first time when I visited my cousin’s family in upstate New York! Fun fact: my dad is the youngest of 12 siblings all from one mom and dad. Aside from my dad, there was only one other son… and 10 sisters!!! Insanity! My uncle is one of the oldest, so his kids are only slightly younger than my dad. Therefore, THEIR kids are only slightly younger than I am! Even though I’m technically a generation older, Olivia is only 6 months younger. Nevertheless, staying with the Lees is always a good time. I got to practice out my photography skills while they got some cute family portraits! Luckily, my cousin’s family also had Nikon DSLRs and taught me a few things. My cousin recommended first shooting in the “A” (Aperture) mode rather than “M” (Manual) to start with. 

imageimageimage
Here are some more cousins that I actually met for the first time! I’m the baby of the family, as you can tell.
image
Thanks to Christmas shortly after, I got to practice even more with my own family back in San Diego! With my brother away in China for two years and myself in school 3000 miles away, it’s been difficult to get some family pictures of all of us together. I came up with a great idea for my grandparents’ Christmas gift, though: a collage frame and a photoshoot to fill it up! We finally got some great family portraits. I, of course, enlisted my lazy brother to share the cost and agree to hanging the large frame up in their apartment! Meanwhile, I got even more practice and tried out a tripod with a timer for the first time. 
image
Aren’t my grandparents adorable? I loved their matching Christmas outfits!imageimage
I definitely struggled with shooting in artificial lighting. Comparing the pictures between my cousin’s family and my own, I’m realizing how much of a difference natural lighting makes! Over Christmas break, I’ve been searching for some basic DSLR tutorials online. I found a really great one by Aimee at It’s Overflowing. She runs through Aperture, ISO, Shutter Speed, and Metering very thoroughly and simply! I’ve found that a lot of tutorials online make a lot of assumptions about your photography background which can be very frustrating. Aimee, however, does a wonderful job of explaining every step and even assigning little “assignments.” If you want to check it out, click here.

I found out that one of my high school friends has a Nikon D3100, too, so we’ve decided we’re going on an adventure throughout all of San Diego to practice! I’m really excited and loving my camera so far!