I'm excited to announce that I've finally switched my URL over to amandaliew.com! As I've fallen in love with blogging and photography more over time, I figured it was finally time to make the commitment of getting my own website. I hope this keeps me all the more committed to blogging and continuing this journey!
Due to my limited time, the majority of my photographs have been taken as sets to illustrate a dinner, a setting, or a portrait session. Since my Digital Photography class, I haven't spent much time playing with Photoshop since Camera Raw suffices for quick batch editing. However, I decided to take some time to play with this singular image and thought it would be interesting to walk through the process step-by-step. The original image in DNG form is below:
At first glance, it's a little tilted, and the background clutters the image significantly. In the moment I could have taken this photograph with a different aperture to focus better on the subject and blur out the background, but alas I can't go back in time. 
My first few steps were done in Camera Raw where I changed the image to grayscale and increased the contrast to make the lampost's deep black metal stand out more.
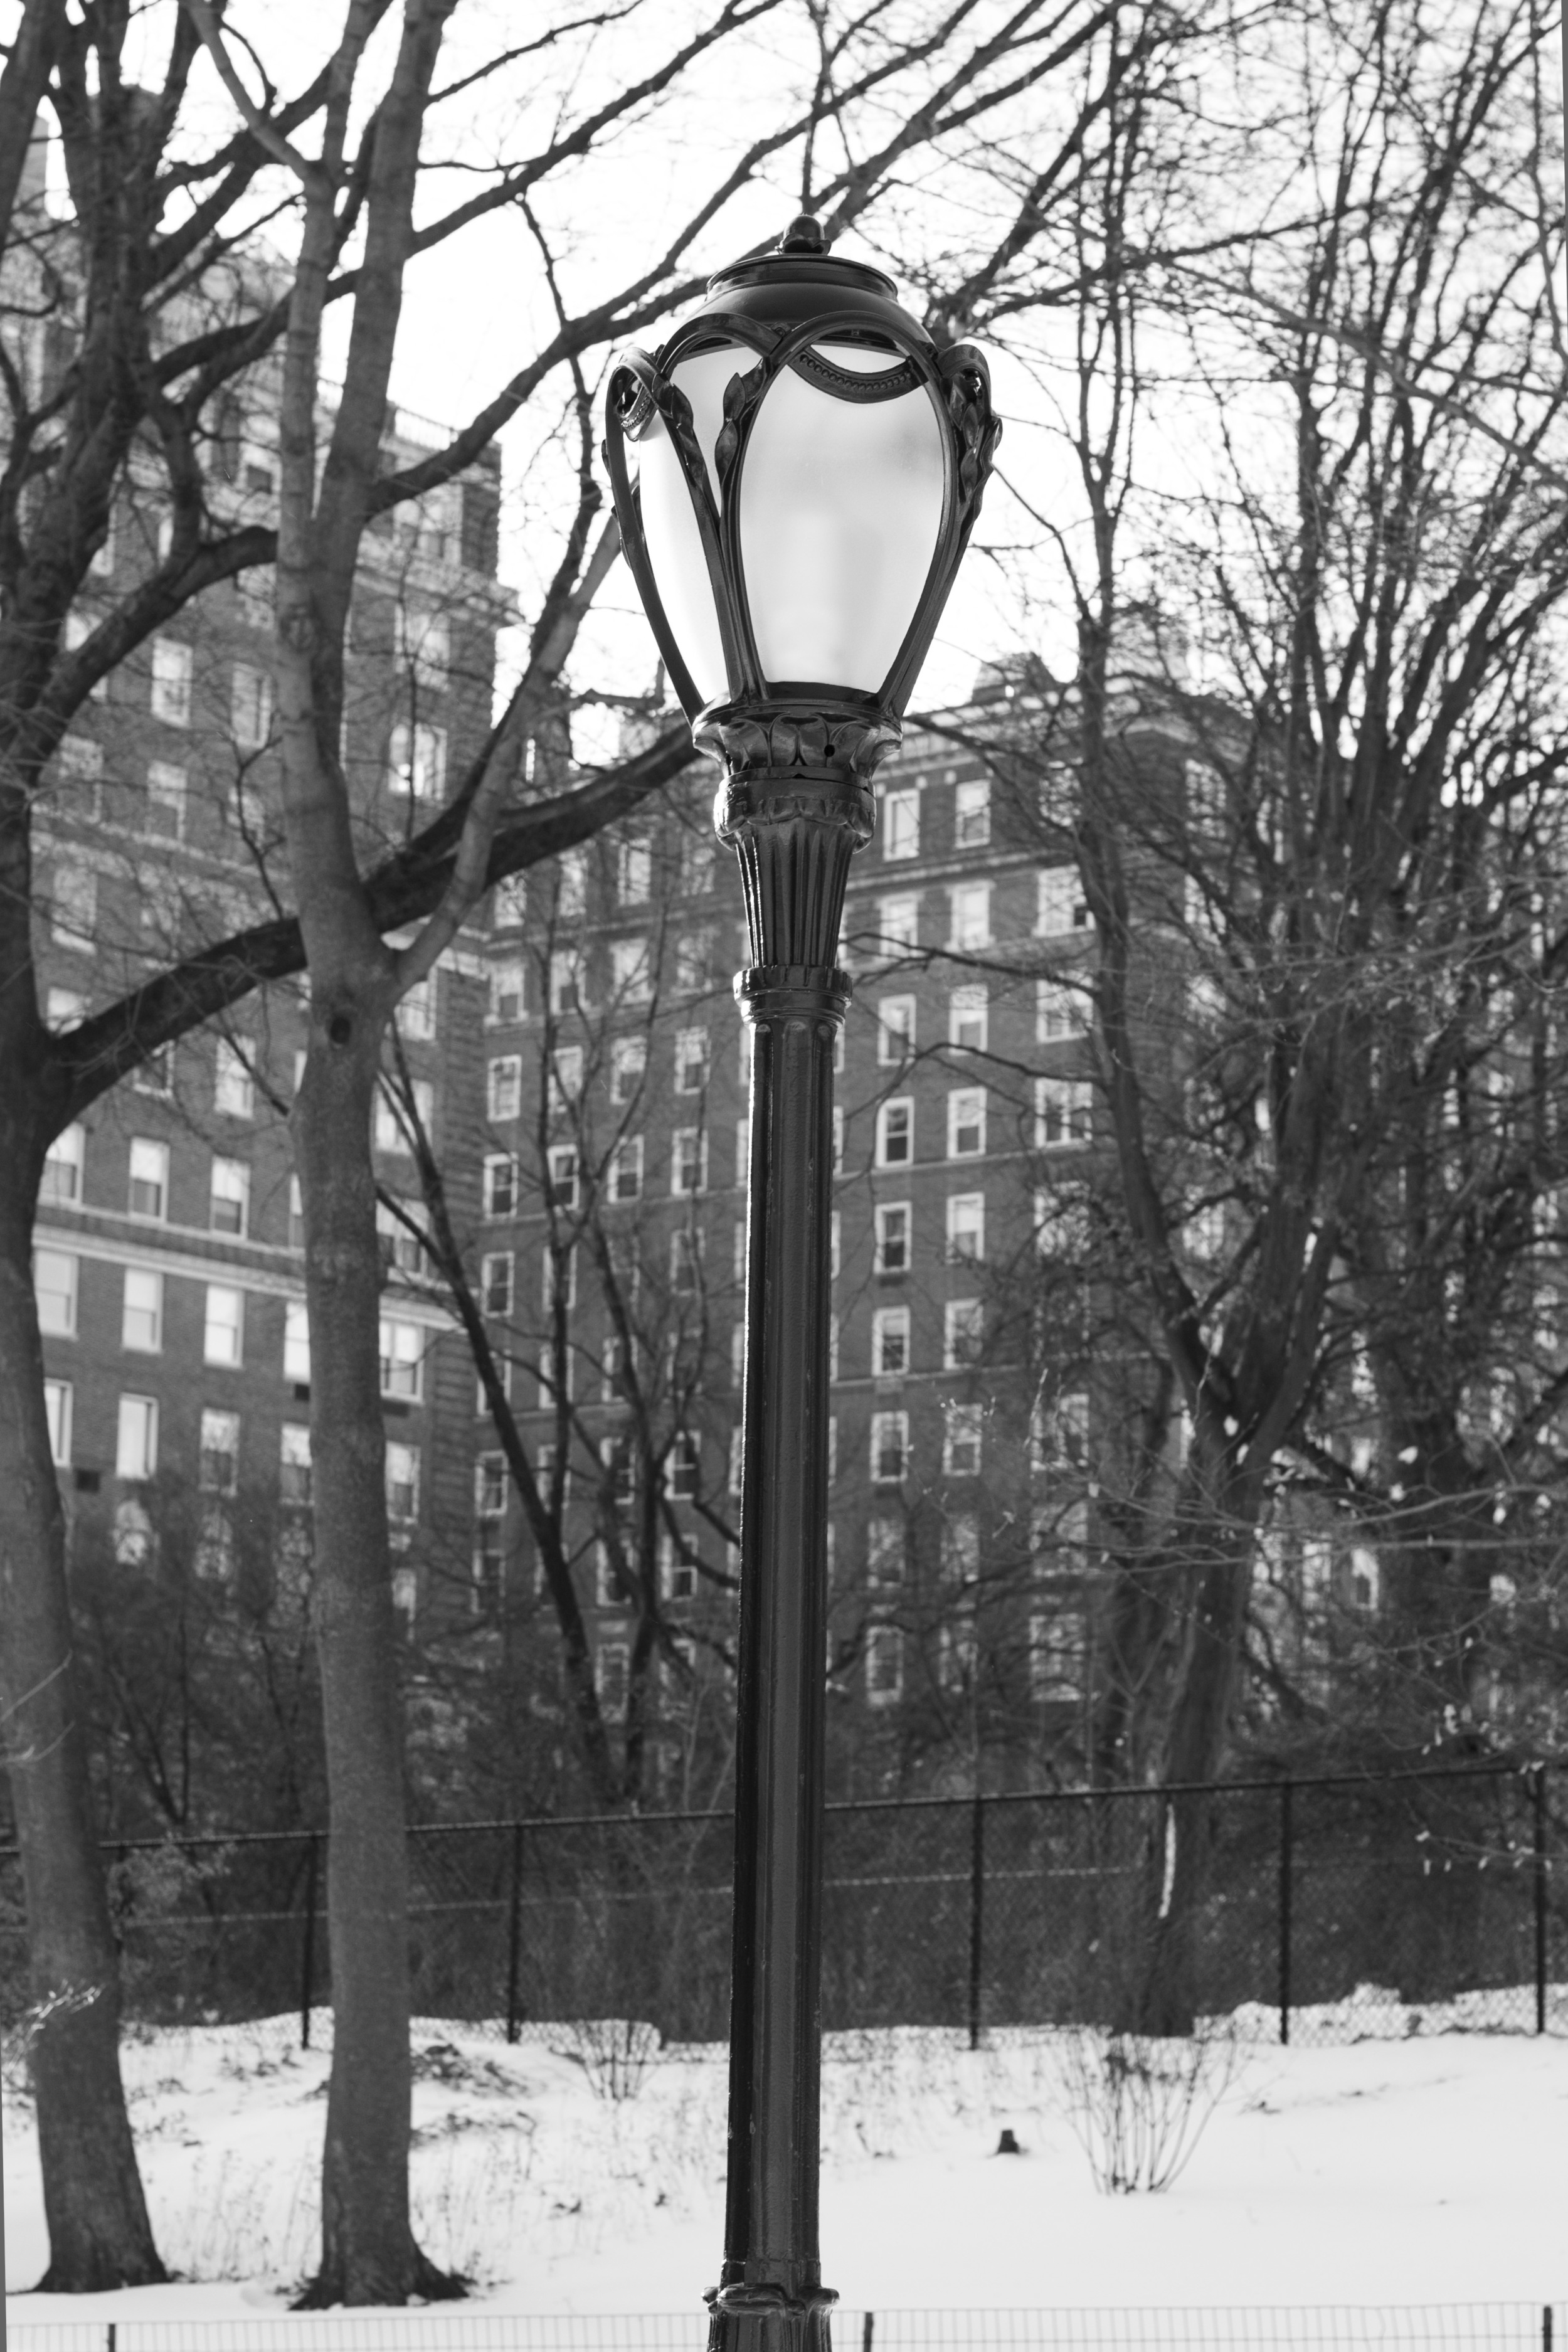
At the next point, I entered Photoshop and created a duplicate layer of the background. I then converted the layer for Smart Filters and applied a Gaussian Blur (10.1 pixels) to the entire image.


Of course, I didn't want the entire image to be blurred, so I began to paint away and "erase" the Gaussian blur on my subject, the lampost. For this process, I highly recommend zooming in very close and also clicking frequently. There's nothing more frustrating than painting a good portion, screwing up the end, and then having to undo the entire command. If you look in the left hand corner of this photoshop image, you'll see there is a white box and a black box. When the black box is on top, your paintbrush is removing the Gaussian Blur. When you flip the two so the white box is on top, you can replace the blur in the same way. For this image it was easier to erase the blur in large strokes and then replace it with smaller strokes to be more detailed. In other words, it's easier to trace around the edges rather than trying to guess where the subject is. 

When completed, the lampost now stands out much more than the background. Of course, I'm still learning quite a bit with this process and when taking a few steps back, I wonder if I was a little too heavy-handed on the Gaussian Blur and whether it looks like an "authentic" depth of field. Additionally, the trouble with a process where you are carefully selecting an image is that inevitably it's going to look a little fake and "pasted in." For example, at the very bottom of the lampost you can see I got a little lazy and unblurred a little too much of the area surrounding the foot. Still learning, though! As usual, I always welcome tips and feedback.

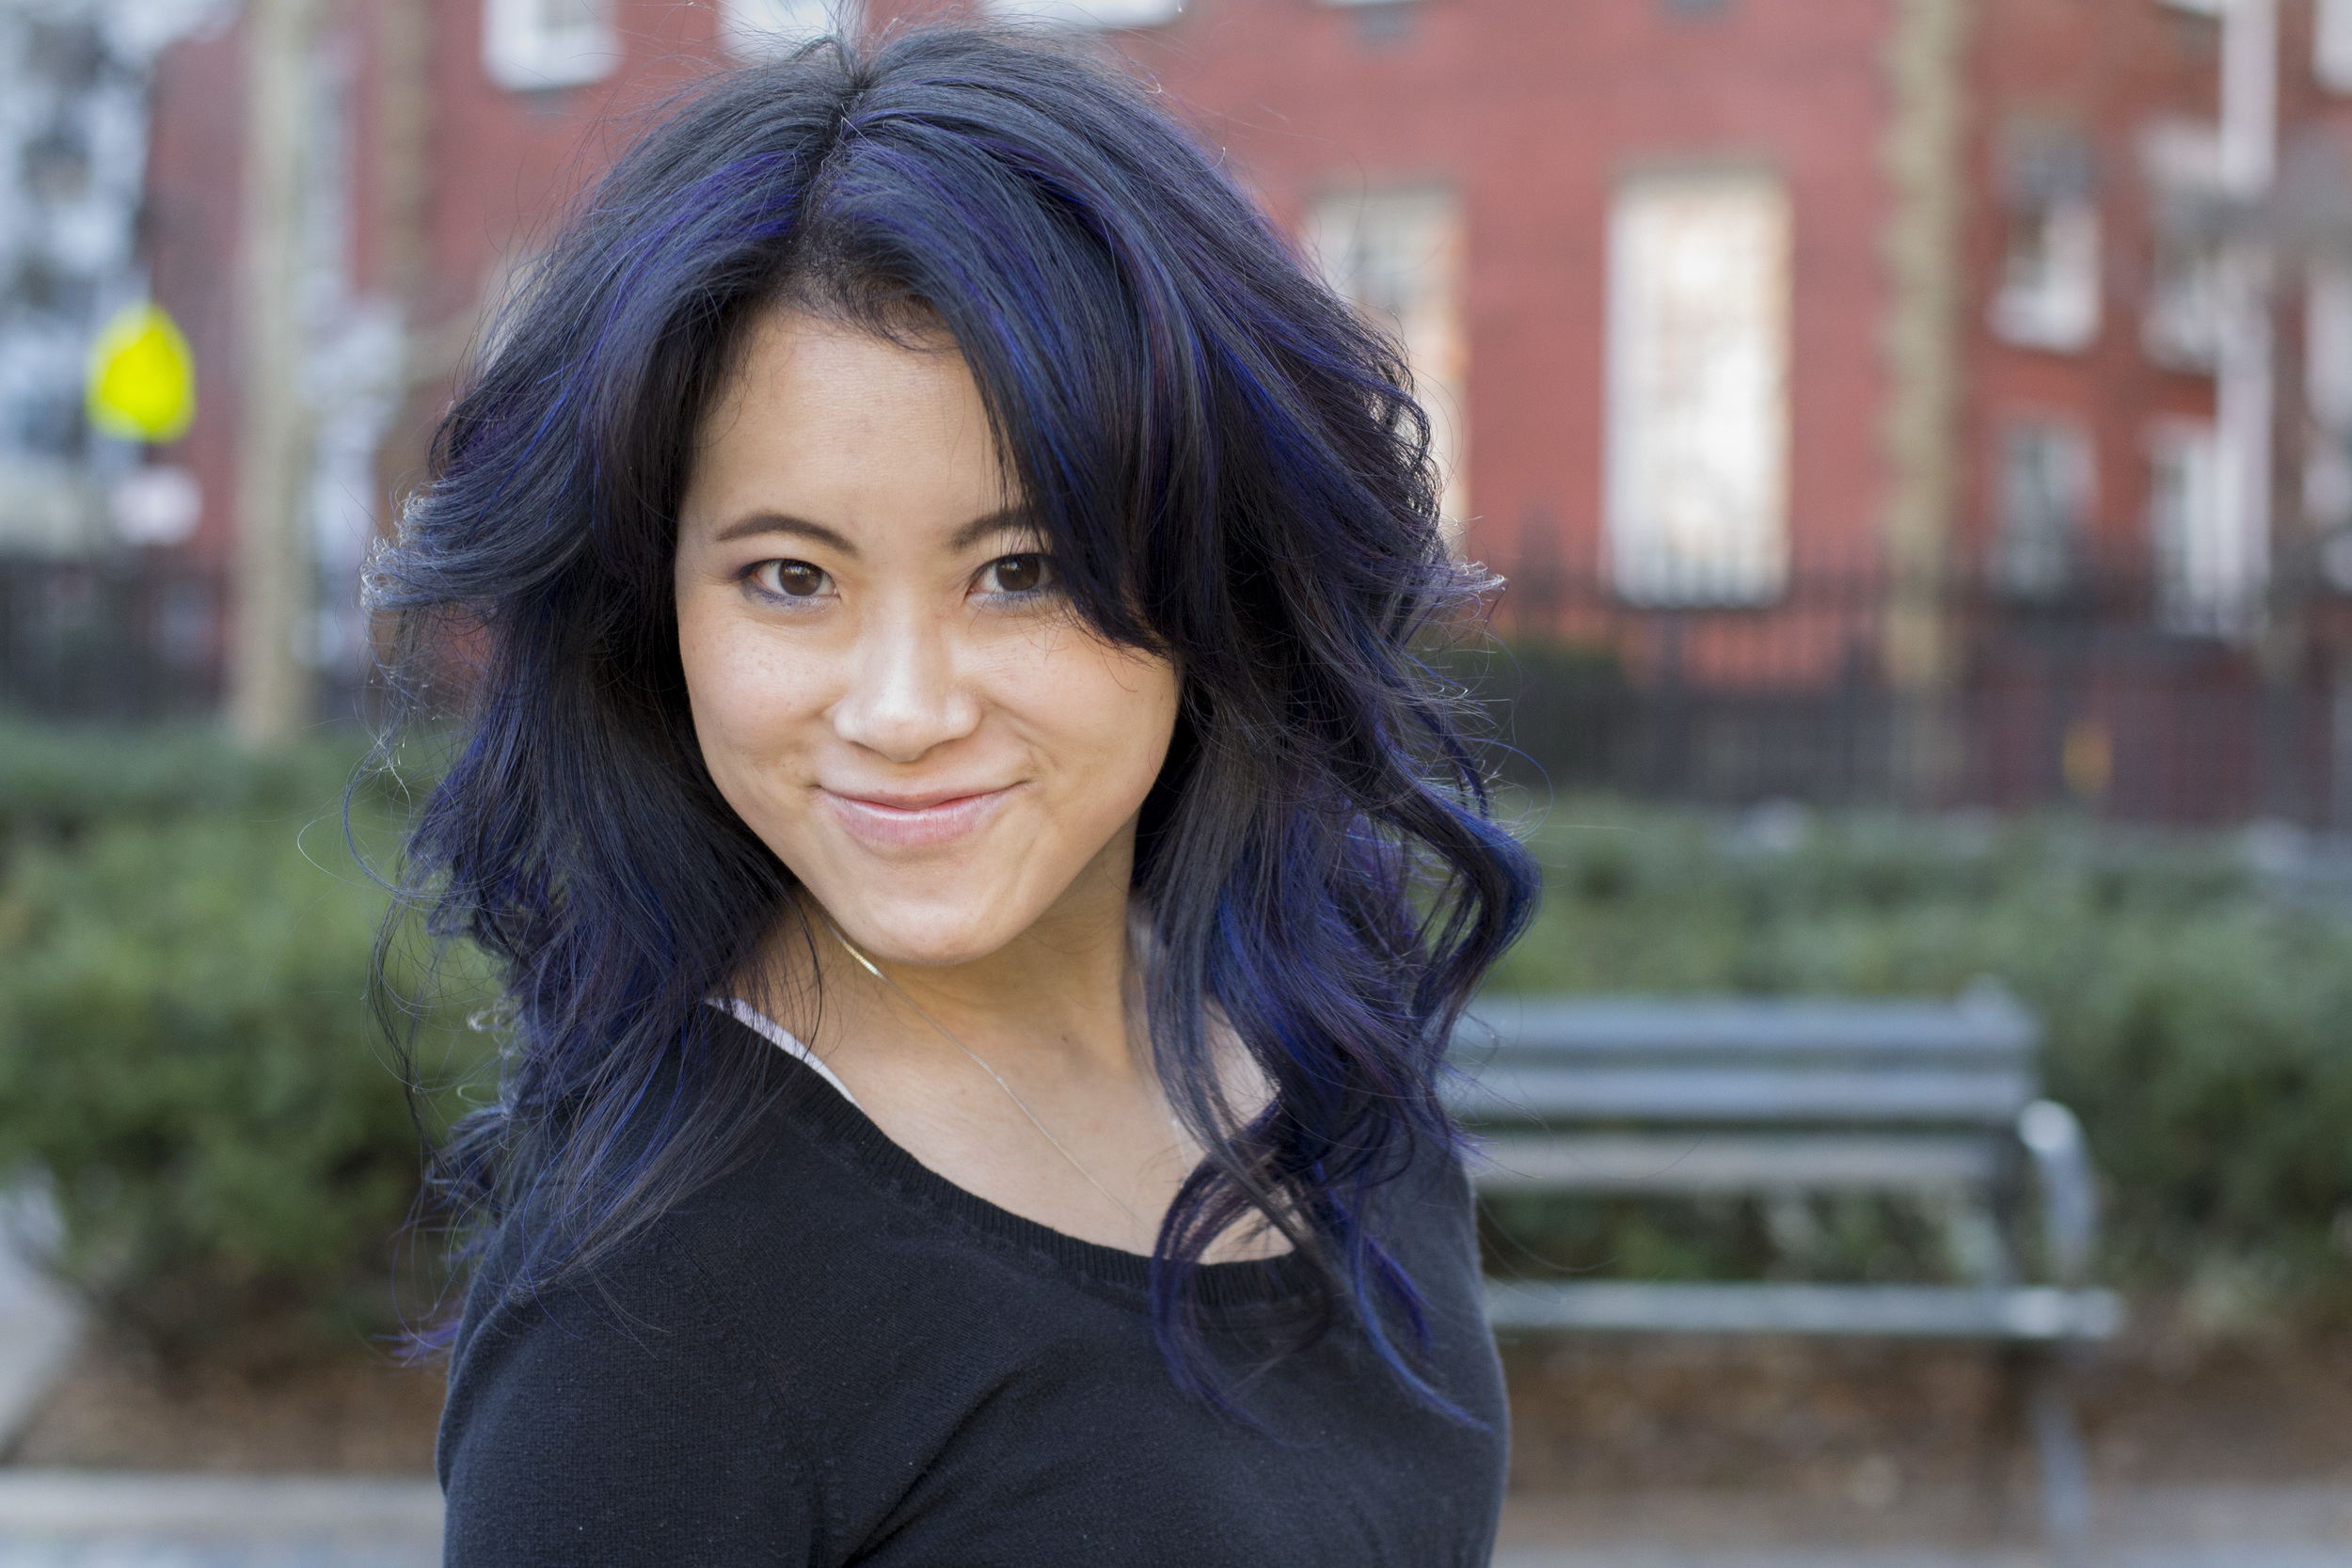
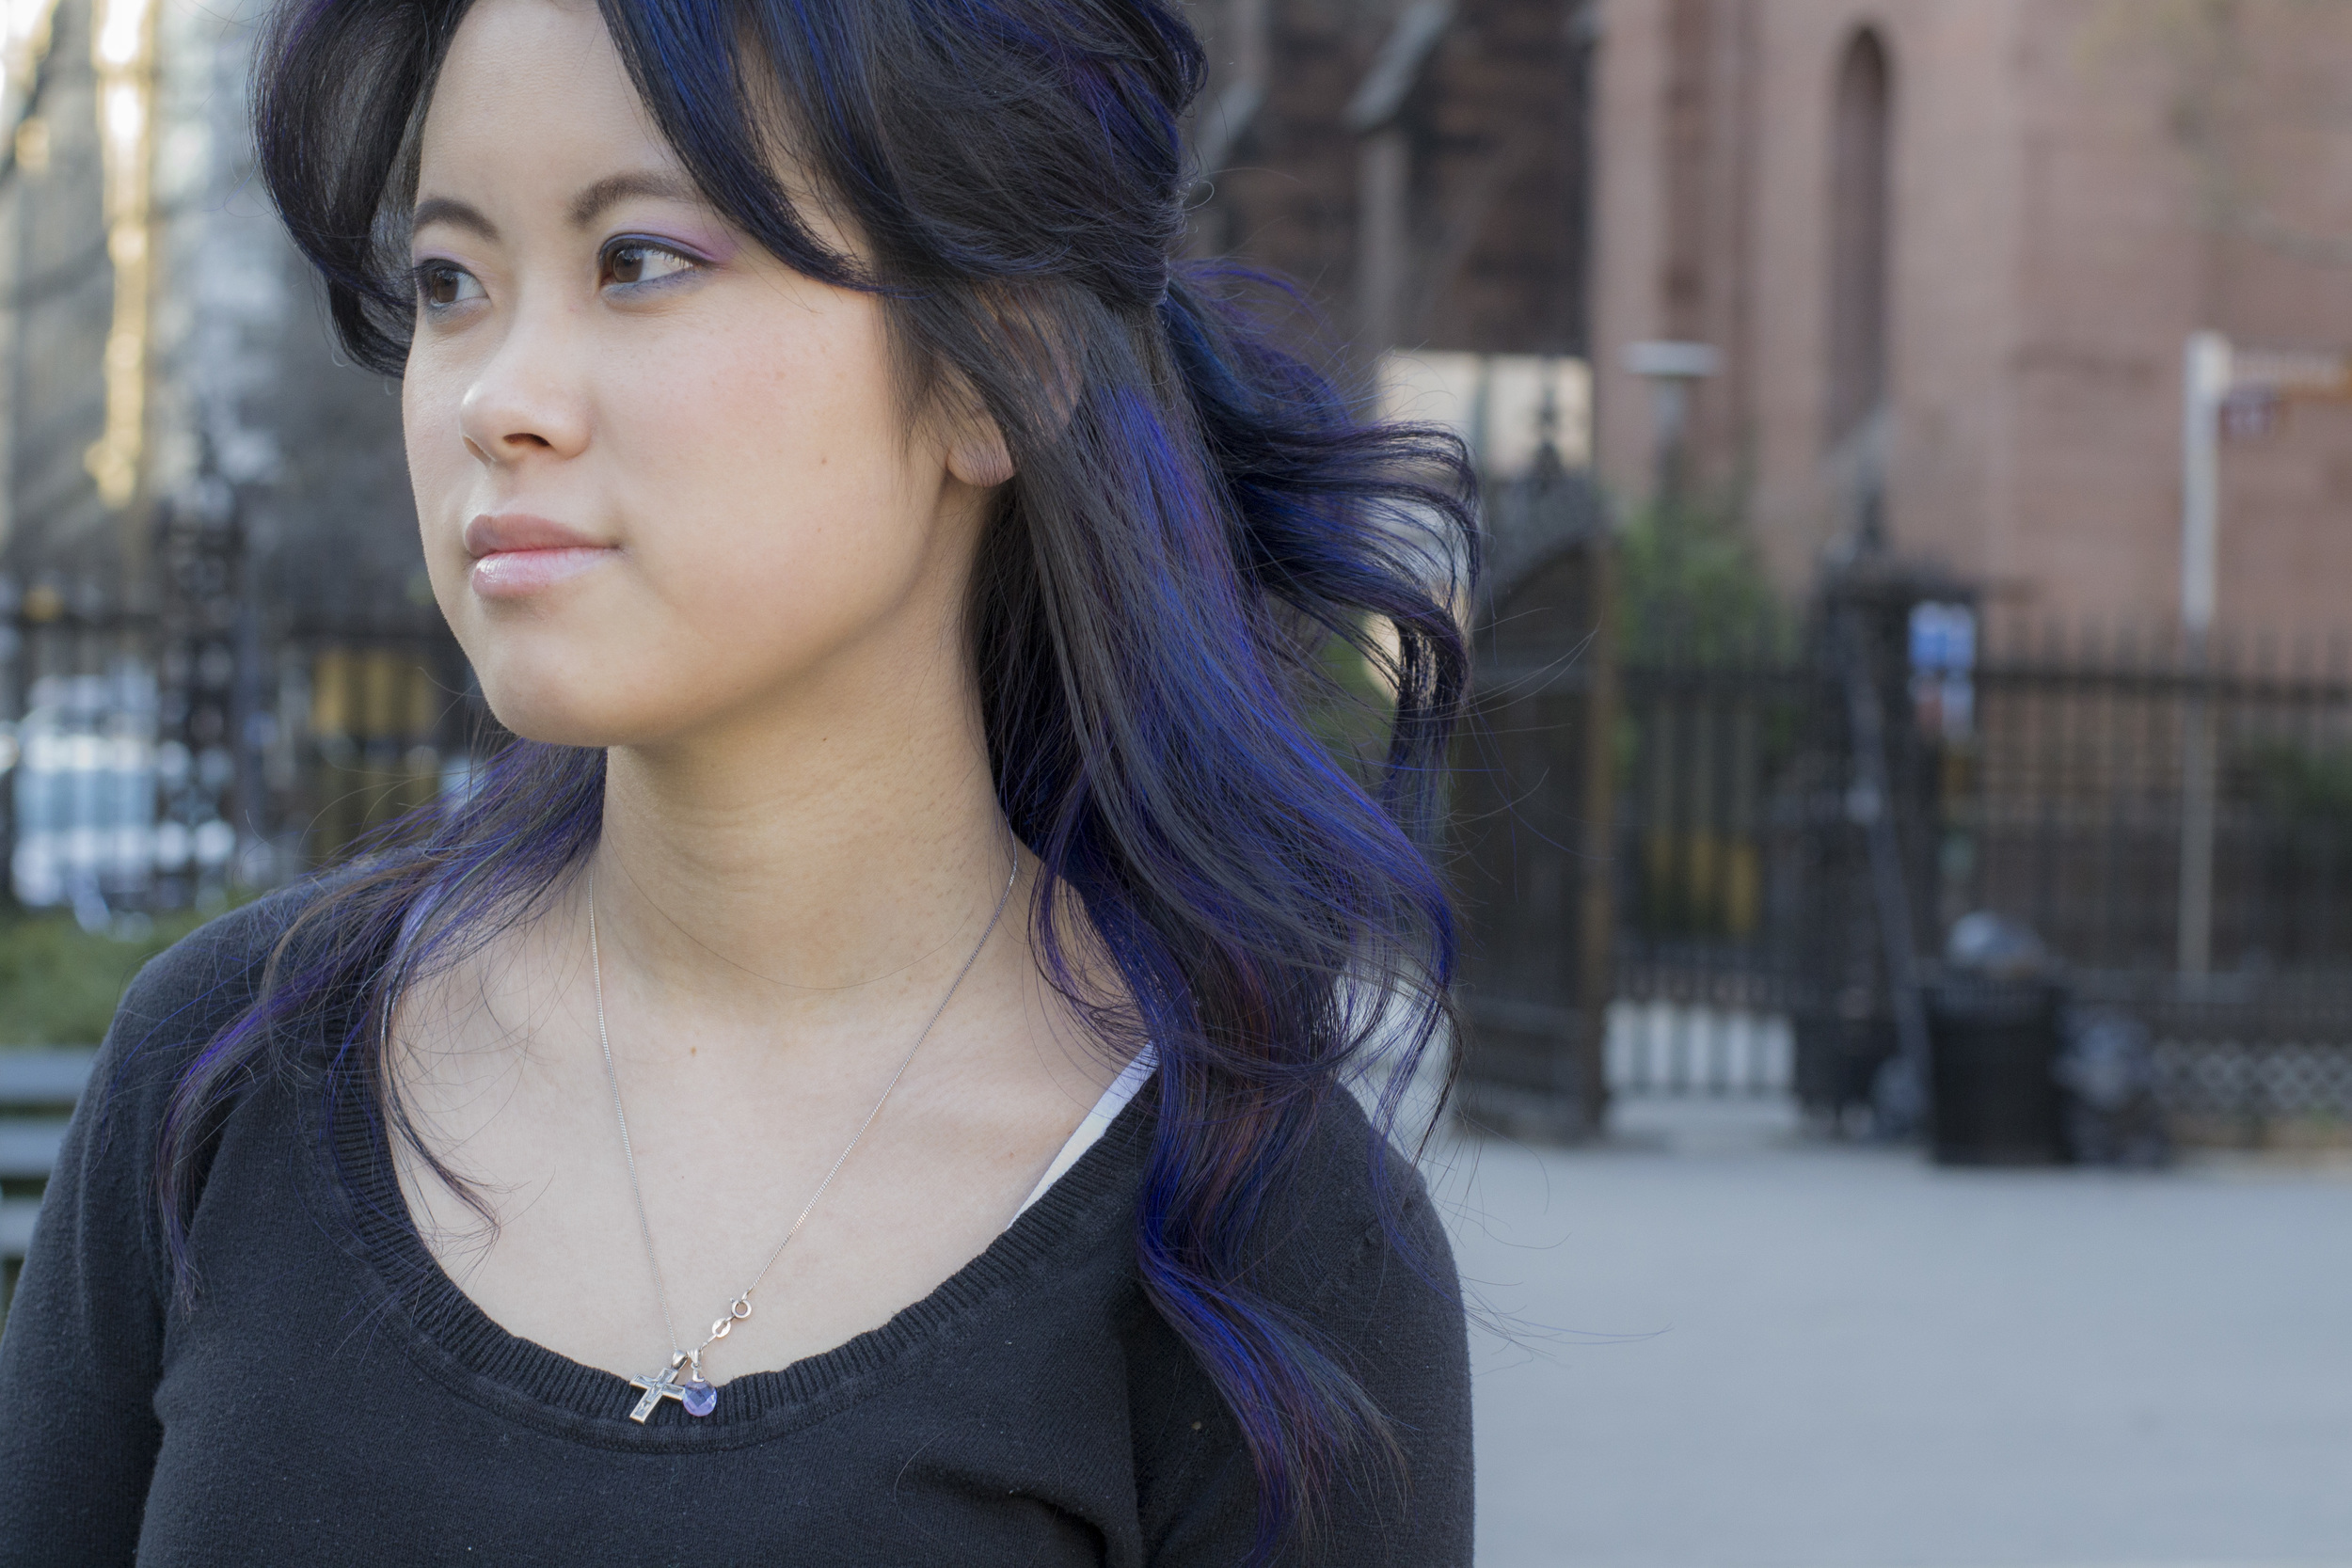
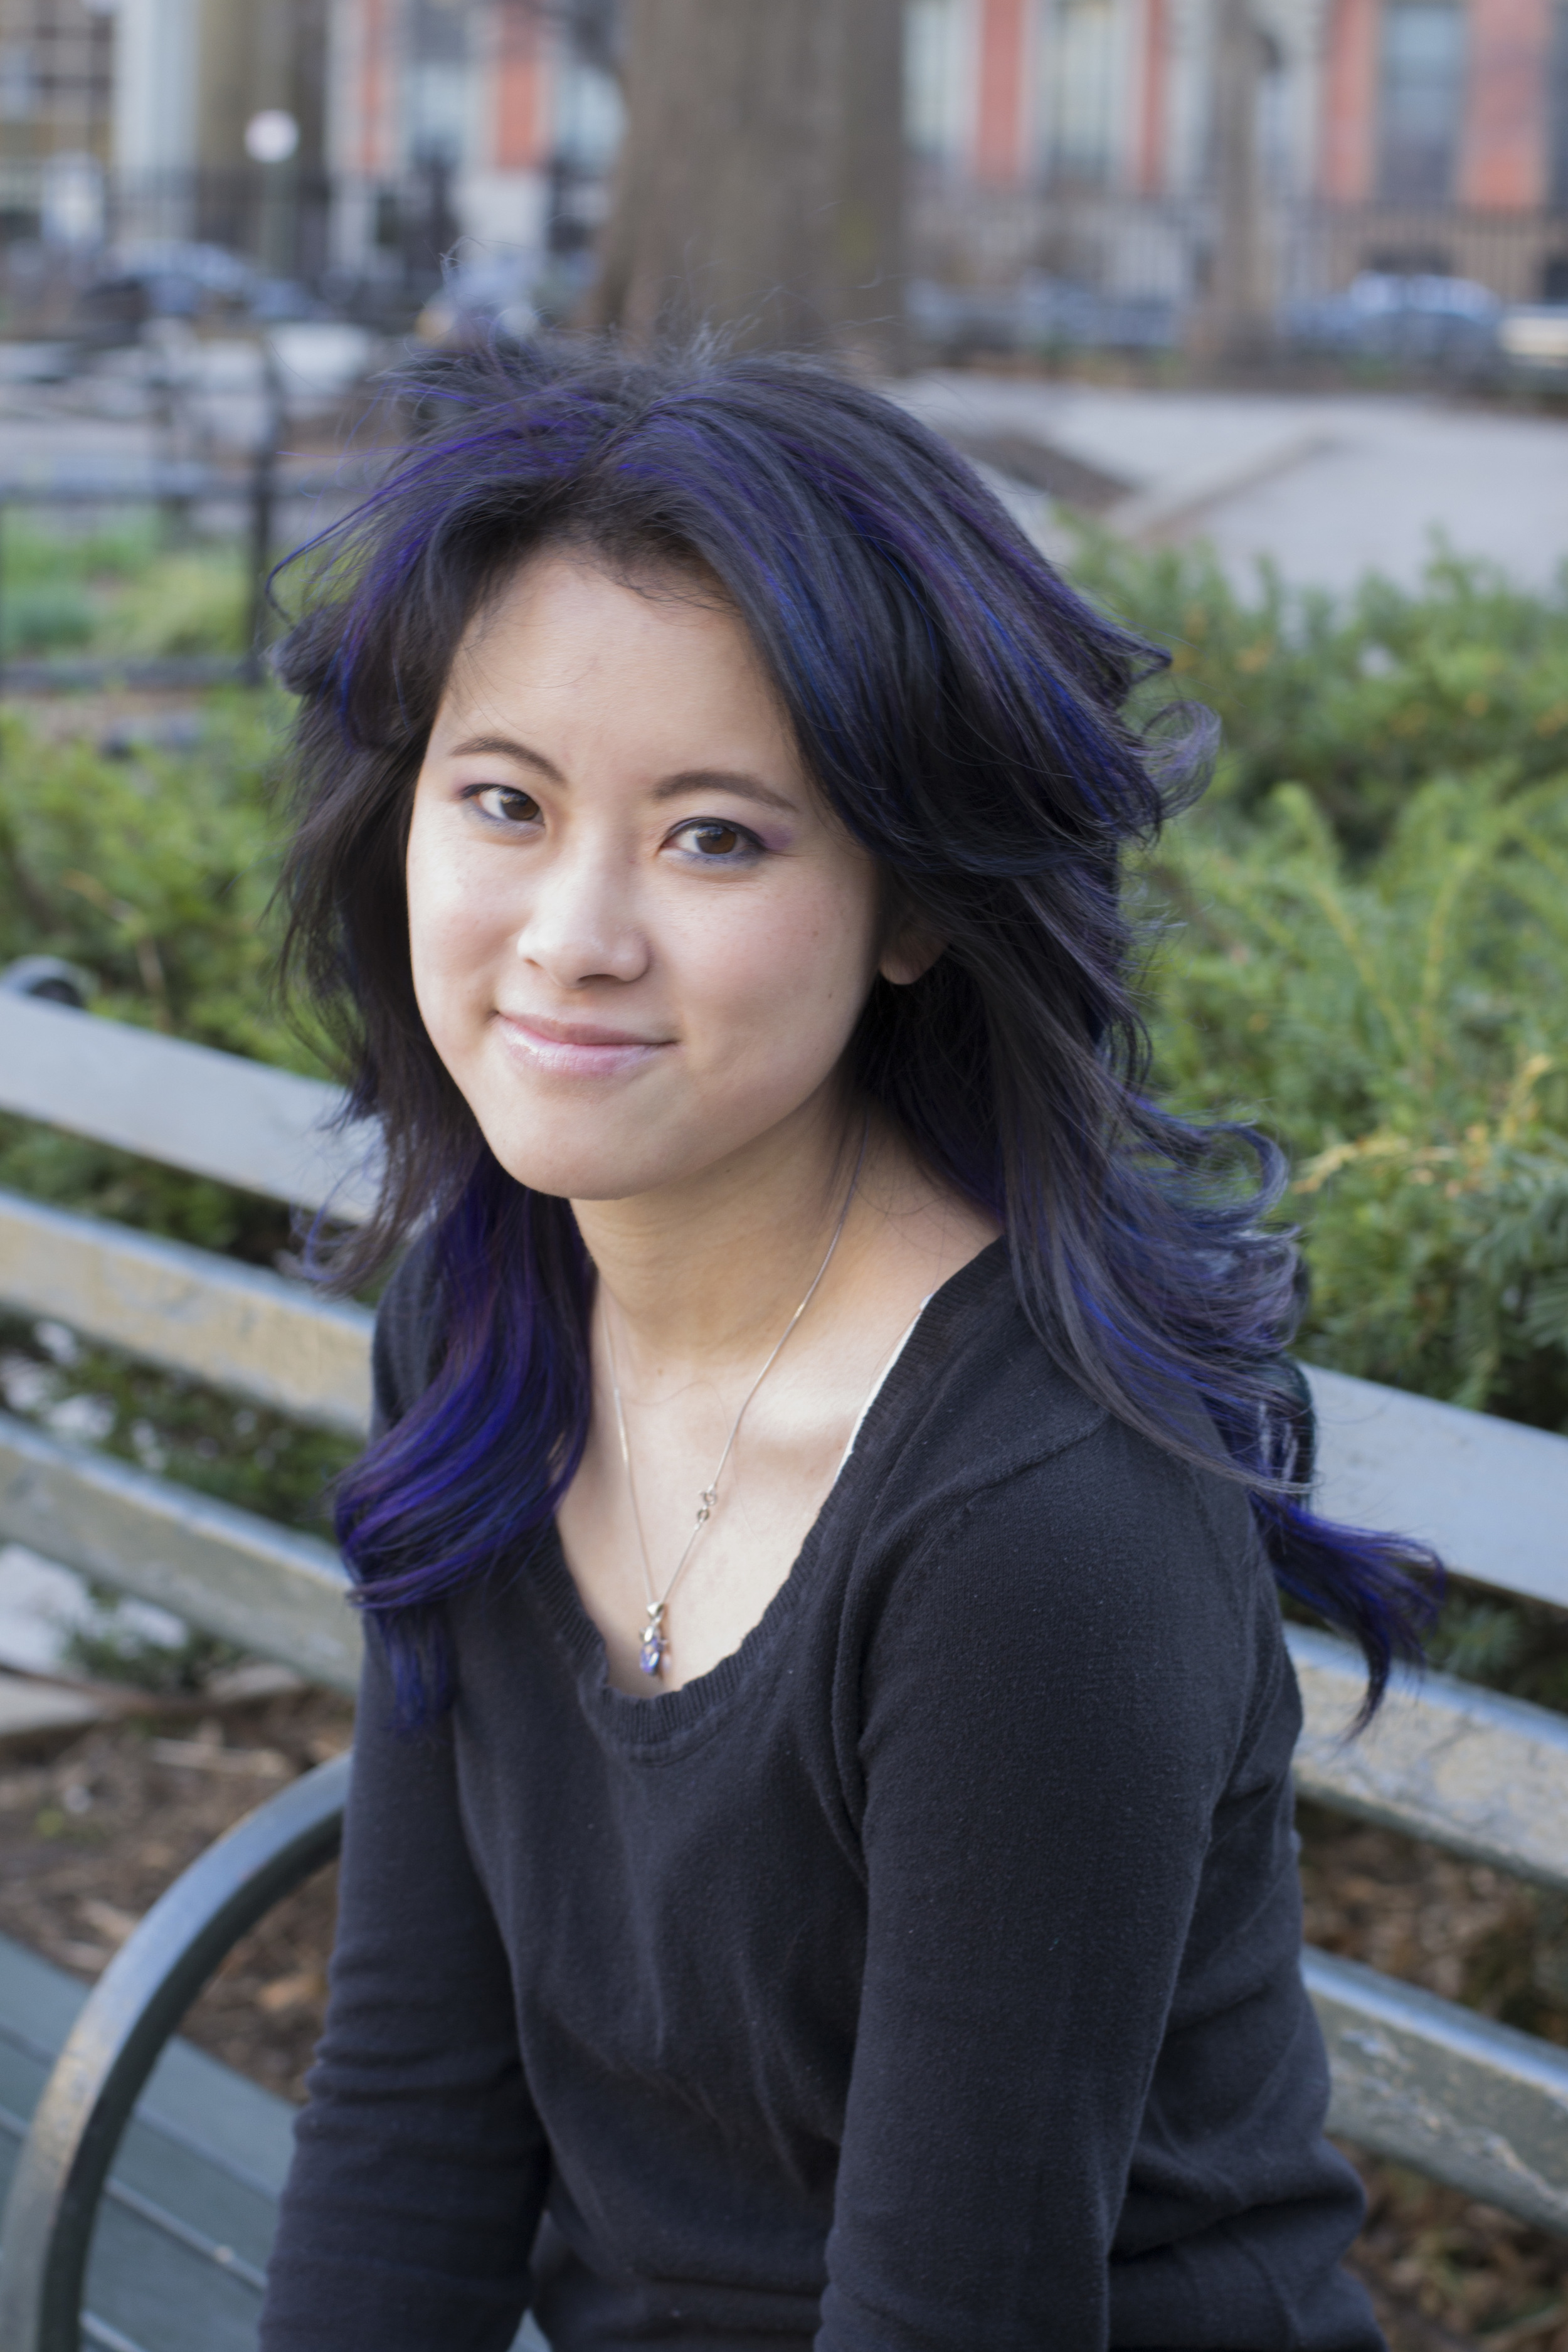
 F/2.0 | 1/250 | ISO 100
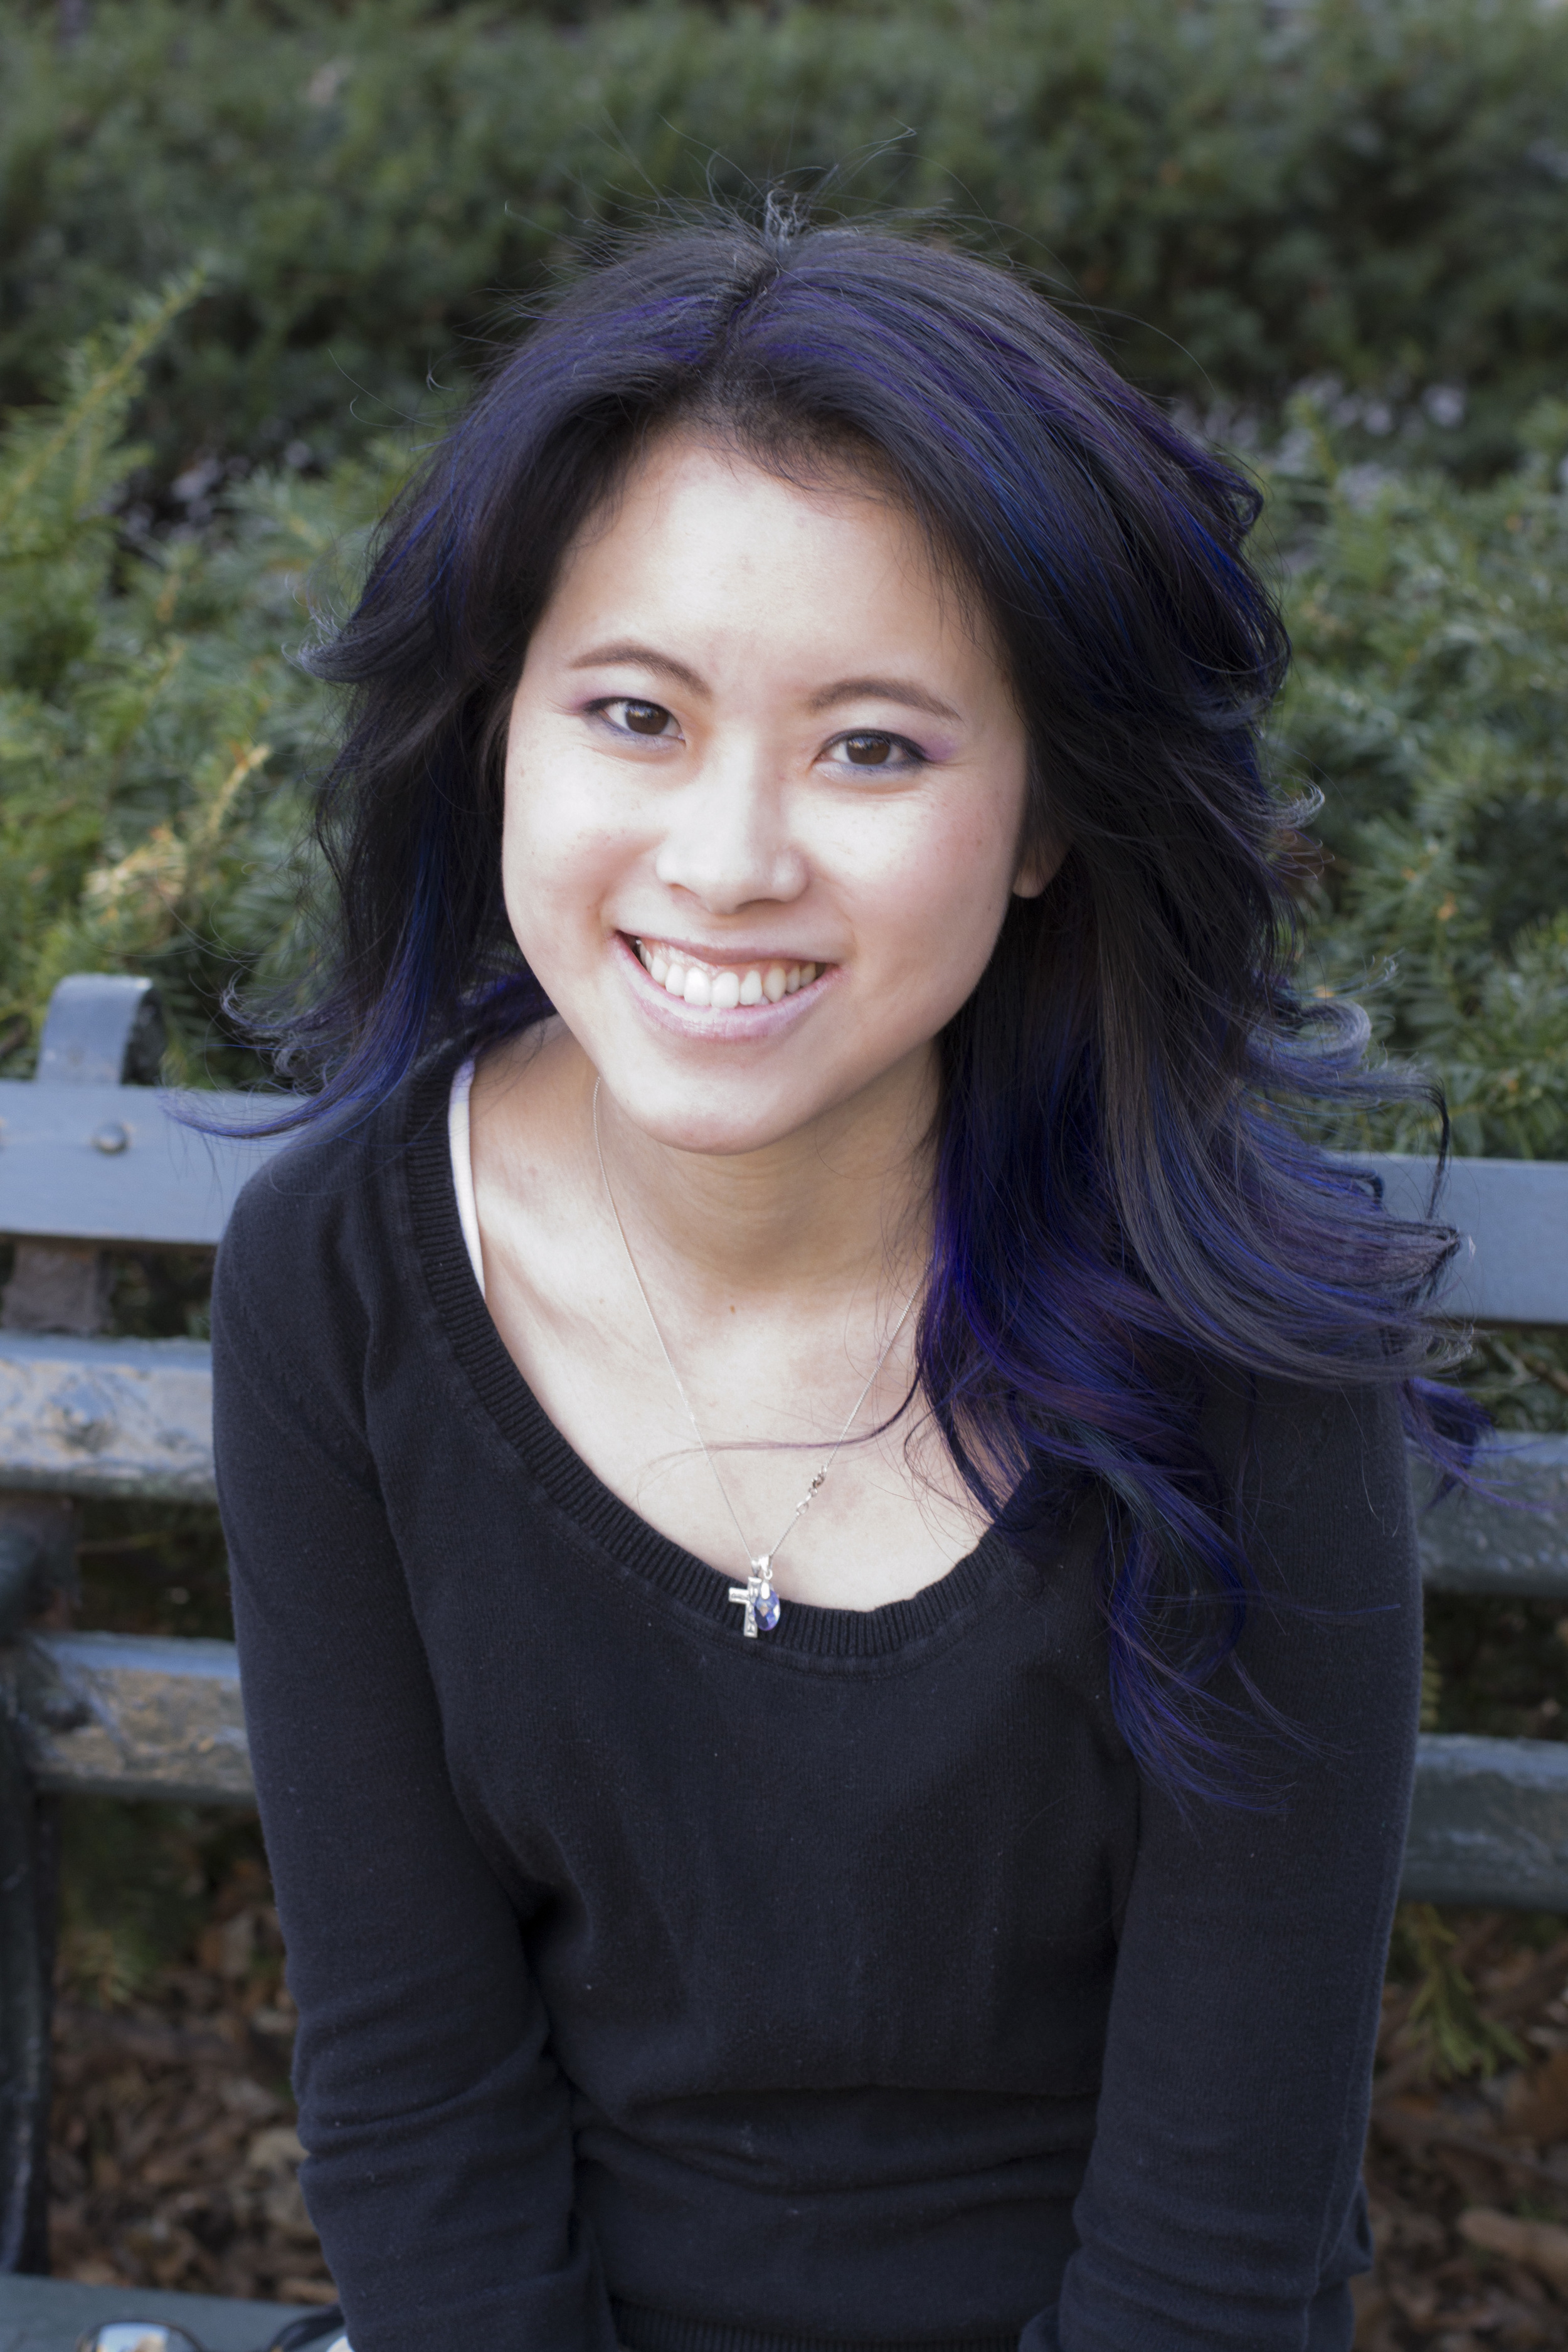
 F/4.0 | 1/60 | ISO 1600 (this was shot indoors)
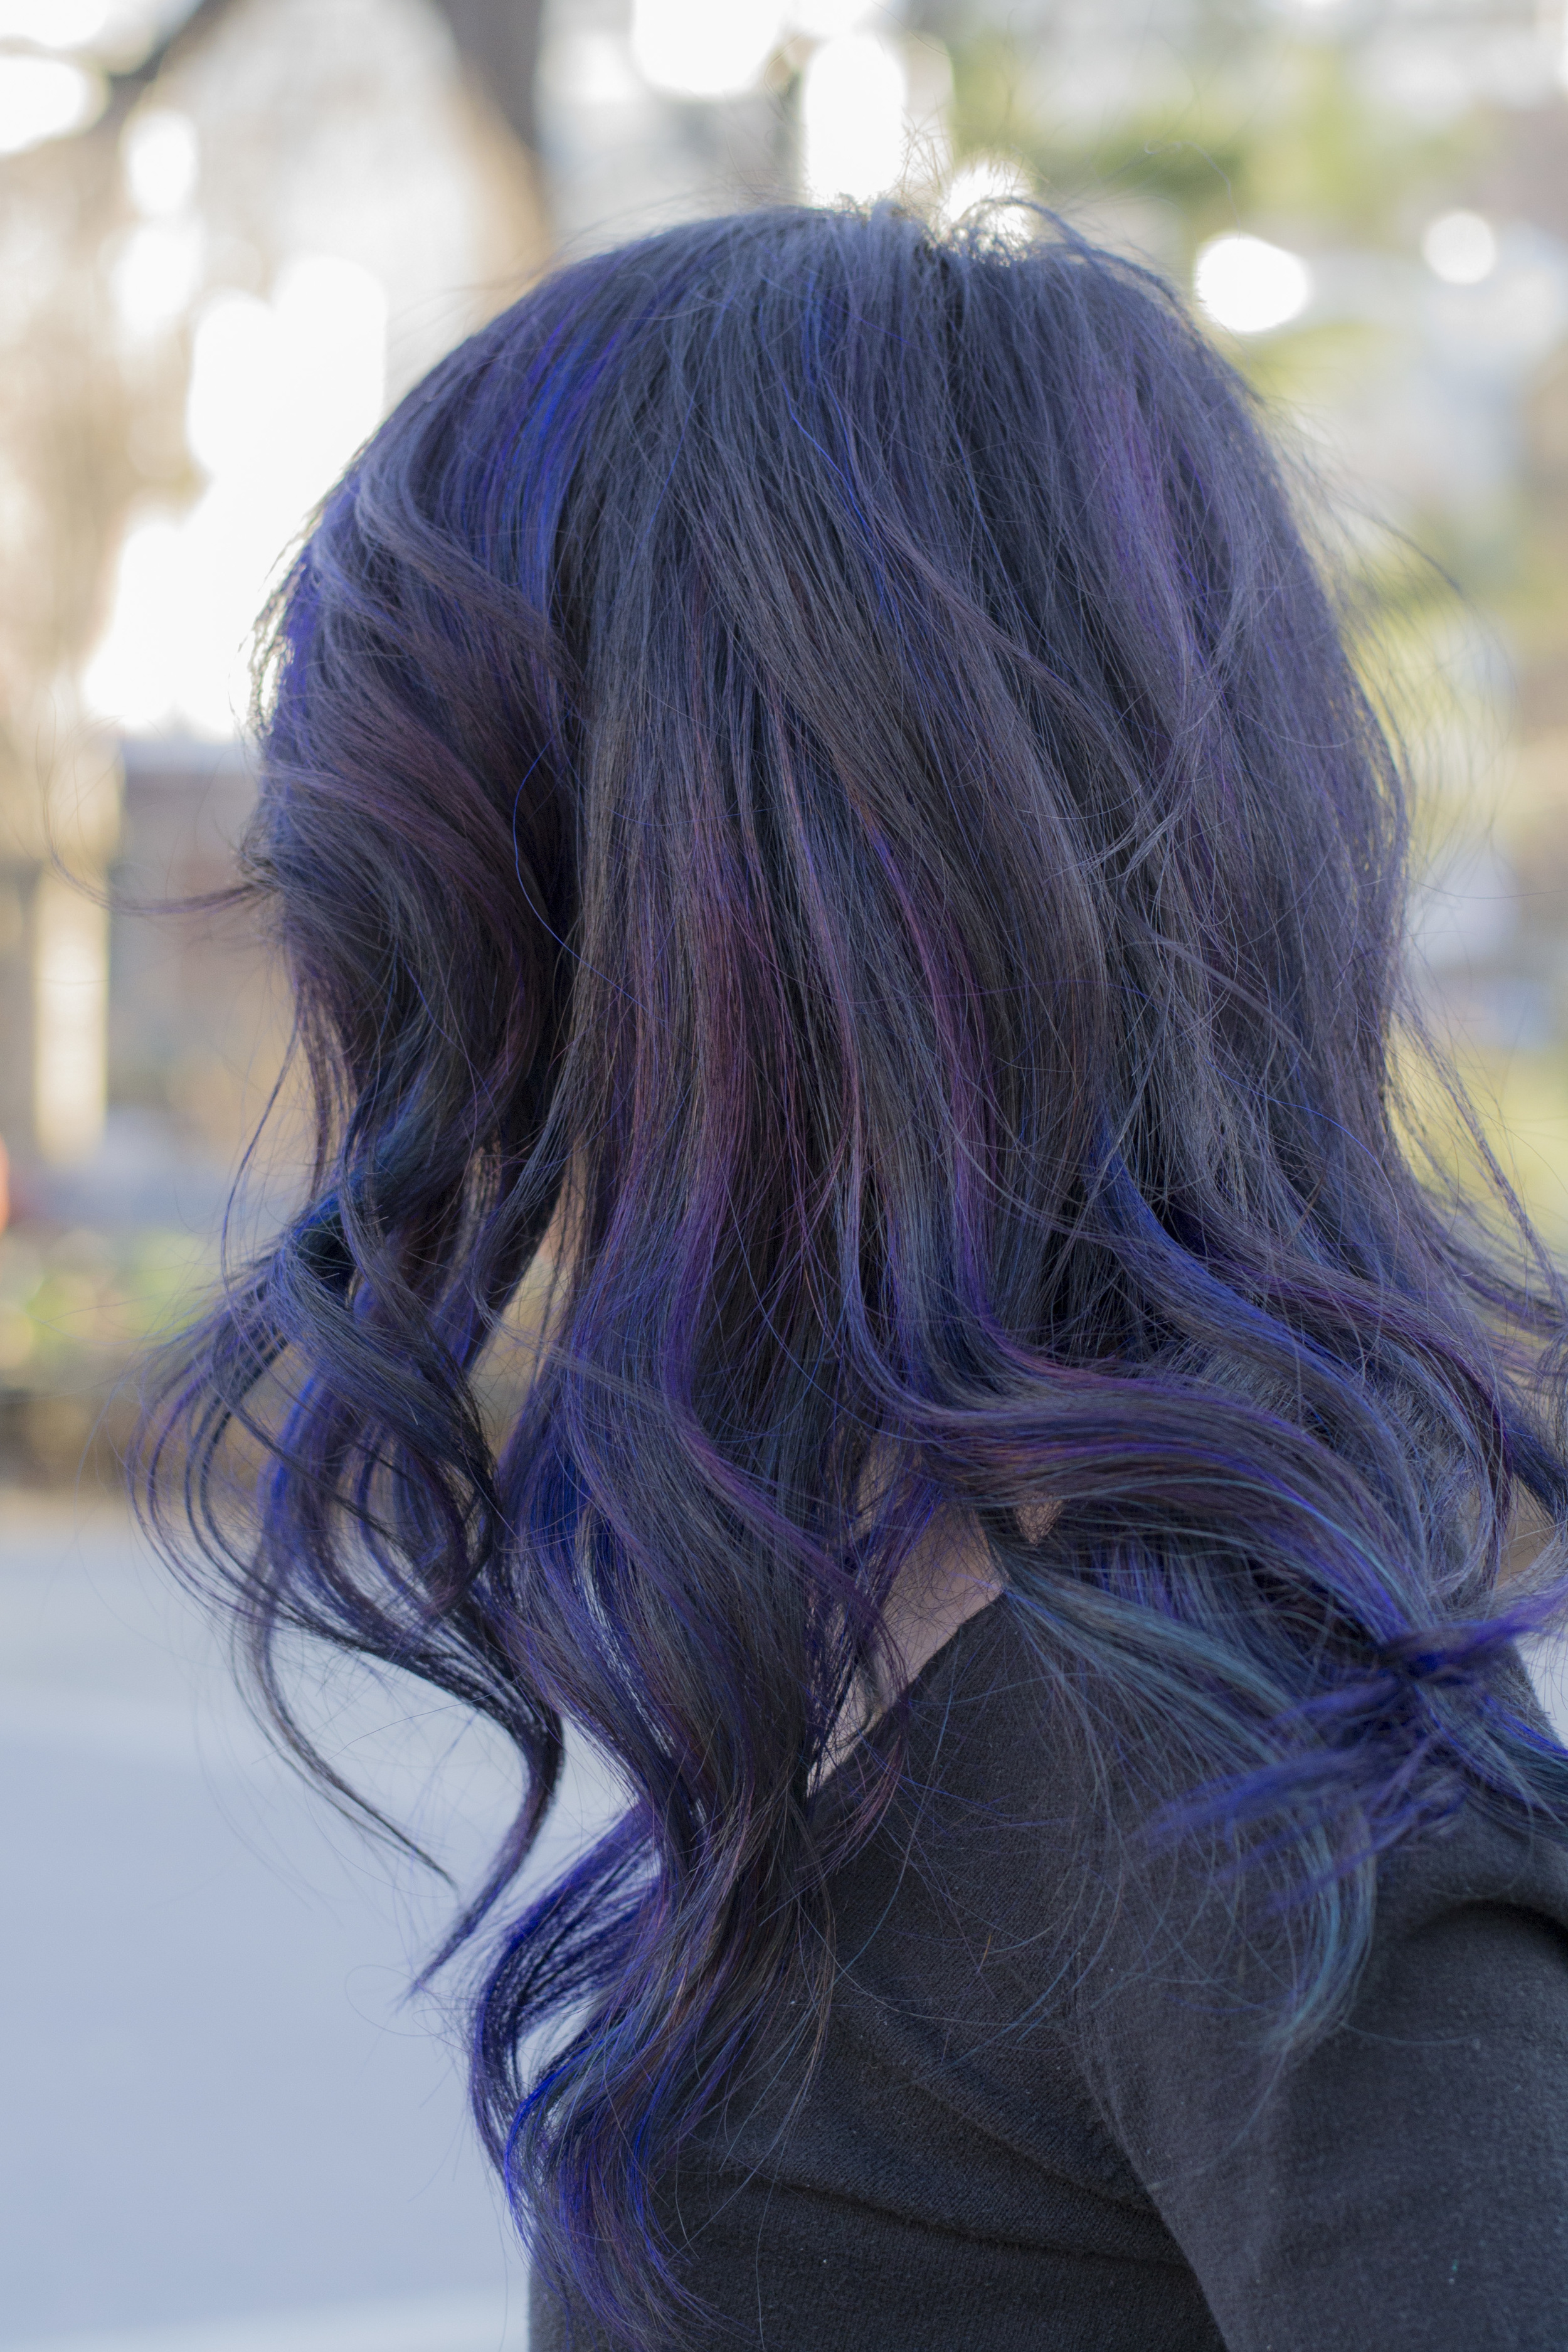
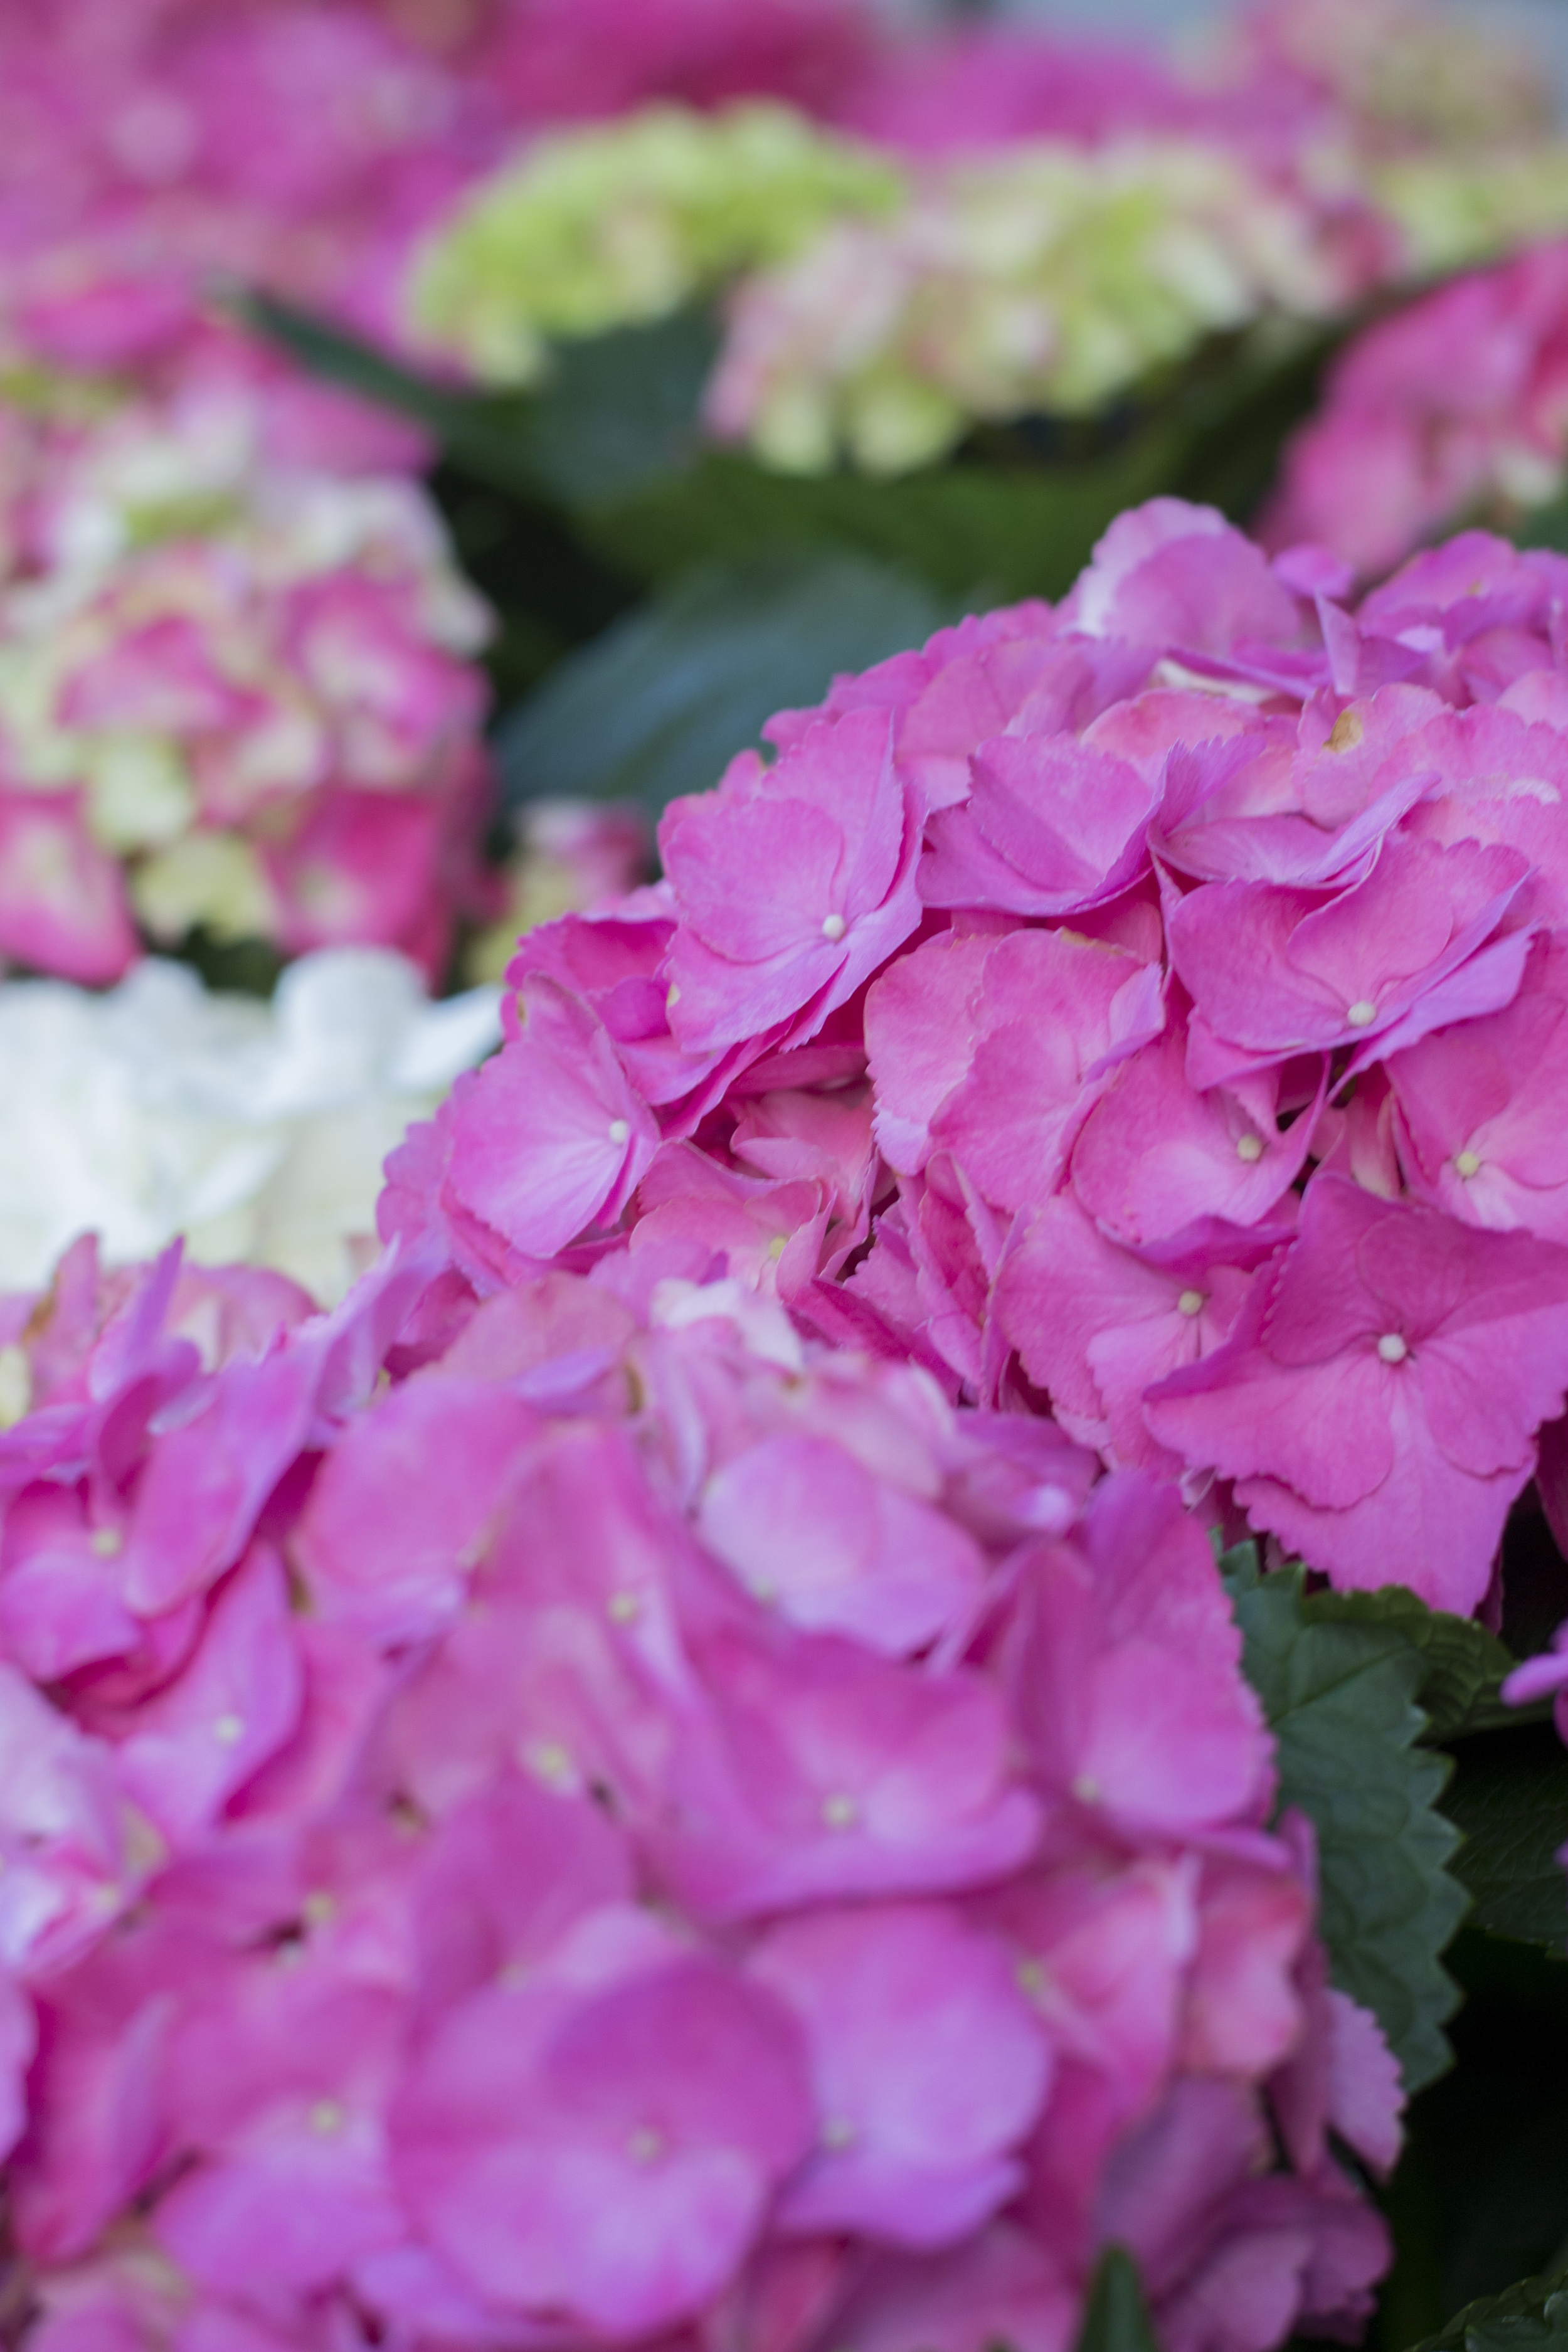
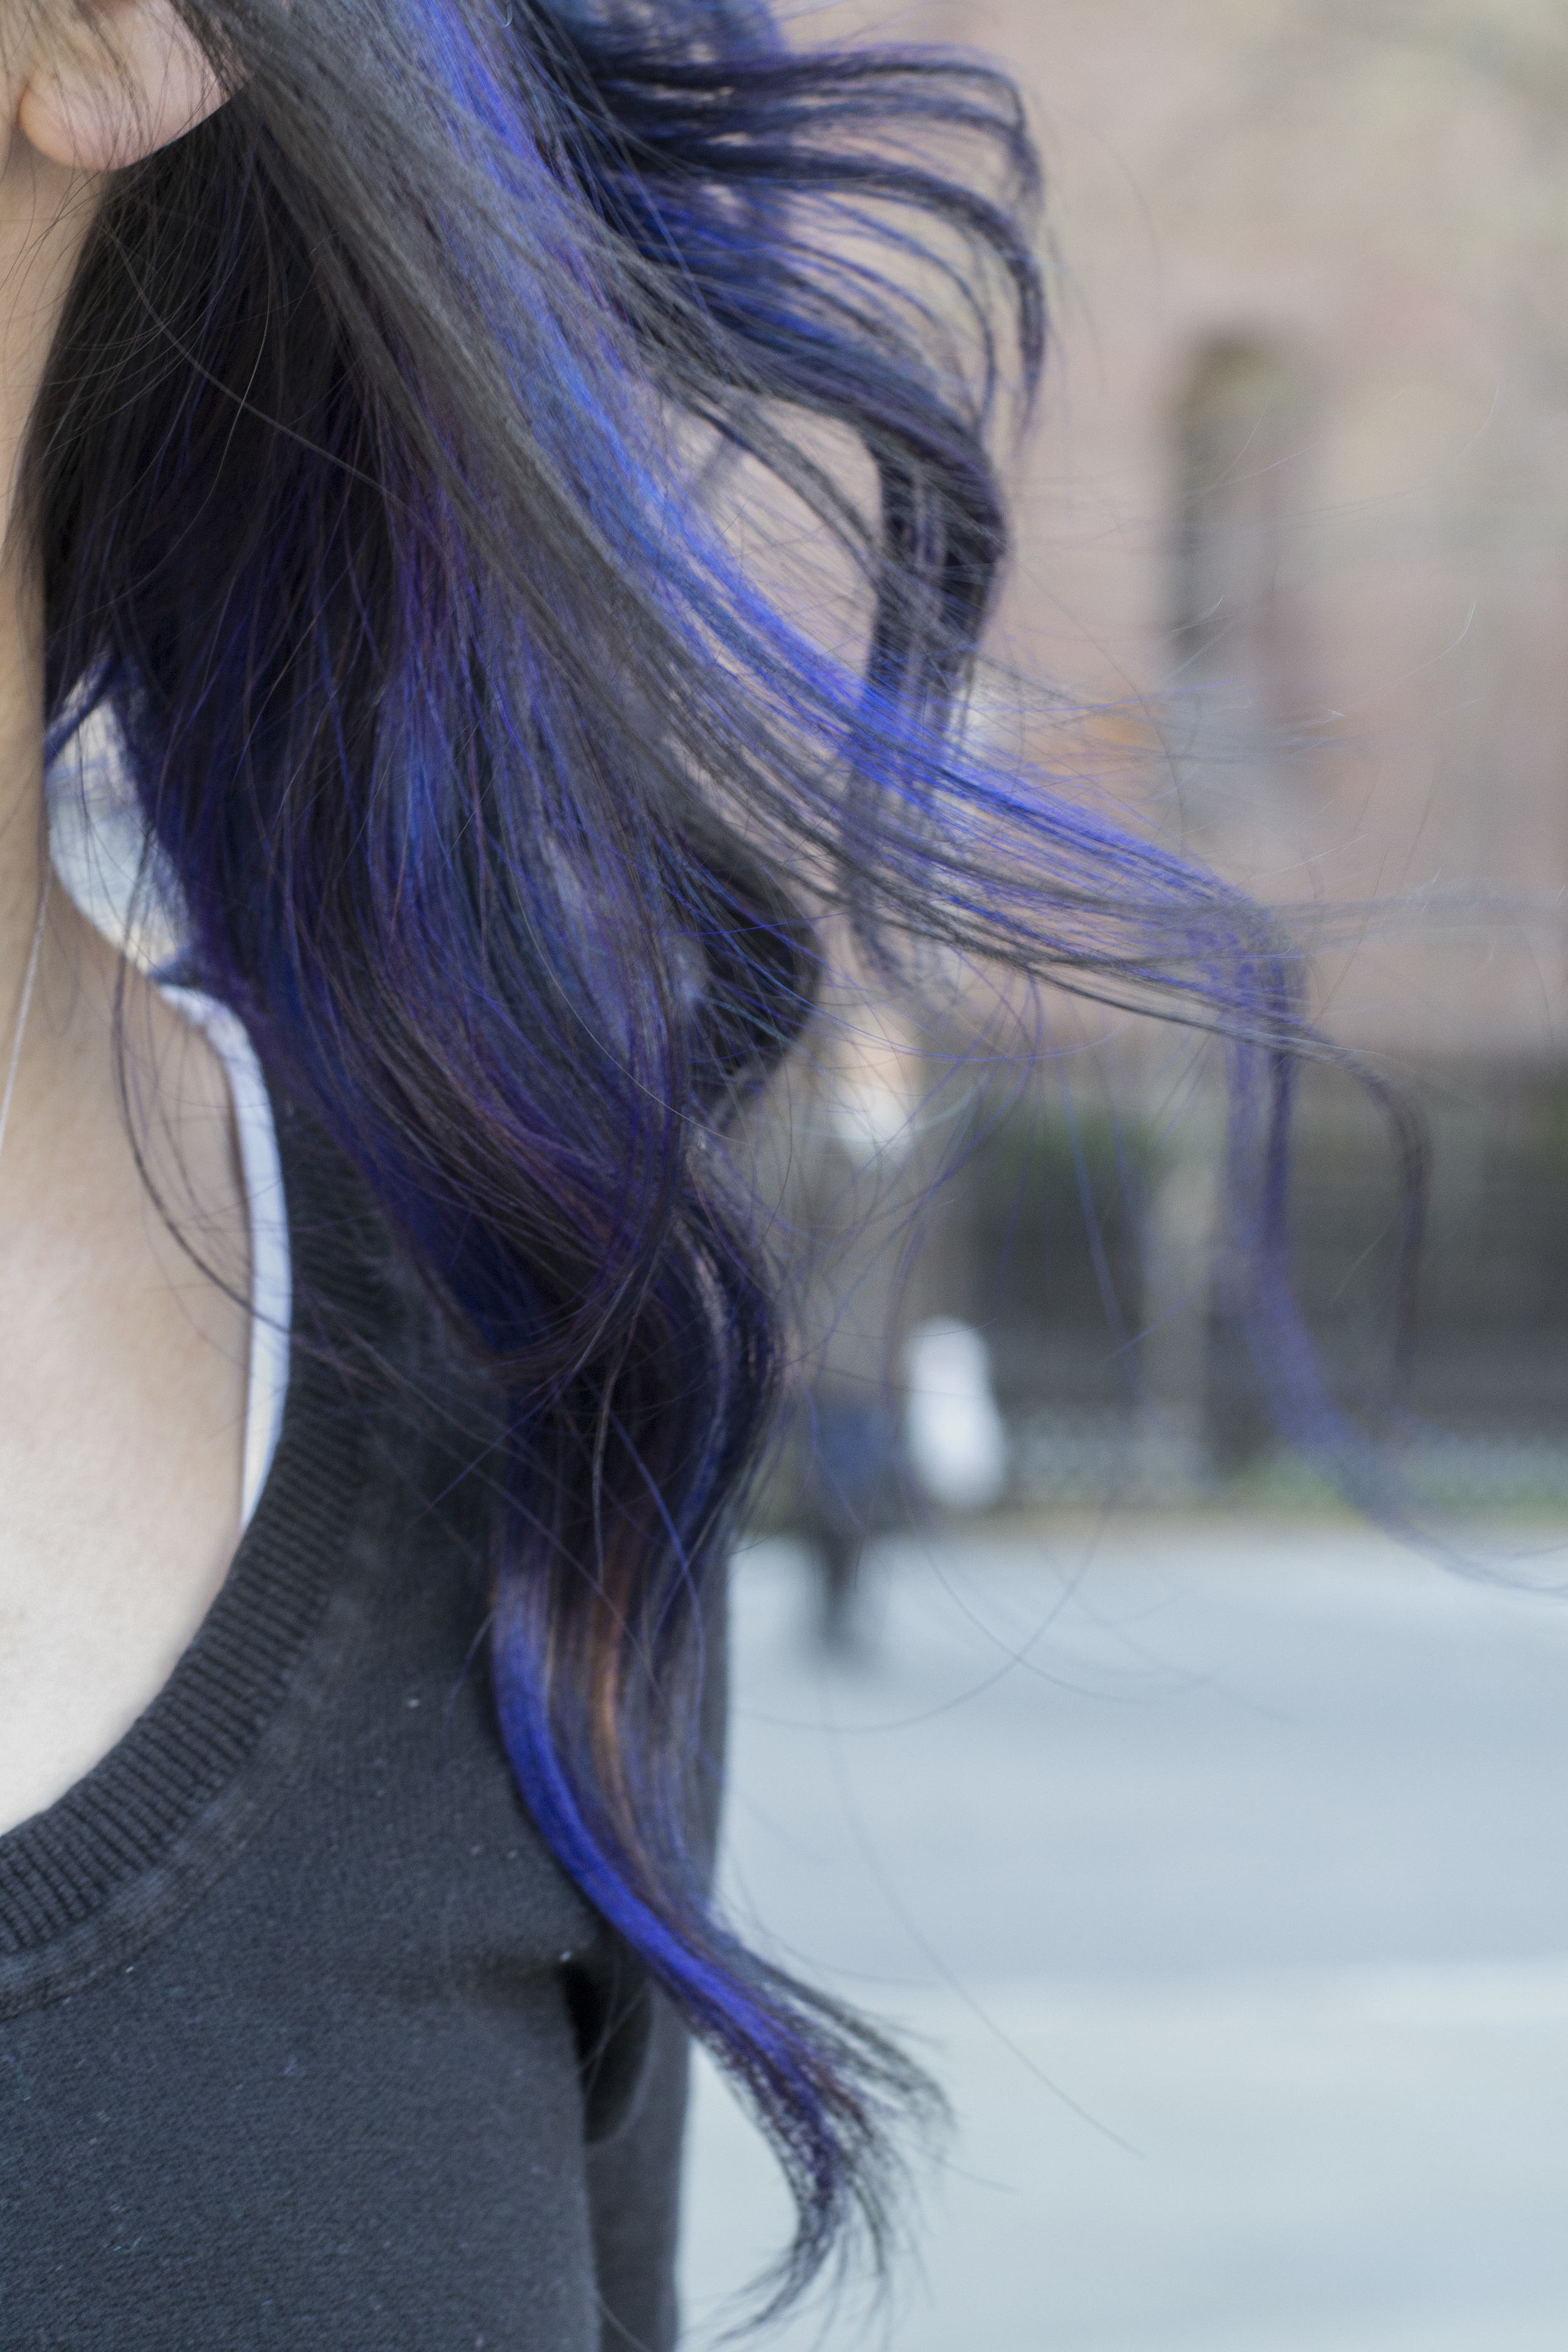
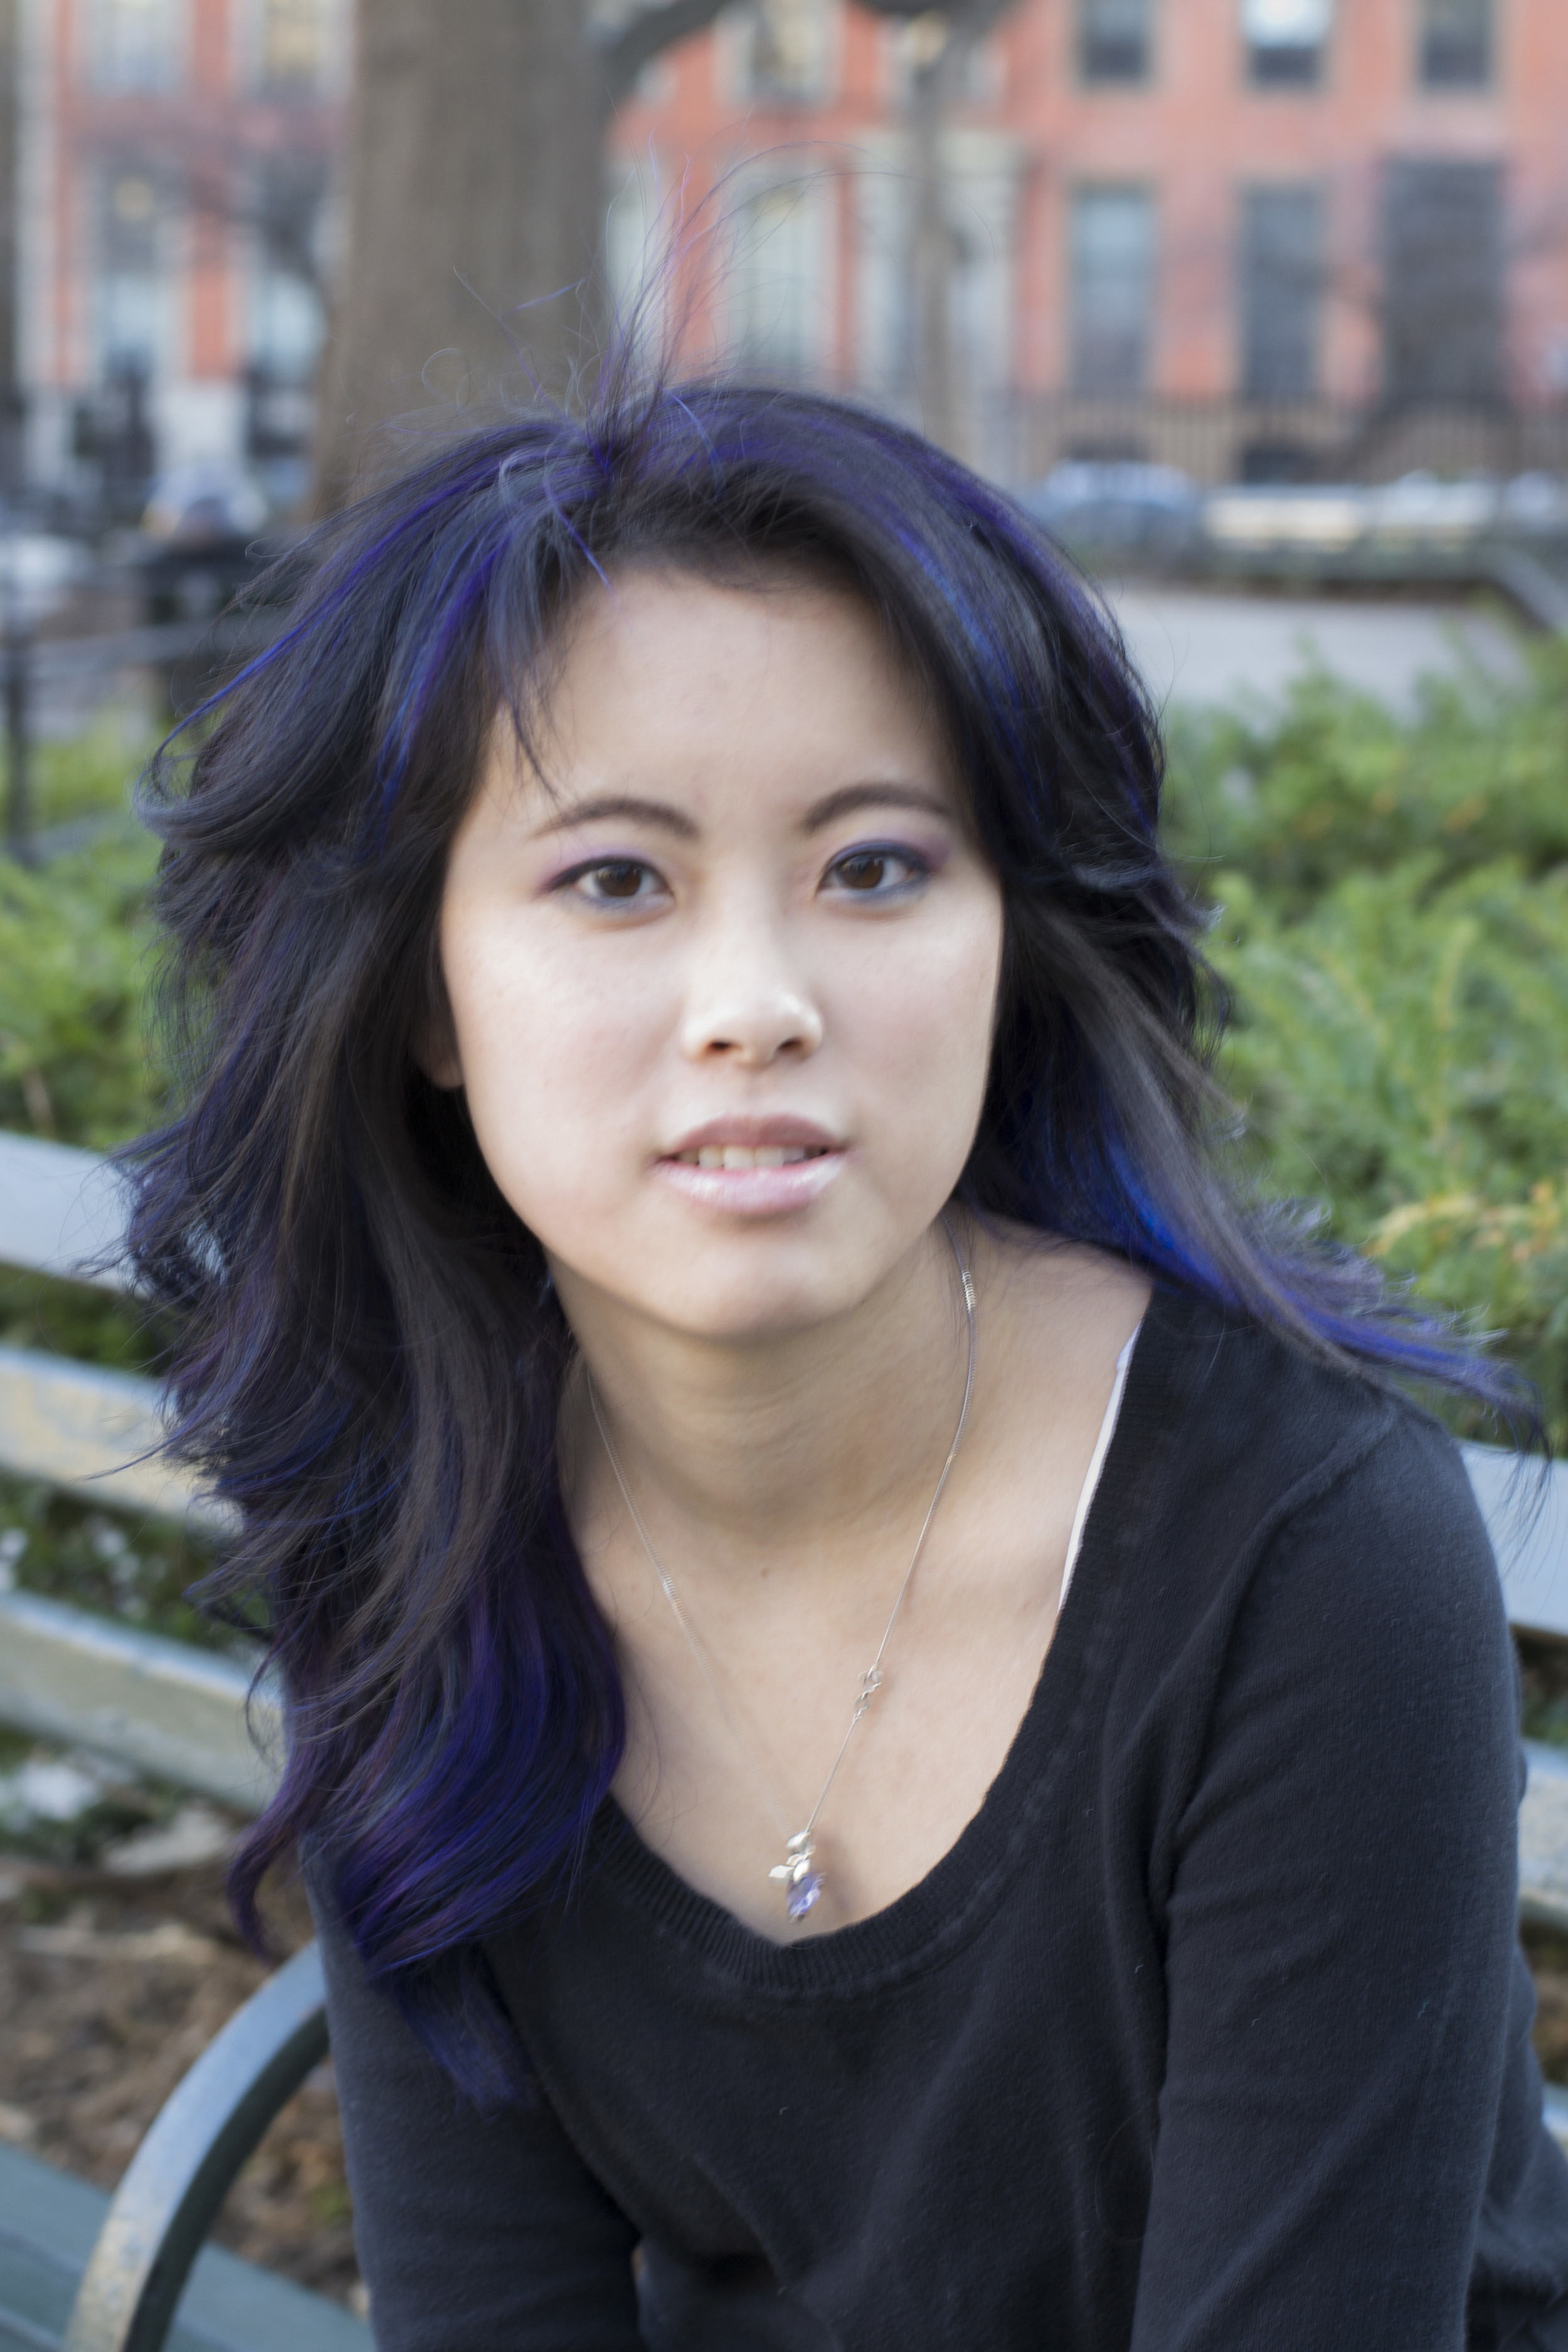
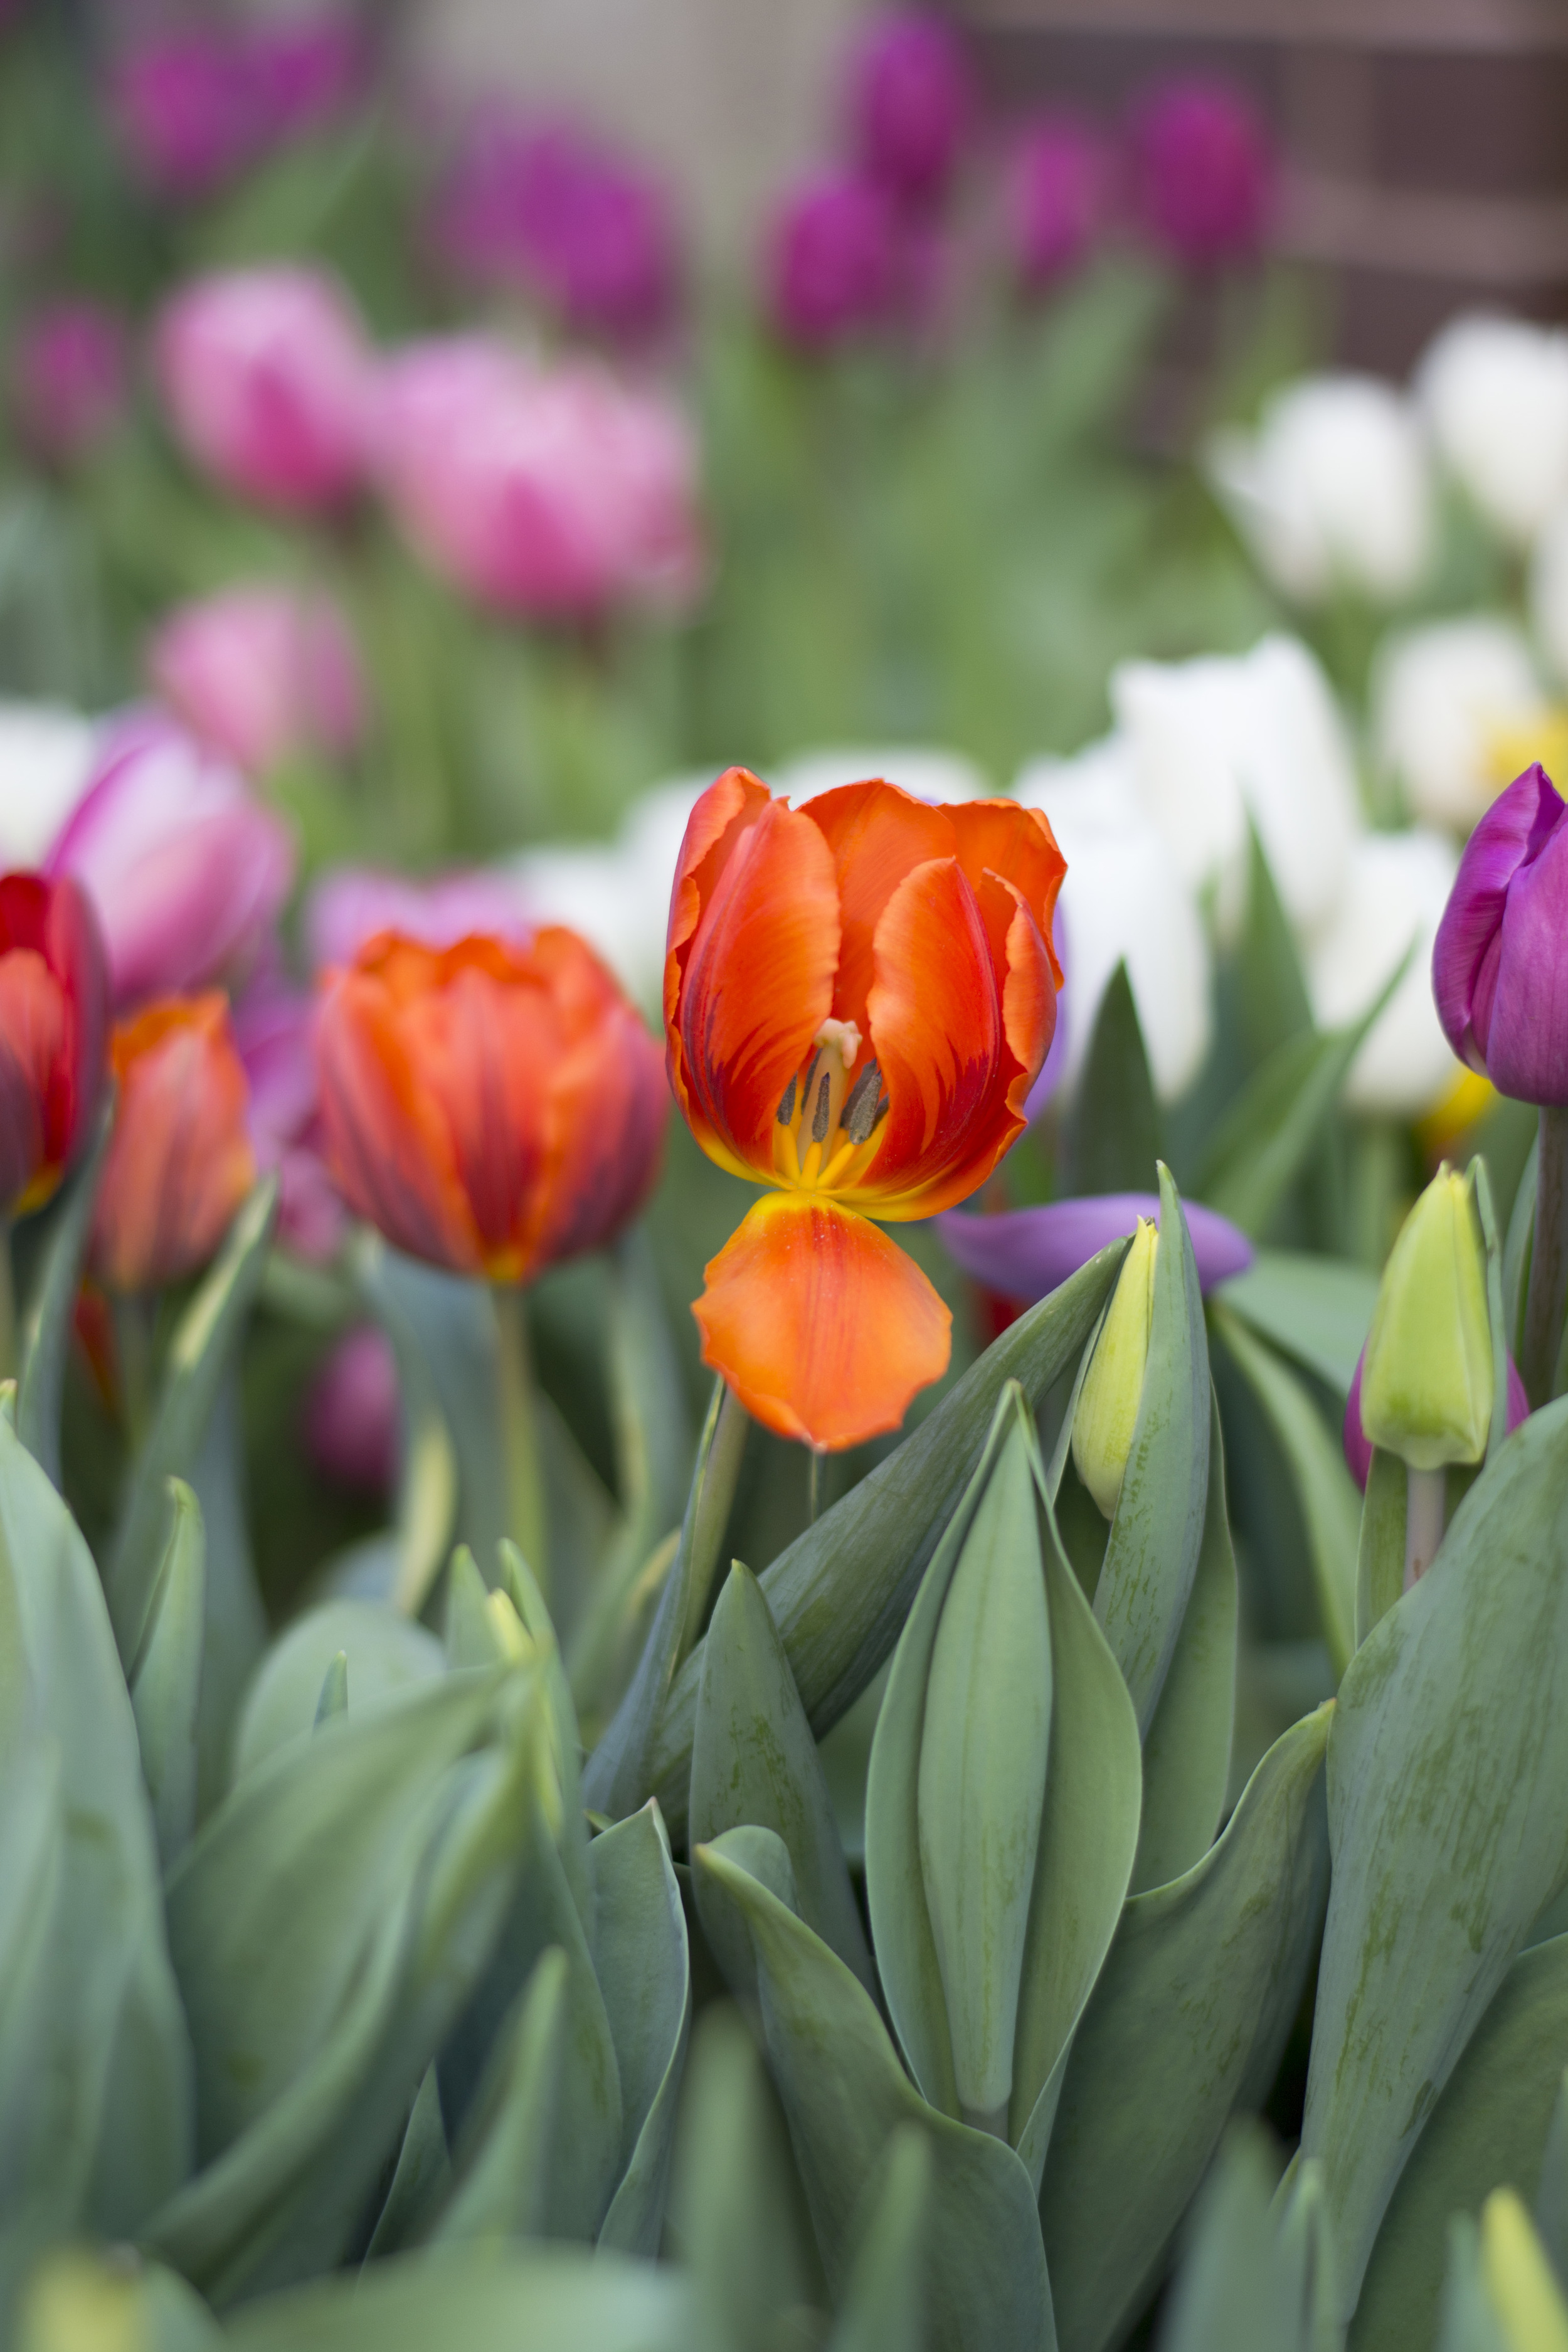
 F3.5 | 1/1000 | ISO1600
(Clearly the ISO was a leftover setting and for some reason I decided to compensate with the shutterspeed..the reverse would probably have made more sense)
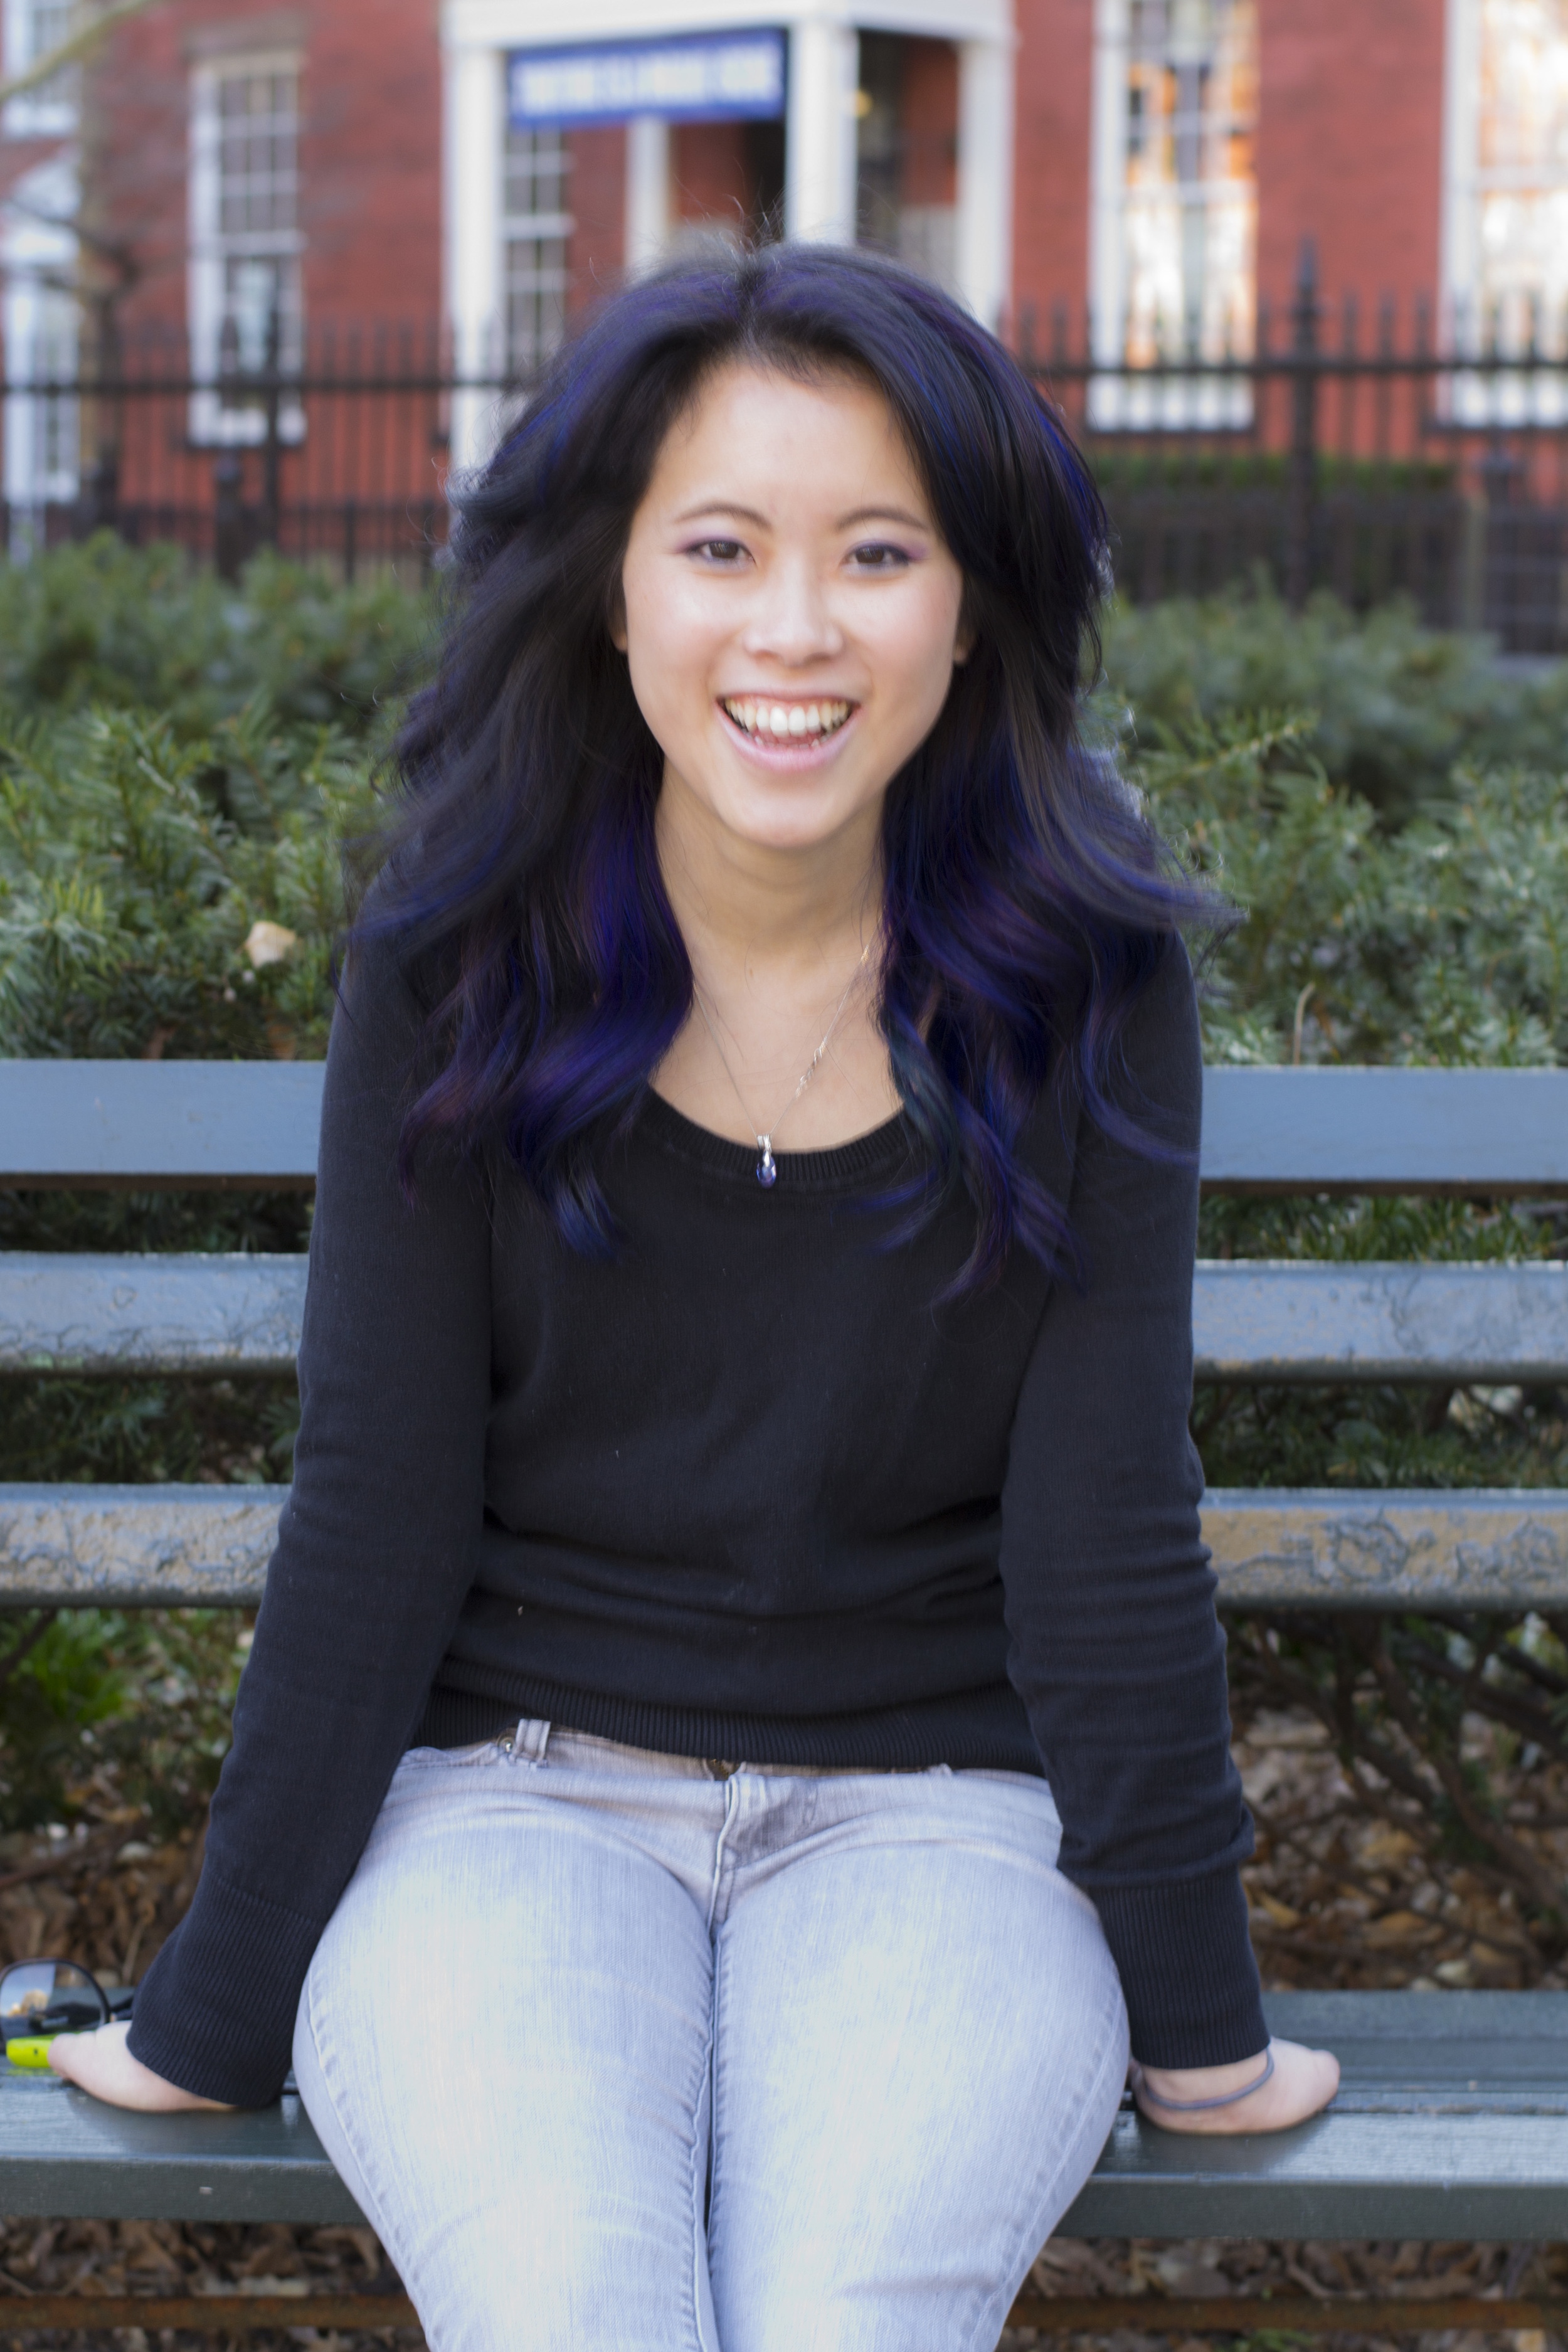
F3.5 | 1/1000 | ISO1600
(Clearly the ISO was a leftover setting and for some reason I decided to compensate with the shutterspeed..the reverse would probably have made more sense)