baking

(Pinterest) Failing for 100 Posts and 100 More by Amanda Liew

20150412_0003_pinterest-fail.jpg

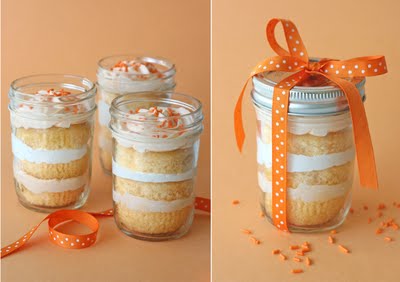
As my post count has been ticking closer and closer to 100, I've been mulling for weeks over what I wanted to feature. Did I want to highlight something aesthetically beautiful like my recent brunch at Laduree? Or perhaps showcase a men's fashion shoot in Chelsea and talk about my developments as a photographer? Nothing felt quite right until last week, though, when I experienced the most hilarious Pinterest fail of my life trying to make cute mason jar cupcakes. After seeing pictures like the below from Cookies and Cups, I thought it would be the perfect thing to send across the country to my "little sister" Kiersten for her birthday and my dear friend Maddie who is an MD Martha Stewart of sorts.
Orange+cupakes+side+by+side

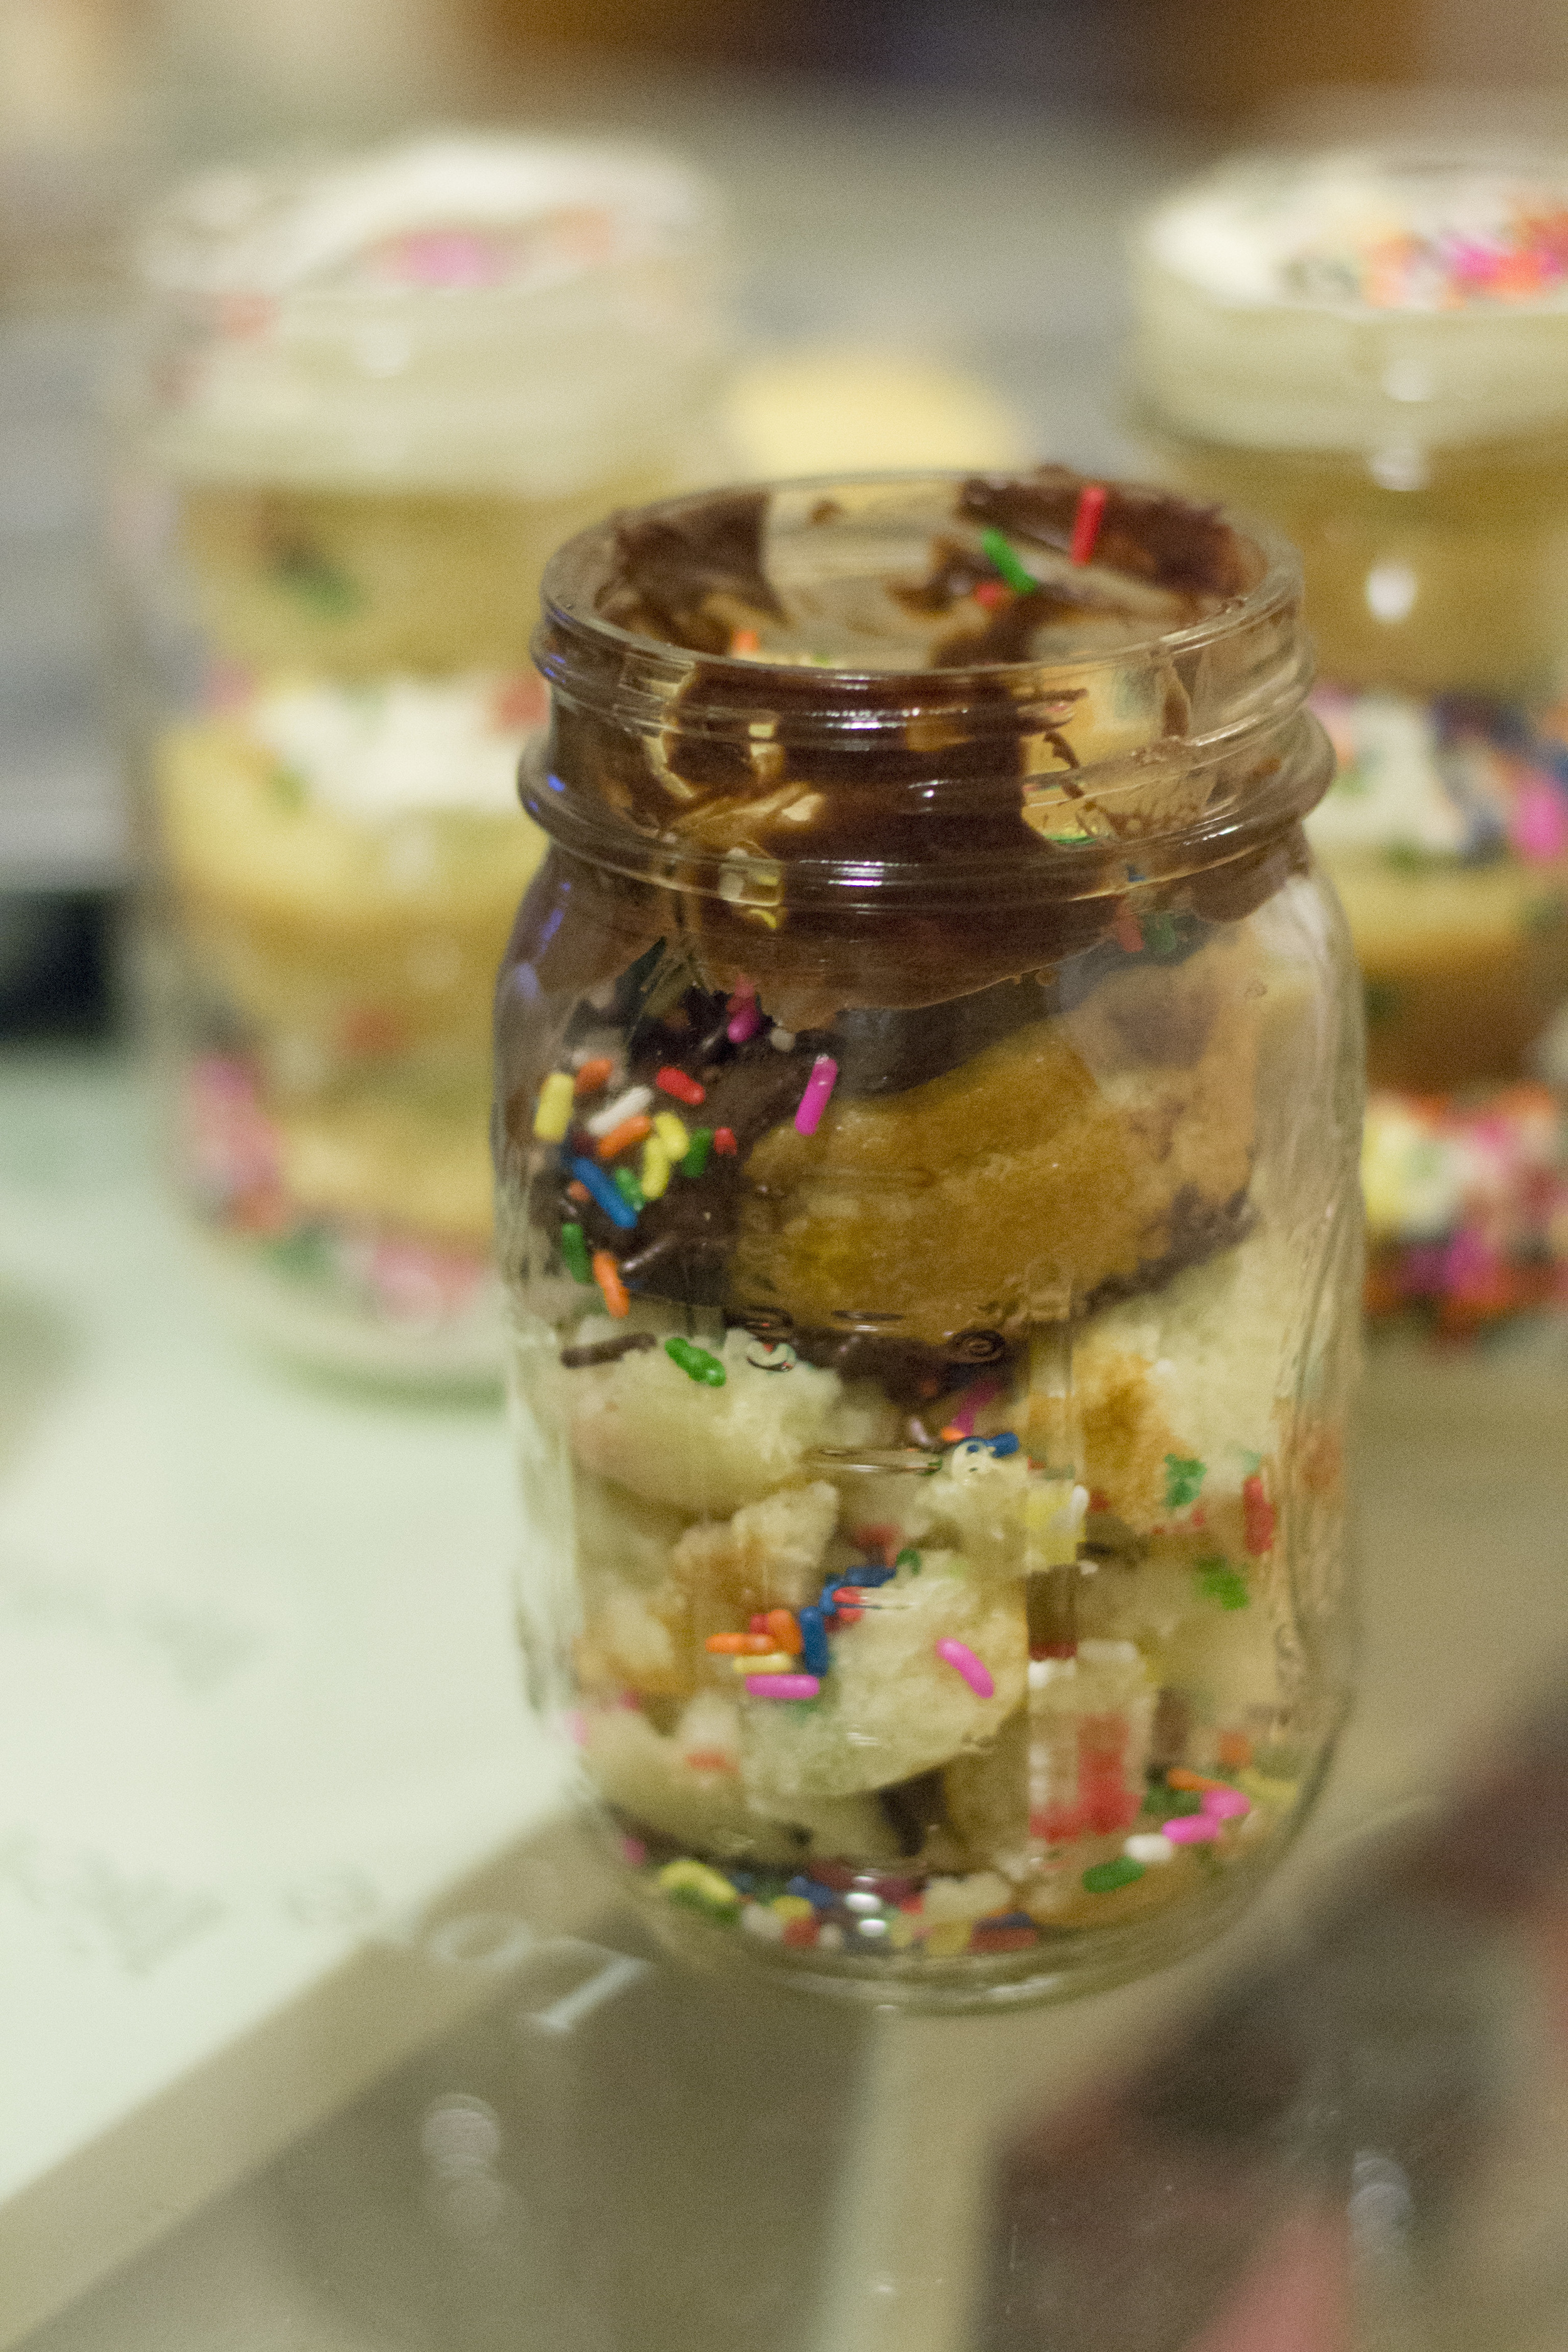
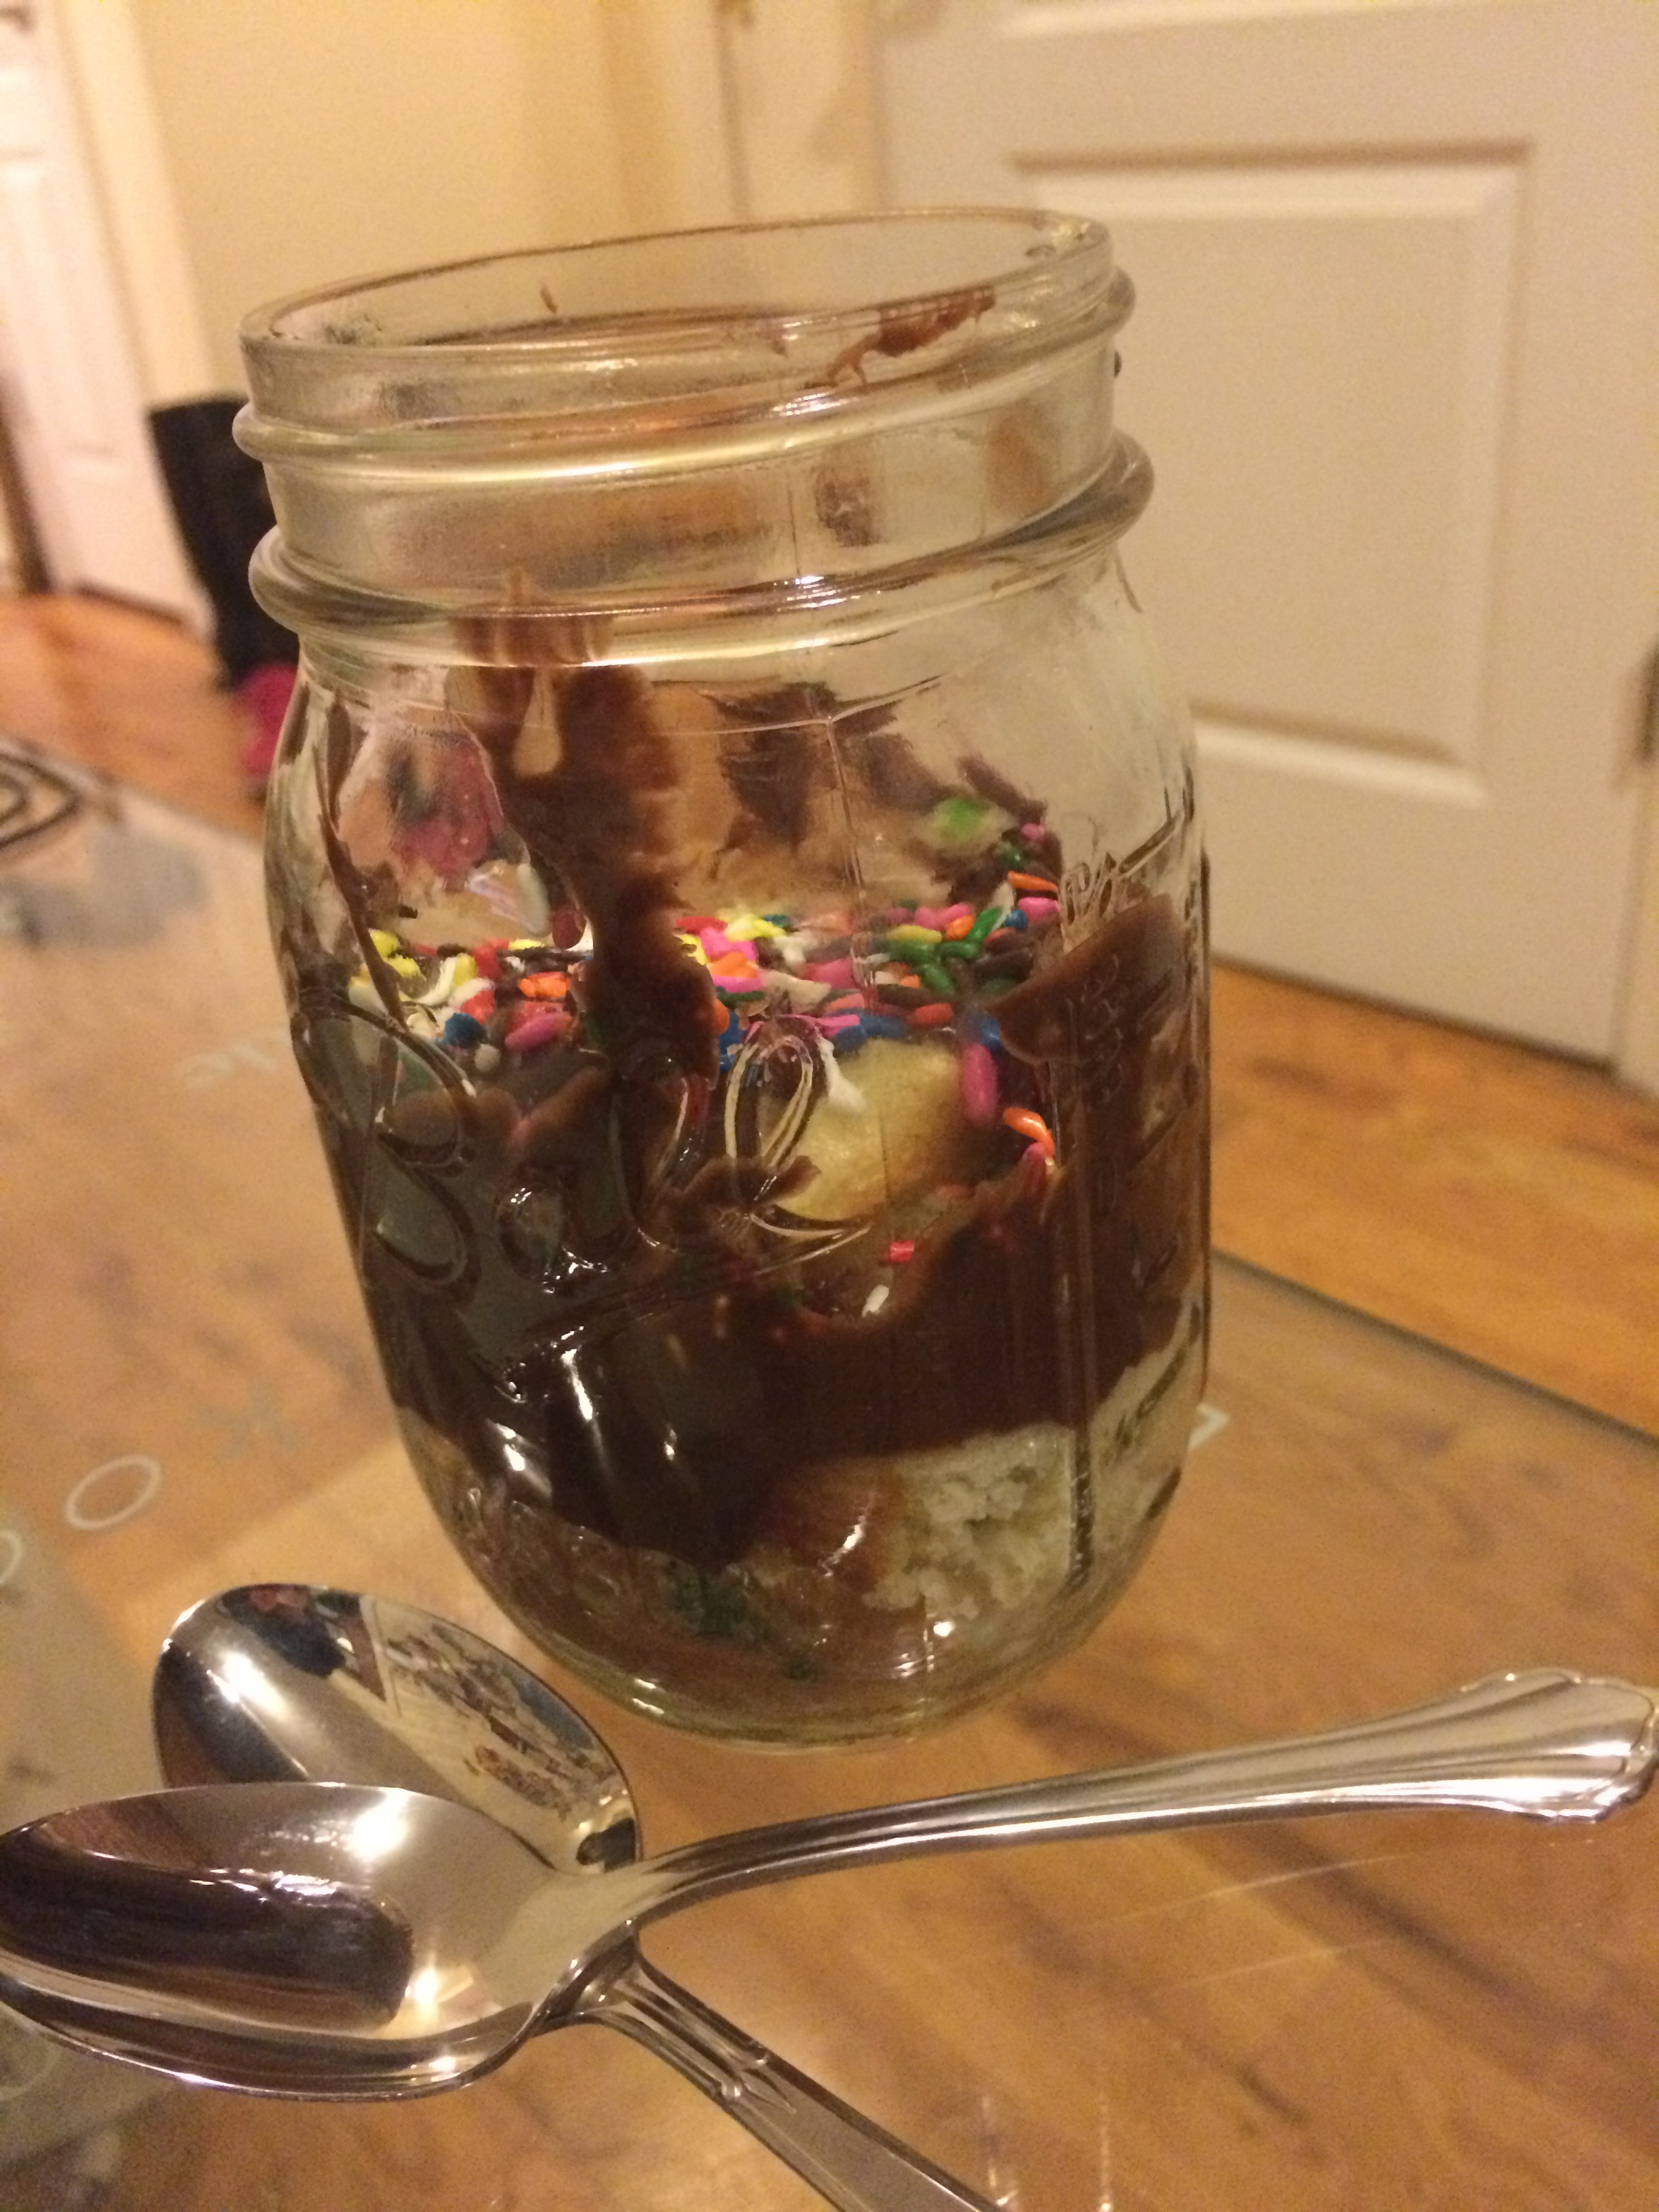
So how did they start out? Not so hot. Photo 120150412_0006_Pinterest FailFortunately, my friends Janet and Kevin were over to "help out" (ie eat the ugly ones) and let's just say they were eating a LOT. We were laughing so hard at how hideous the jars looked (chocolate frosting smudged on glass isn't that appetizing...) and also how difficult it was. We tried so many different methods - putting the cake in first then adding frosting (resulted in smudging), frosting the cake first then plopping it in (half of them flipped over), tearing up the cupcake to fill out more of the bottom (it looked stupid). All the while I'm simultaneously crying and laughing at just how epic of a fail it all was. Finally, finally I thought I had mastered the process! In my pride and glory, I even whipped out my DSLR to get a good shot, dreaming of how this would be blown up on Pinterest boards. I would write my blog post full of tips (dollop of frosting and sprinkles at the bottom, frost only the middle of the cupcake avoiding the edges, lower it in with chopsticks, repeat, and then add a solid layer of frosting at the top), and it would be a fantastic addition to my food section! 20150412_0004_Pinterest Fail
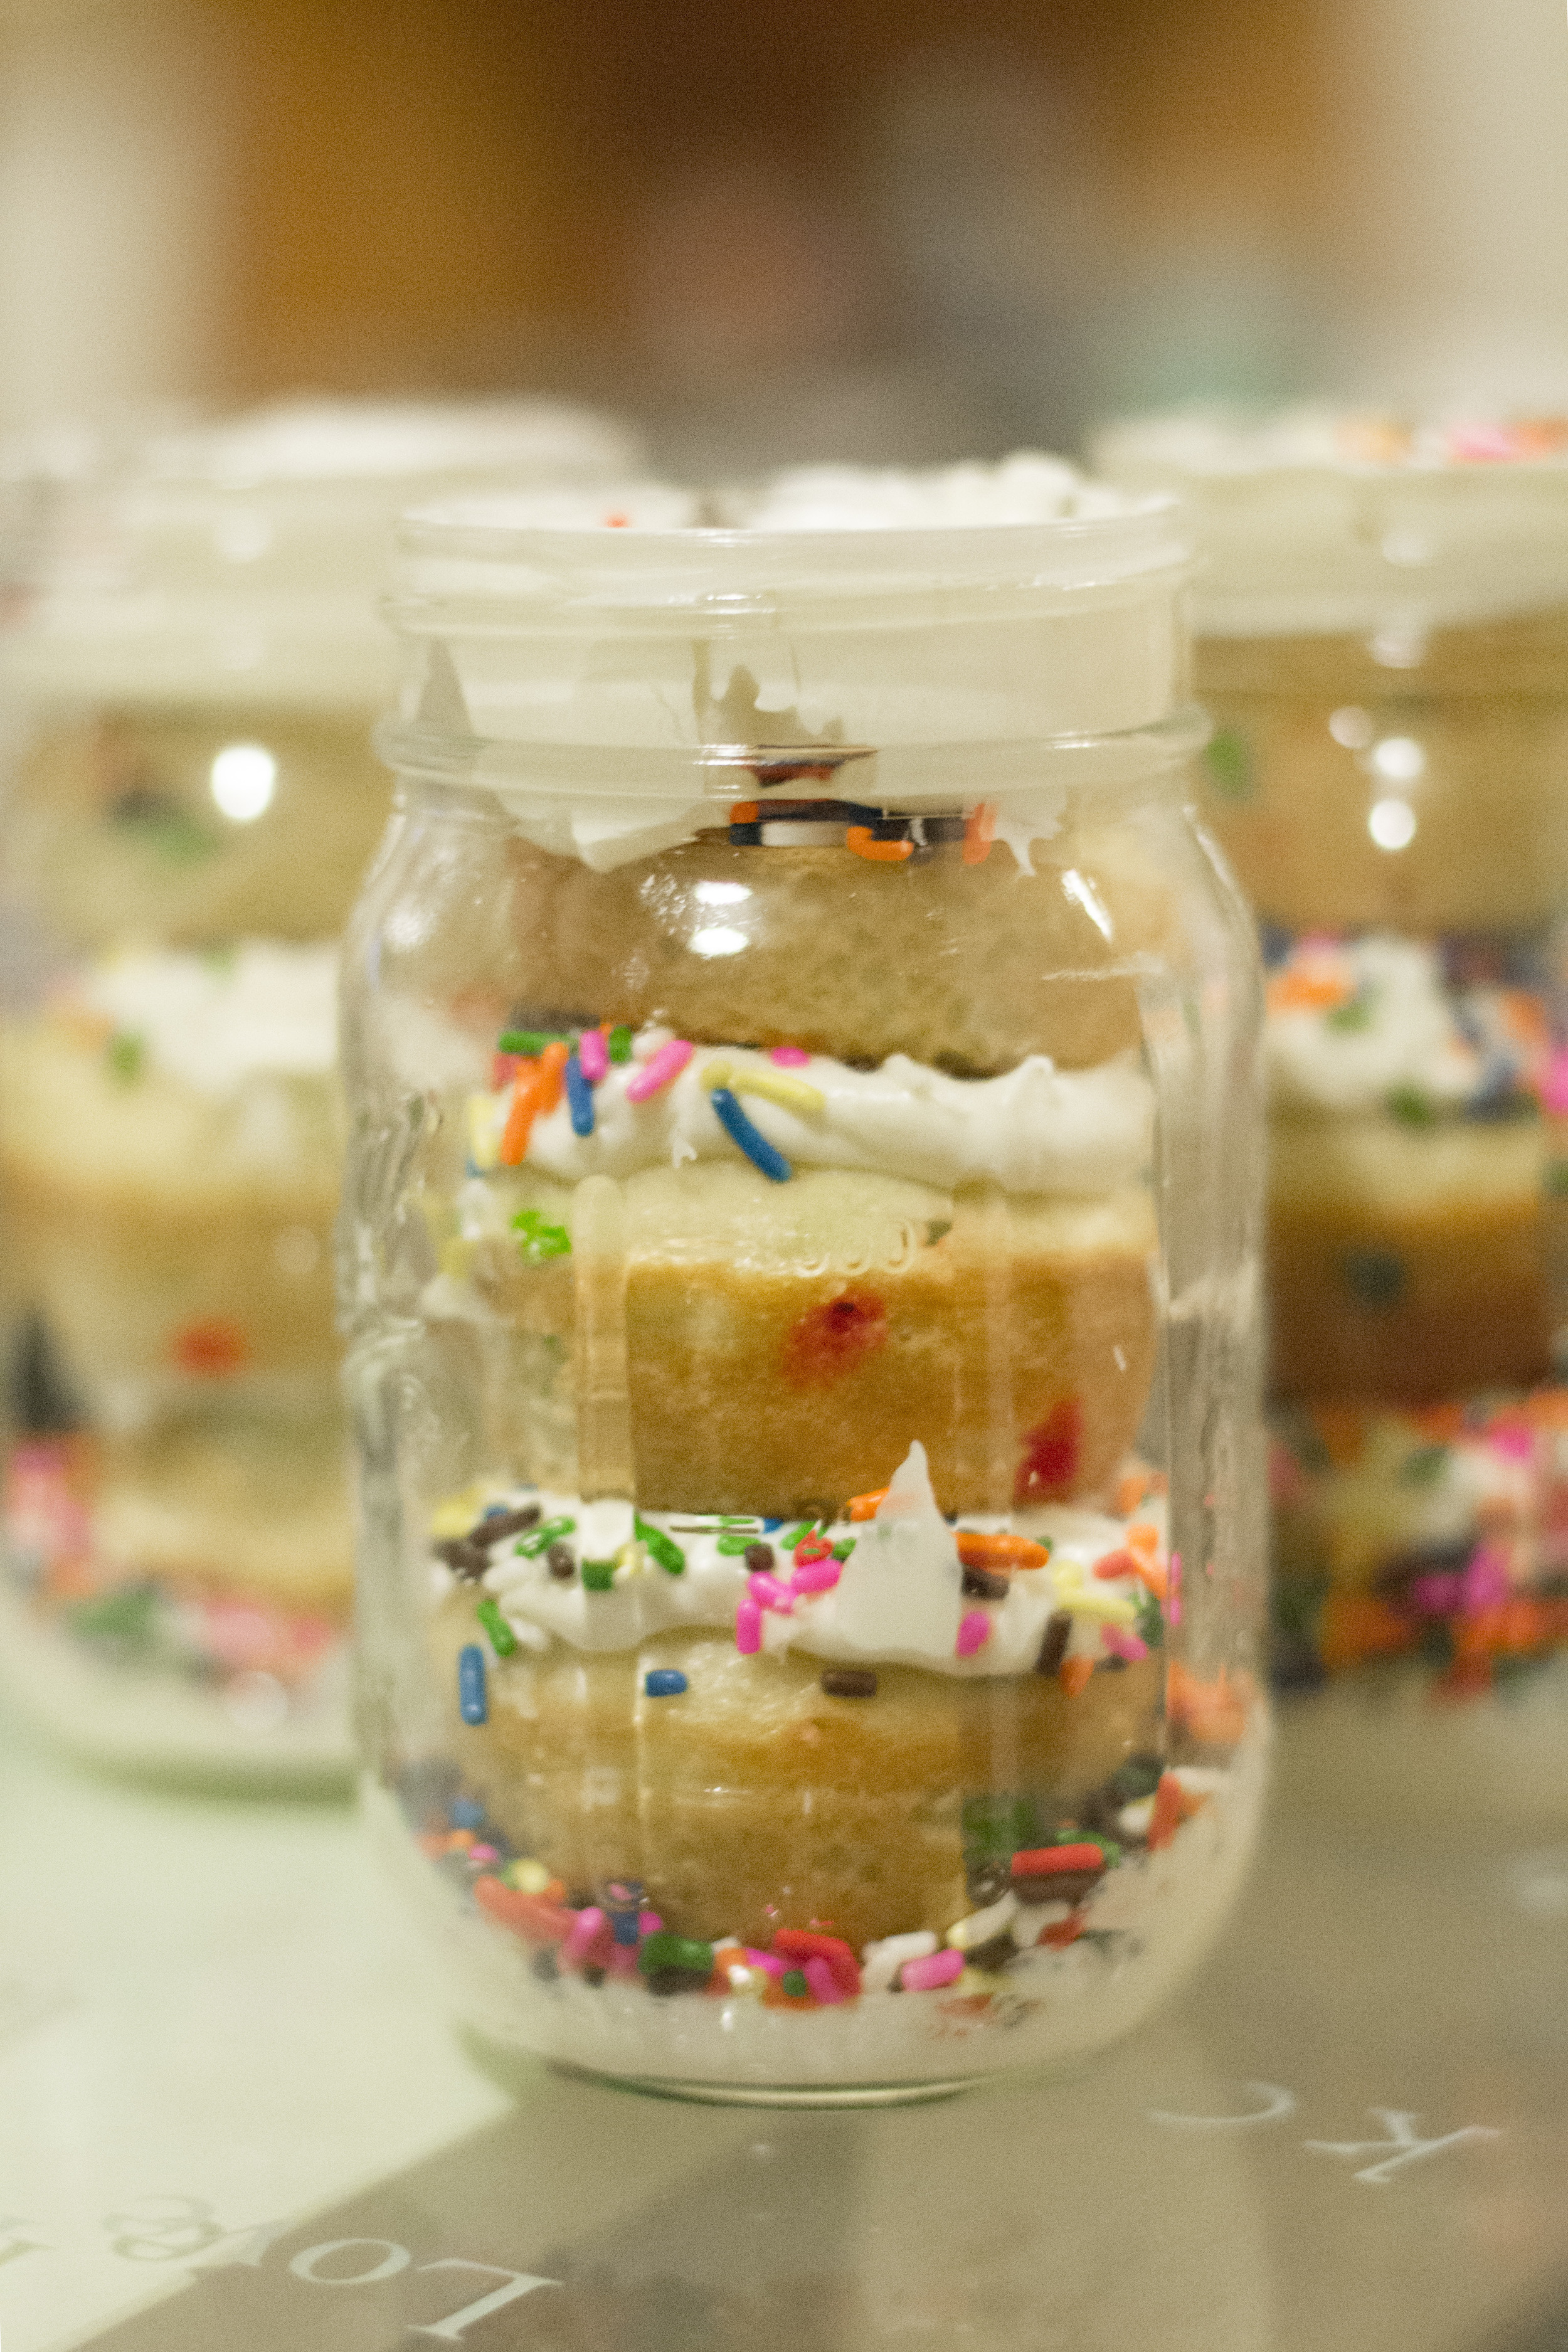
But then...I decided to test how they would fare in travel and on my way to work this happened..

Photo 3The frosting was far too slippery, the jar far too big, and the cupcakes far too skinny. I could only imagine the girls opening up their boxes and just seeing a jar full of a frosting mess and being so confused as to what I sent them. I couldn't help but laugh at my #nailedit moment and forced my coworkers to eat my ugly cupcakes just to make myself feel better (for the record, they were delicious).

So what does this all have to do with my hundredth post? Trying. And failing. You see, as far as this little blog has come in the past four years, I've hoped that amandaliew.com at its very core is still about the journey, not the end game. From the start, I've wanted it to be about life, experiences, challenges, and above all trying new things. What started out as a travel blog, morphed into a passion for digital photography - and where that passion is focused changes each day! Sometimes those new things turn out wildly successful, and sometimes they turn out disastrously bad. But in the end, the effort was made and the idea was explored. As more people have seen my work, I've gotten more project proposals, fee inquiries, and even questions of if I would ever pursue this as a career. But I've come to realize that there's a huge amount of freedom in clinging to the "amateur photographer" title. It gives me the chance to pursue what intrigues me, try new styles without worrying about a portfolio, share my stories of what I've learned, and ultimately laugh at my own failure. I love that this website is not just a portfolio of my best work, but instead an insight into how I'm growing and challenging myself as a photographer. And so, I'll keep trying and I'll keep (Pinterest) failing. I've done so for the past 100 posts, and I'll keep doing it for 100 more!

Bacon Is Always The Answer by Amanda Liew

20150404_0003_scones.jpg

20150404_0004_Scones 20150404_0006_Scones For the most part, I'm a total cheater when it comes to baking. Despite being a prolific hashtagger of #bankerbydaybakerbynight, I stealthily use box recipes and then throw something crazy into it to make it sound homemade. I mean...chocolate peppermint cupcakes stuffed with junior mints sure sounds like something you would find on Pinterest, but in reality I accidentally "invented" it because all the grocery stores were closed by the time I got out of work at 11pm, and I had to improvise with ingredients found at CVS. Now if that's not a true #bankerbydaybakerbynight, I don't know what is!

Nevertheless, special occasions deserve an extra touch of specialness, and this Easter I decided to whip up a batch of Bacon Cheddar Chive Scones with my awesome friend and fellow-lover-of-food, Katie! Why? Because bacon is always the answer. I'm not going to lie, the recipe took us a while, but I mainly blame that on my insistence in cooking the entire package of bacon rather than what the recipe actually called for. When I make these again, I think it would be smart to bake the bacon while I prep the rest of the ingredients. I'm quite proud of my developments as a baker considering I had to Google Image search "chive" while at the grocery store to make sure I was getting the right thing...

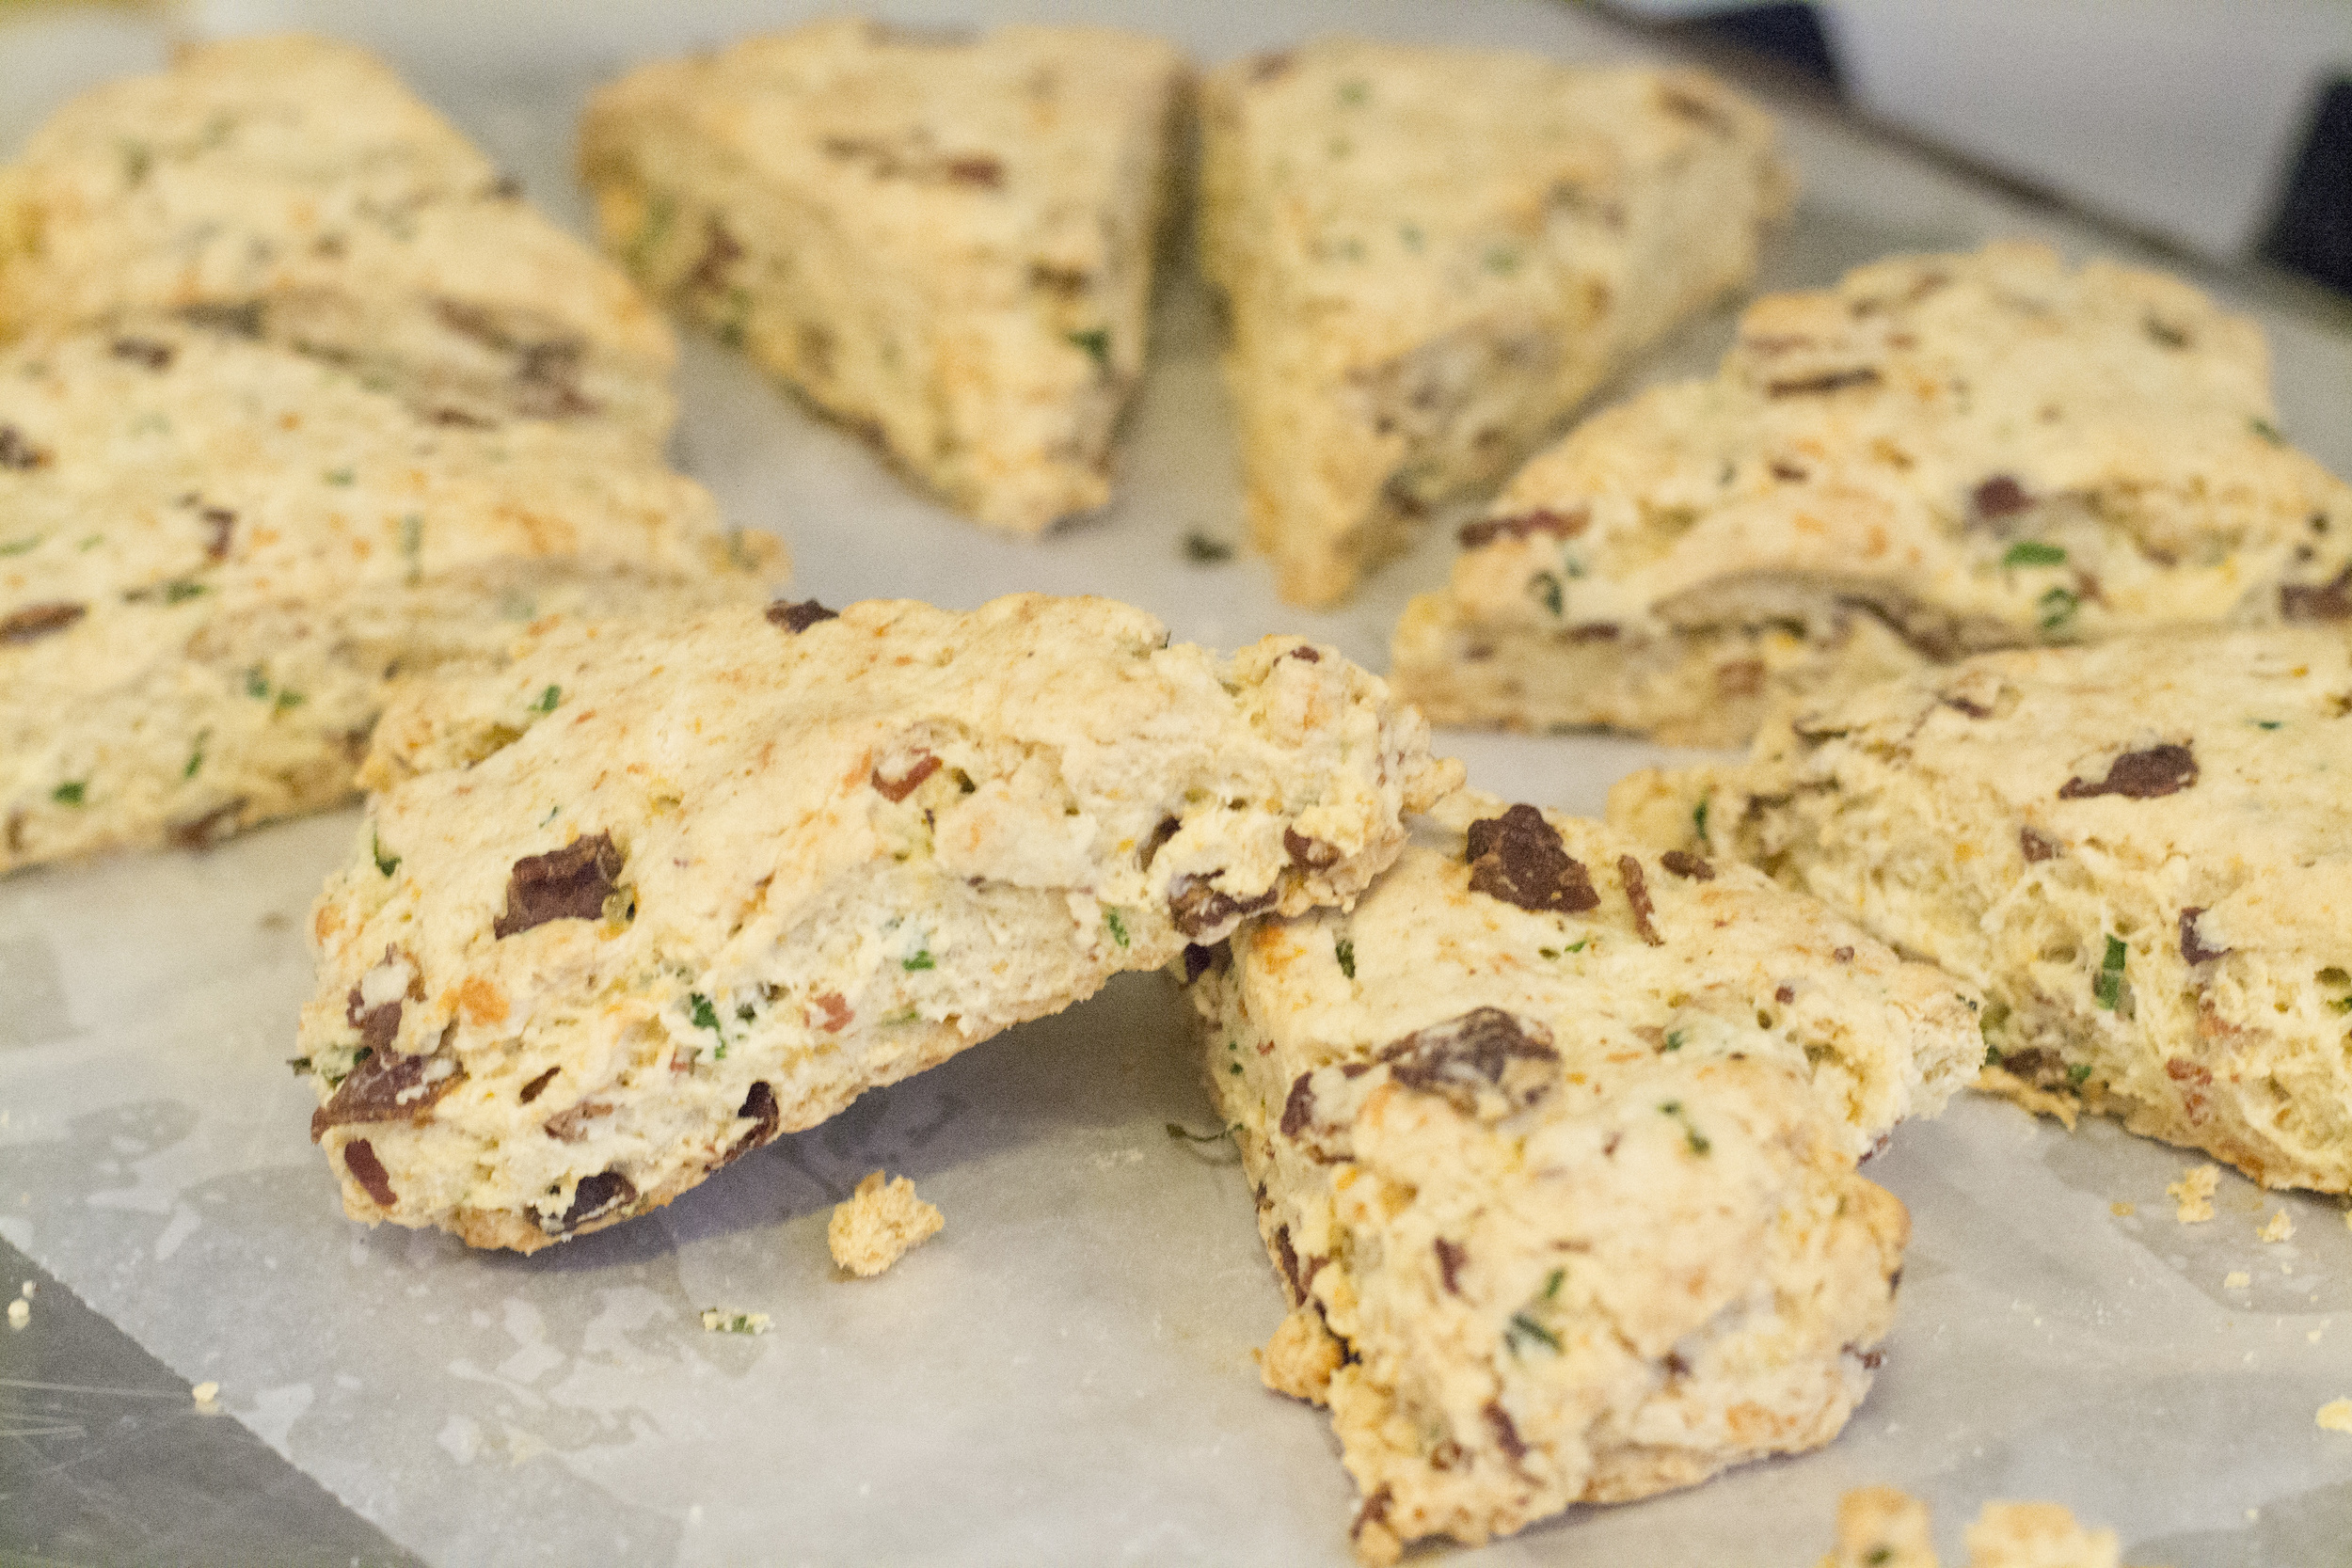
So the verdict in the end? These things are HEAVENLY. Katie and I were particularly impressed with how the bacon and cheddar actually flavored the dough (as in, it wasn't just a bland bread item with yummy chunks scattered about) and also how the chives weren't too overwhelming. It's a densely packed scone, and for that reason I think the mini scones would make more sense in the future. I think we could have baked them a little longer or used a little less of the heavy cream (we used the extra 2 tablespoons that the recipe lets you flex on) to make it crispier. Nevertheless, all around phenomenal!

Many thanks to King Arthur and our good friend / chef extraordinaire / California travel buddy Victoria! To find the recipe, see below or go to the original link here.

And if you're interested in mixing it up with a sweet scone recipe, I highly recommend Raspberry Buttermilk Scones! There's a lot less prep in this one since you just toss the raspberries in.

King Arthur Flour Bacon-Cheddar-Chive Scones

2 cups (8 1/2 ounces) King Arthur  Unbleached All-Purpose Flour or Perfect Pastry Blend 1 teaspoon salt 1 tablespoon baking powder 2 teaspoons sugar 4 tablespoons (1/2 stick, 2 ounces) cold  butter 1 cup (4 ounces) very coarsely grated or  diced cheddar cheese 1/3 cup (about 1/2 ounce) snipped fresh chives, or finely diced scallion tops (the  green part, 3/4 ounce) 1/2 pound bacon, cooked, cooled, and crumbled (about 1 cup) 3/4 cup + 2 tablespoons (7 ounces) heavy cream or whipping cream, or enough to make the dough cohesive

Preheat the oven to 425°F. Lightly grease a baking sheet, or line it with parchment.

1) Whisk together the flour, salt, baking powder, and sugar.

2) Work the butter into the flour until the mixture is unevenly crumbly, with some of the butter remaining in larger pieces.

3) Mix in the cheese, chives, and bacon until evenly distributed.

4) Add ¾ cup of the cream, stirring to combine. Try squeezing the dough together; if it’s crumbly and won’t hang together, or if there are crumbs remaining in the bottom of the bowl, add cream until the dough comes together. Transfer the shaggy dough to a well-floured work surface.

5) Pat the dough into a smooth 7" disk about ¾" thick. Transfer the disk to the prepared baking sheet.

6) Use a knife or bench knife to cut the disk into 8 wedges, spreading the wedges apart a bit on the pan.

7) Brush the scones with a bit of cream; this will help their crust brown.

8) Bake the scones for 22 to 24 minutes, until they’re golden brown. Remove them from the oven, and cool right on the pan. Serve warm, or at room temperature. Yield: 8 large scones

Baker's tips •Want to make scones now, freeze and bake later? Make scones up to the point they're on the baking sheet, cut and ready to bake; don't brush them with cream. Freeze, then remove from the sheet, and wrap airtight in a plastic bag. When you're ready to bake, remove however many you want to bake from the freezer, place on a baking sheet, brush with cream, and bake in a preheated 425°F oven for 35 to 40 minutes, until golden brown.

•Make mini-scones: Divide the dough in half, and roll each half into a 5" round. Cut each round into 8 wedges. Bake in a preheated 425°F oven till golden brown, 18 to 20 minutes; or for about 25 minutes if frozen.

[Stop #1: Baltimore, Maryland] Raspberry Buttermilk Scones & Gingerbread-White Chocolate Blondies by Amanda Liew

dsc0044.jpg

The next month of my life is going to be filled with more travel, food, friends, and family than I can possibly imagine. While it will be impossible to blog while I'm abroad, I'll do my best to keep things in order. After having finally moved out of my house in Philadelphia, I zoomed off on a train for Stop #1 to visit my other best friend, Madeline, in her hometown of Baltimore, Maryland. Madeline has an amazing history with baking and food photography. She was one of the Photography Editors for Penn Appetit which is the first university food magazine in the entire country. Last summer we lived together in New York where she held the coolest internship with a food photographer, and I'm so excited that we're both returning there full-time in July! Despite my pleas to make macarons (it's too humid apparently - pshh), we chose the next best thing and baked BOTH Raspberry Buttermilk Scones AND Gingerbread-White Chocolate Blondies. Food heaven right here. I was also so excited to finally add a post to my "Food" section since I only have is How to Cook a Traditional English Roast from my time abroad. We used recipes from queen bee, Martha Stewart, and I've included them at the bottom of this post!

The scones were amazingly fluffy, and the egg glaze on top perfected it. They weren't too sweet and the fresh raspberries added a perfect kick.

_DSC0051

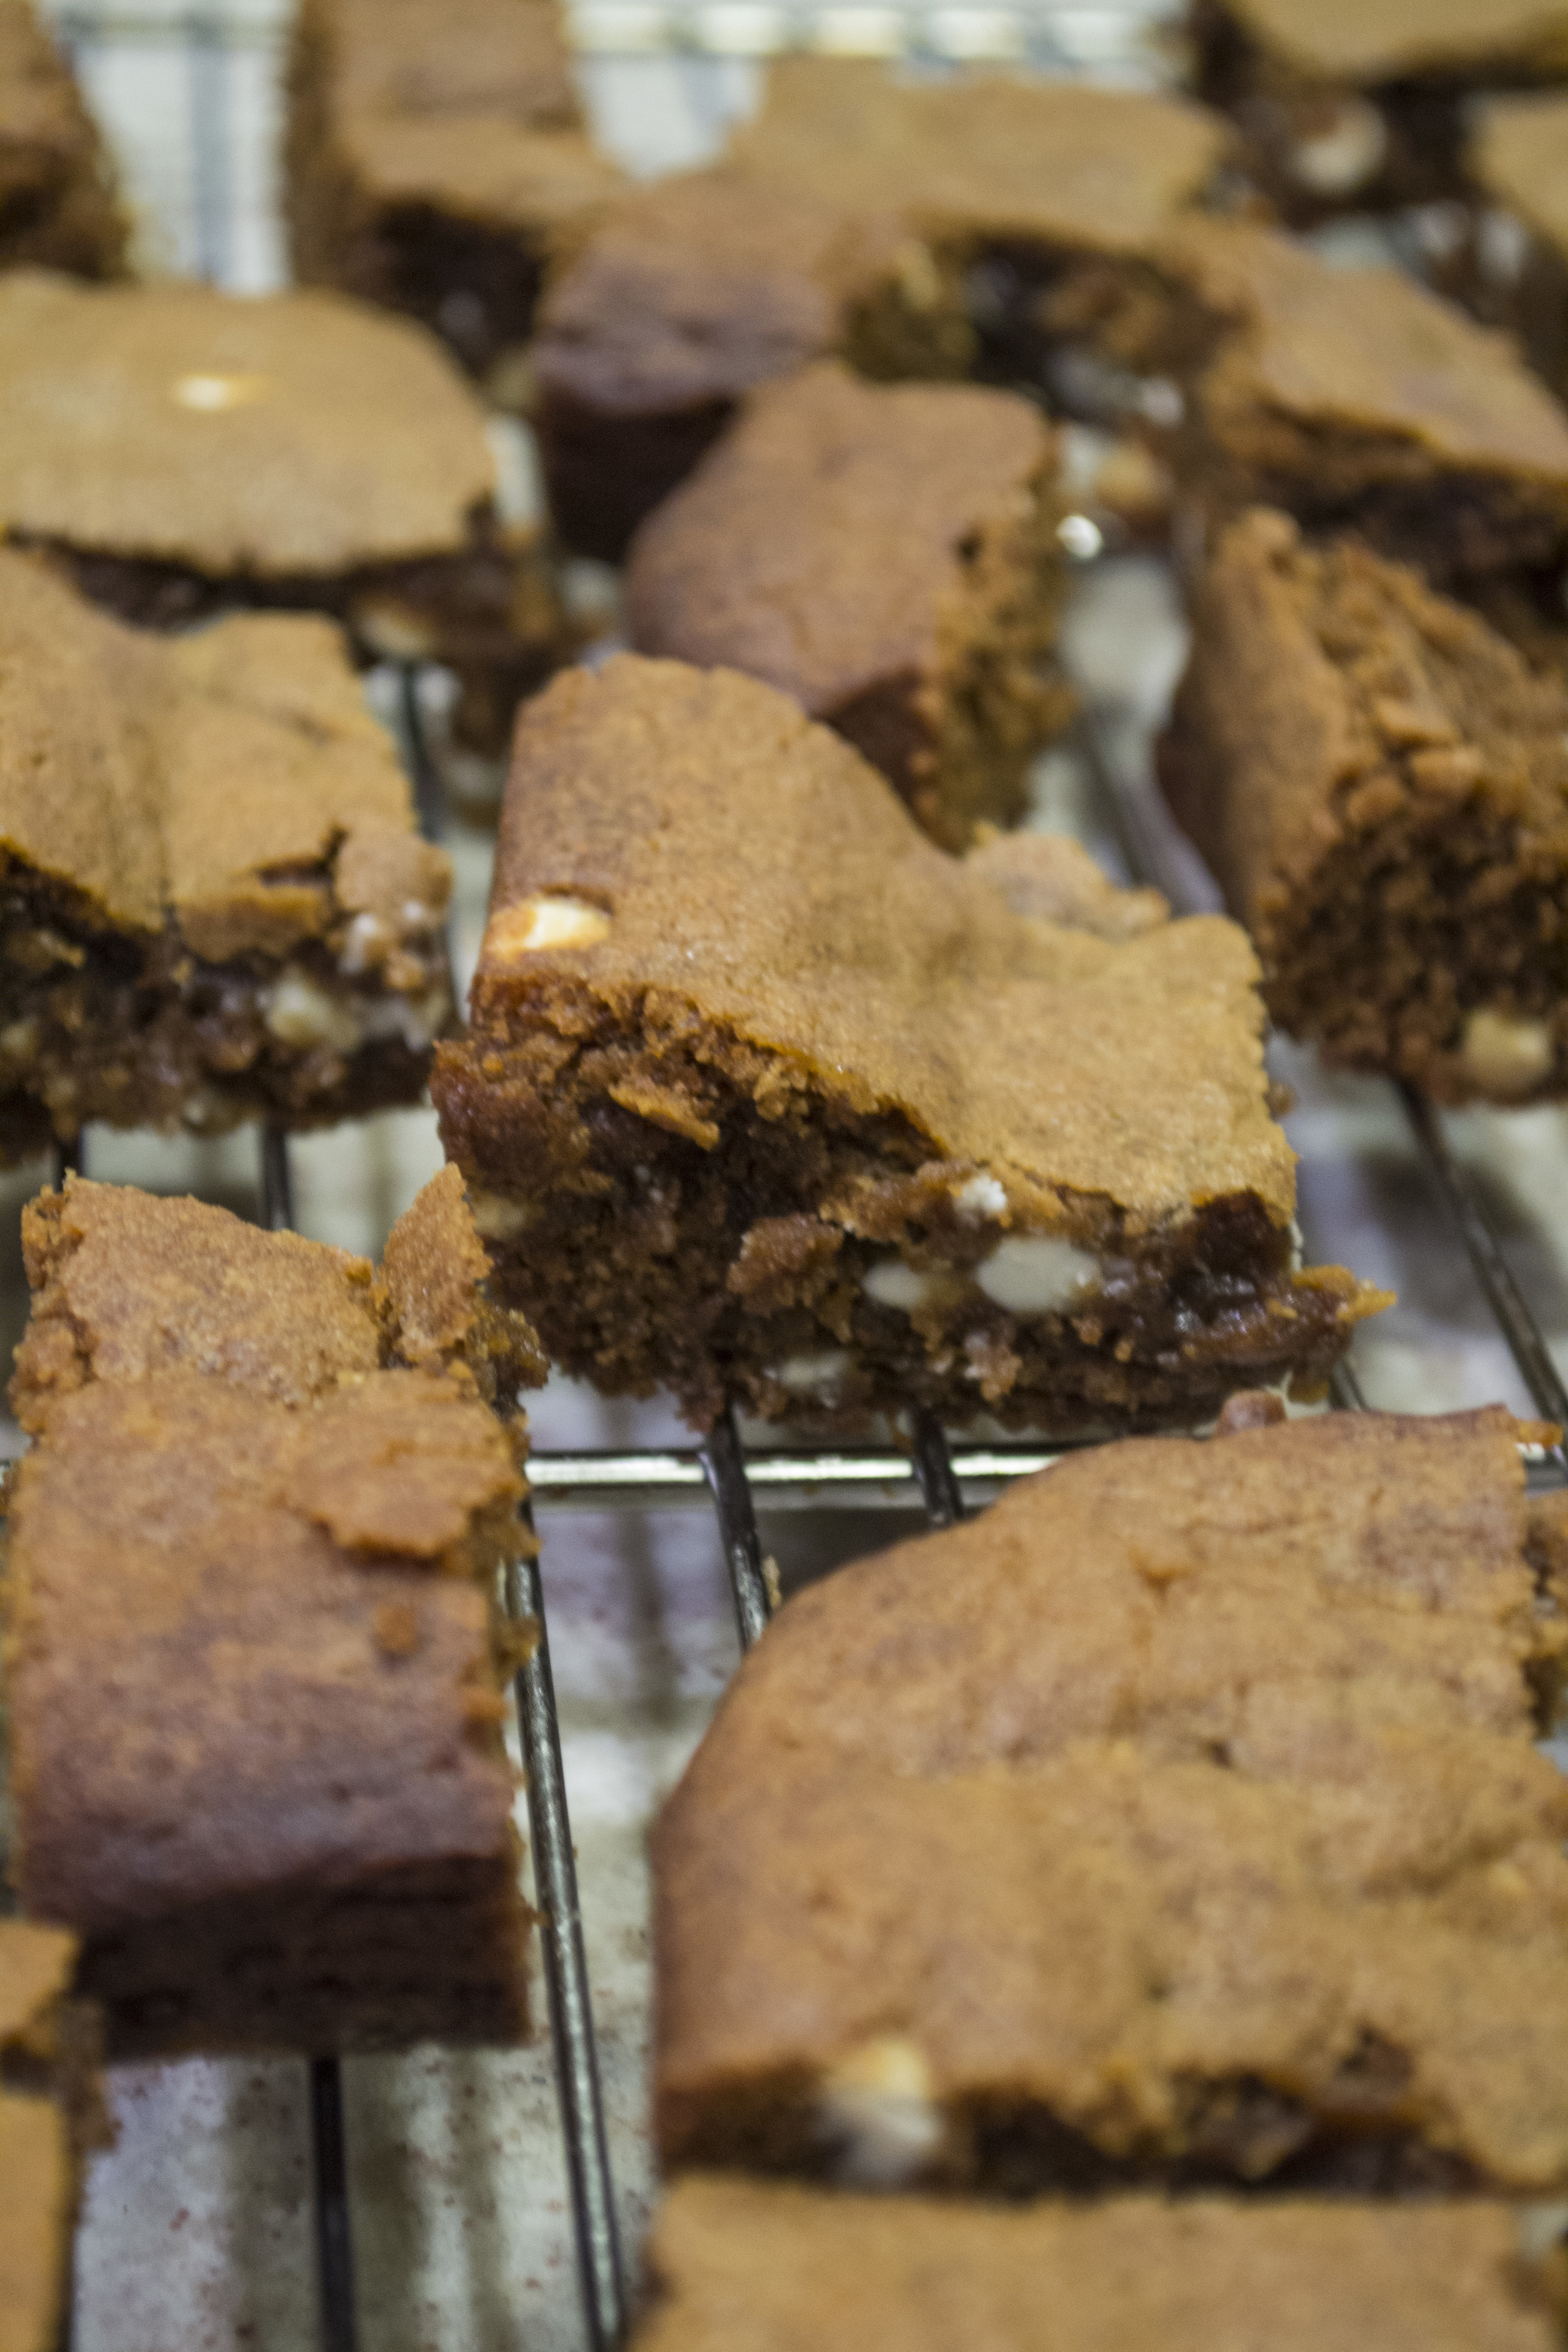
The Gingerbread-White Chocolate Blondies, on the other hand, were decadent to the max. The brown sugar, butter, molasses, white chocolate chips, oh lordd they're delicious.

_DSC0073 _DSC0077_1

Next up? Annapolis for Natalie & Huey's wedding! Couldn't be more excited!

Martha Stewart's Blueberry-Buttermilk Scones (substituted with raspberries)

Ingredients:

  • 1 1/2 cups all-purpose flour
  • 1/2 cup cake flour, (not self-rising)
  • 3 tablespoons granulated sugar
  • 2 1/2 teaspoons baking powder
  • 3/4 teaspoon salt
  • 4 ounces (1 stick) cold unsalted butter, cut into small pieces
  • 1 cup (1/2 pint) blueberries
  • 1/2 cup low-fat buttermilk
  • 1 large egg, plus 1 large egg lightly beaten for egg wash
  • 1/2 teaspoon pure vanilla extract
  • Fine sanding sugar, for sprinkling

Directions:

  1. Preheat oven to 375 degrees. Line a baking sheet with parchment paper.
  2. Whisk together flours, granulated sugar, baking powder, and salt in a large bowl. Cut in butter with a pastry cutter, or rub in with your fingers, until mixture has the texture of coarse meal. Stir in blueberries.
  3. Whisk together buttermilk, 1 egg, and the vanilla. Drizzle over flour mixture, and stir lightly with a fork until dough comes together but a small amount of flour remains in bowl.
  4. Turn out dough onto a work surface, and gently knead dough once or twice just to incorporate flour. Pat dough into a 1-inch-thick round. Cut into 12 wedges. Transfer to prepared baking sheet. Brush with egg wash, and sprinkle with sanding sugar. Bake until golden brown and cooked through, about 22 minutes. Transfer scones to wire racks to cool.

[Link here]

Martha Stewart's Gingerbread-White Chocolate Blondies

Yield: Makes about 48 dozen 2-inch squares

Ingredients

  • Vegetable-oil cooking spray
  • 2 3/4 cups plus 1 tablespoon all-purpose flour
  • 1 1/4 teaspoons baking soda
  • 1 1/4 teaspoons salt
  • 1 1/4 teaspoons ground cinnamon
  • 1 teaspoon ground ginger
  • 1/4 teaspoon ground cloves
  • 2 1/2 sticks (20 tablespoons) unsalted butter, room temperature
  • 1 1/4 cups packed light-brown sugar
  • 1/2 cup plus 2 tablespoons granulated sugar
  • 2 large eggs, plus 1 large egg yolk
  • 1 1/4 teaspoons pure vanilla extract
  • 1/3 cup unsulfured molasses
  • 10 ounces white chocolate, coarsely chopped

Directions

  1. Preheat oven to 350 degrees. Coat a 17-by-12-inch rimmed baking sheet with cooking spray. Line bottom with parchment cut to fit, and coat parchment. Whisk together flour, baking soda, salt, and spices.
  2. Beat butter and brown and granulated sugars with a mixer on medium-high speed until pale and fluffy. Add eggs and yolk, 1 at a time, beating well after each addition and scraping down sides of bowl as needed. Beat in vanilla and molasses. Reduce speed to low. Gradually add flour mixture, and beat until just combined. Stir in white chocolate.
  3. Spread batter into prepared pan. Bake until edges are golden, about 25 minutes. Let cool completely in pan on a wire rack. Cut into 2-inch squares or desired shape.

[Link here]